Windows 10 shows you a list of all user accounts available on your PC in the bottom left corner of the logon screen. You can click the user avatar, enter the password if necessary, and login using the provided credentials. If you have more than one user accounts on your PC, at times, you might want to disable a user account to restrict a user from accessing your PC.
It is possible to disable certain user accounts in Windows 10. It won’t be possible to use them for signing in after doing that.
While it is possible to delete a user account permanently, you might want to block it for a short period of time instead. For instance, you could disable your kid’s user account during his/her exams to stop playing games on the PC.
The disabled accounts won’t appear on the login screen of Windows 10. If the user will enter credentials manually, Windows 10 will show the message ‘Your account has been disabled. Please see your system administrator’ for a local account, or ‘Wrong password’ for a Microsoft Account.
Let’s see how to disable a user account.
Disable A User Account in Windows 10
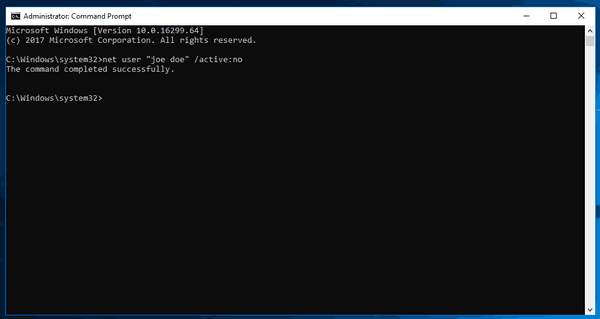
- Open Command Prompt as Administrator.
- Type the next command to disable the account:
net user USERNAME /active:no - Substitute the USERNAME word with the actual user name of the account you want to disable.
Also, don’t forget to encase the user name in quotes if it has more than one word.
For example, the next command will disable the user account “Joe Doe”.
net user "joe doe" /active:no

Finally, if you have installed Windows 10 Pro, Education, or Enterprise edition, you can use Computer Management to disable the desired user account quickly.
Disable A User Account in Windows 10 Pro with a GUI
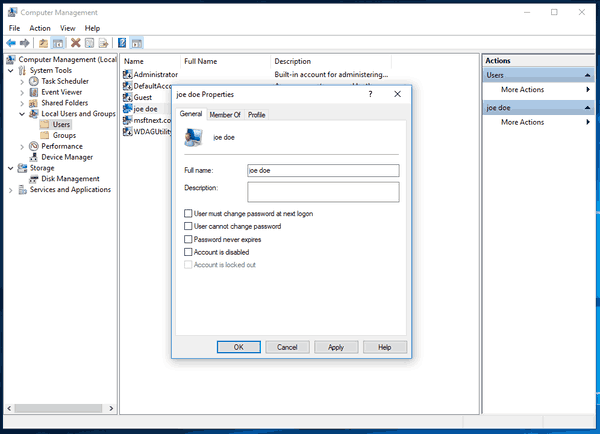
- Right-click on the Start button on the taskbar and then click ‘Computer Management’.

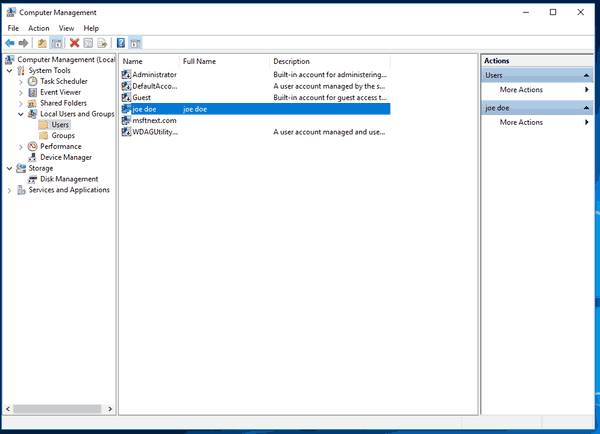
- On the left of Computer Management, go to ‘Local Users and Groups\Users’.
- On the right, find the desired user account in the list and double-click on it.
- In the Properties dialog, enable the ‘Account is disabled’ option on the the ‘General’ tab.
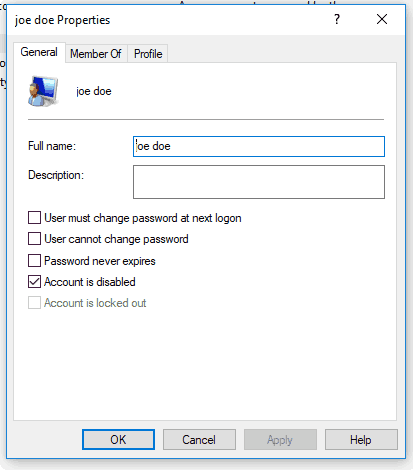


This will disable the user account.
Now, let’s see how to enable the disabled user account.
Enable A User Account in Windows 10
- Open Command Prompt as Administrator.
- Type the next command to enable the account:
net user USERNAME /active:yes
This will enable the account.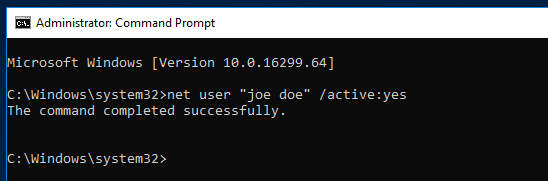

If your edition of Windows 10 comes with the ‘Local Users and Groups’ tool, you can use it to enable the account.
Enable A User Account with Local Users and Groups
- Right-click on the Start button on the taskbar and then click ‘Computer Management’.
- On the left of Computer Management, go to ‘Local Users and Groups\Users’.
- On the right, find the disabled user account you want to re-enable and double-click on it.
- In the Properties dialog, turn off the option ‘Account is disabled’ on the the ‘General’ tab.