You maybe wondering how to automatically open a website on startup in Windows 10? Usually, users are against the situation when some website appears open on its own after you sign in. But in some cases, it may be necessary to do that. For example, for corporate or educational purposes. Or you may need to automate visits to certain sites.
This trick can be used for creative congratulations: Write a congratulatory post, video or track on the network and make the web page with your congratulations open itself when the hero of the occasion turns on the computer.
There are several ways to get this task done in Windows 10, each with its own pros and cons. Let’s review them.
Automatically open a website on startup in Windows 10
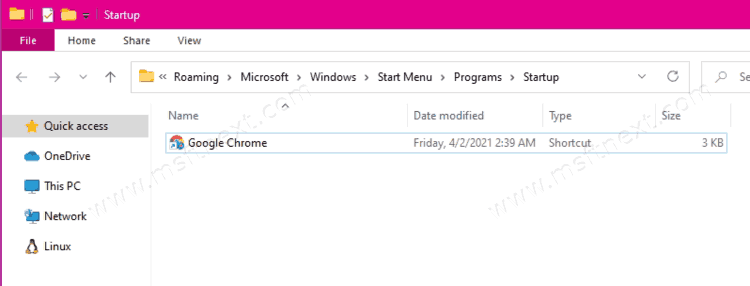
- Open the Startup folder by hitting
Win+Rand entering shell:Startup into the Run dialog.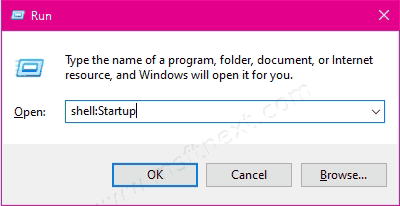
- Open the target web site in Chrome or other browser you have installed.
- Click on website information (lock) icon to the left of its URL in the address bar, and drag it into the startup folder.
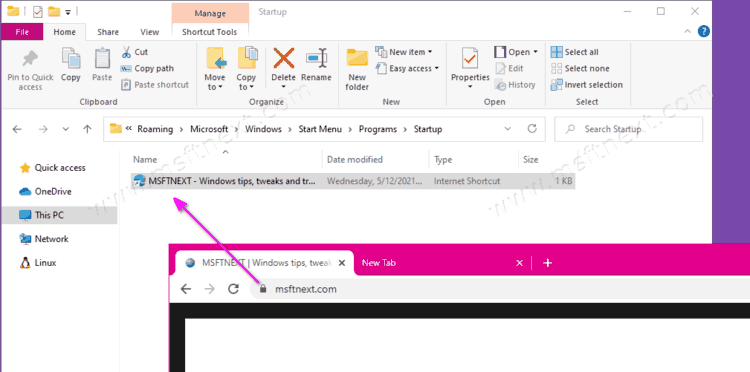
- A shortcut will be created to launch the website every time you sign in.


Another easy way to configure the automatic opening of the necessary sites when you start your computer is to add sites of your choice to the browser’s startup pages, and then add a shortcut to the browser to Windows startup.
We will be using the Chrome browser as an example.
Automatically open a website on startup in Windows 10
- In Chrome, press Alt + F and select Settings from the menu.
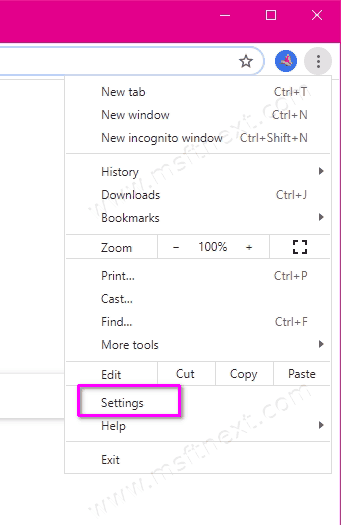
- Select On startup in the sidebar on the left.
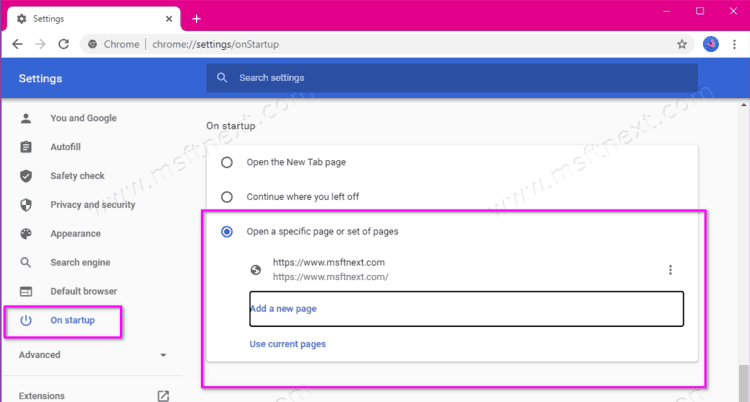
- In the right, set the dot for the Open a specific page or set of pages option.
- Click on Add a new page and enter the URL address you want to open automatically.
- Now open the Startup folder by hitting
Win+Rand entering shell:Startup into the Run dialog. - Copy the Chrome shortcut from desktop to the Startup folder.


This method is simple, but it will only work for one browser – the one in which we configured the settings. i.e. the startup sites.
The next method combines the shortcut file in the Startup folder with a slight shortcut modification.
Add Site URL to the browser shortcut and auto-start it
- Open the Startup folder by hitting
Win+Rand entering shell:Startup into the Run dialog. - Copy the browser shortcut to the Startup folder and right-click it.
- In the context menu of the browser shortcut, select “Properties”.
- In the properties of the browser shortcut, look at the “Target” box. It contains the path of the browser executable file in quotes. At the end of the path, after the closing quotation mark, put a space and write the desired site URL.
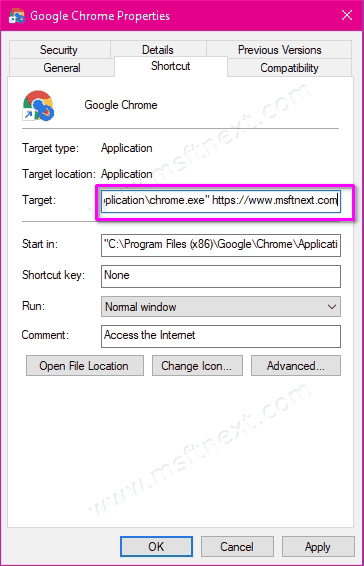
- Apply the changes by clicking on Apply and OK.

Now, every time you start your computer, this website will open automatically.
This method works for any browser you have installed, but it is notable for its stealthiness. Also, it will be relevant for cases when you need no one to remove the site from auto start. So, setting up the tabs or sites that open when browsers are launched is a beginner-level task. But the idea to look at the properties of the browser launch shortcut will not come to everyone’s mind, unless such a person has already fought with hijackers or other malicious software.
The next procedure will make a site auto-open when Windows boots in any browser that is set as default. To do this, you need to create a batch file in the system startup folder (command launch file with the “.bat” extension) with the command to open the site.
Using a batch file that opens a site from the Startup folder
- Open the Startup folder by hitting
Win+Rand entering shell:Startup into the Run dialog. - In this folder, create a text document with any name using the New > Text document right-click menu in File Explorer.
- Enter the following text:
start https://www.google.com/. Replace https://www.google.com/ with the desired site address.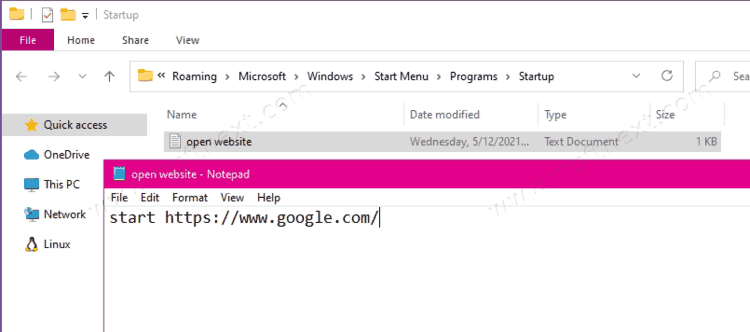
- If you need several sites to automatically open, just add launch commands with the addresses of other sites on a new line.
- Save the text document (press Ctrl + S).
- Next, activate the display of extensions in File Explorer.
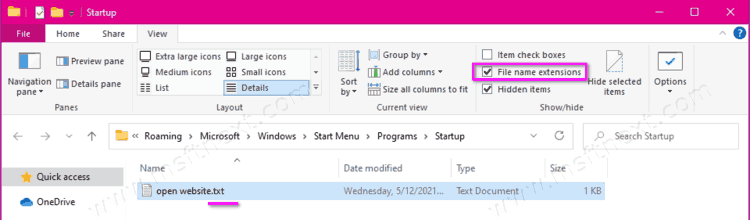
- Rename the text document extension from “.txt” to “.bat”.
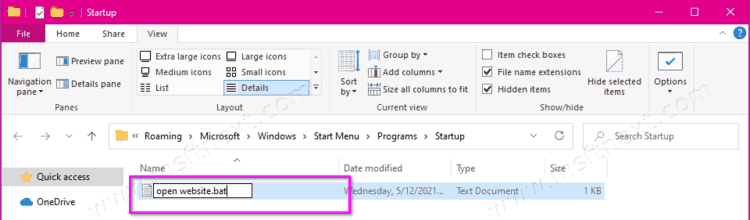


That’s it: The batch file for opening the site(s) at startup will do its work every time the user logs into the system. This method works only for the current Windows user, in whose profile the batch file is added to startup.
The same batch file can be configured to be started with Windows using the Task Scheduler apps. In this case, you will have much broader option, including the ability to launch it for any or all of the computer users, or on any event or schedule.
Automatically open a website on startup in the Task Scheduler
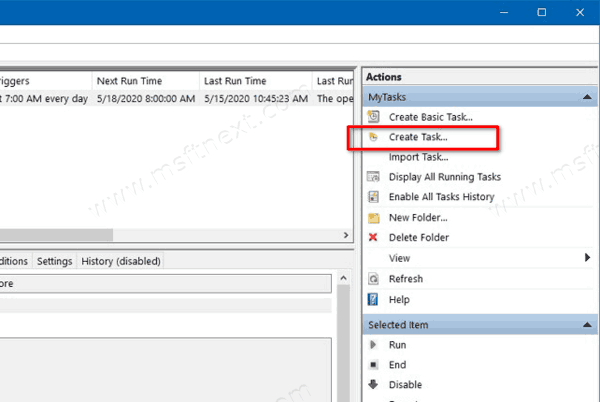
- Open the task scheduler by entering its name into the search box in the taskbar.
- Click “Create task”.
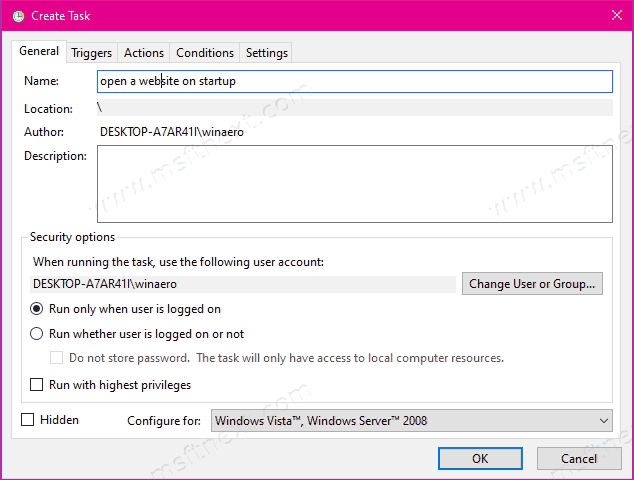
- On the general tab, enter some suitable name for your task.
- On the “Triggers” tab, click “Create”.
- Select the trigger for starting the task. In the “Start task” list, select “At logon”. Thus, the task will definitely be completed when you turn on the computer, and it will also be executed when you reboot and sign in into your user account.
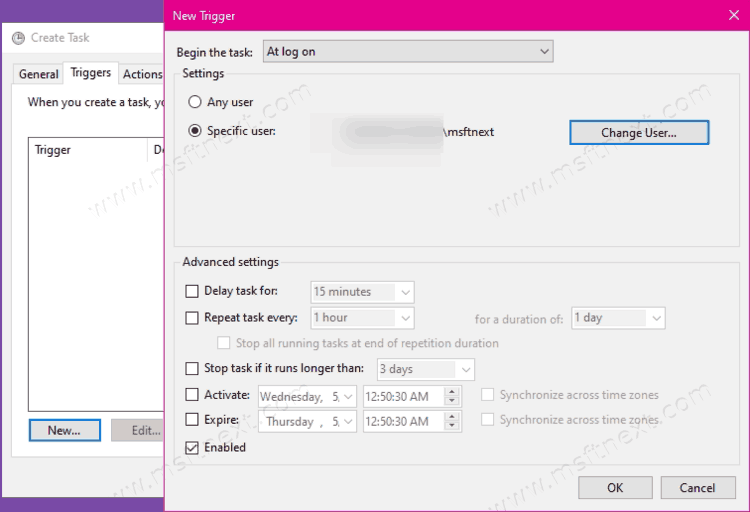
- If Windows has several accounts, below in the “Parameters” column you can set whether this task is for all users, or only for a specific user.
- Next, on the “Actions” tab, click “Create”.
- The “Action” column should bet set to “Start the program”. In the “Parameters” column, specify the path to your batch file using the Browse button.

- If you have a laptop, go to the “Conditions” tab and uncheck the “Power” option so that the task is not ignored when on battery power.


You have successfully created the task. It will launch your batch file, so the desired sites will open automatically every time you start your user session in Windows 10.
