Windows 10 allows you to control the size and positioning of open windows better by dragging them to the edge of the screen. If you drag a window using its title bar to the top edge of the screen, it will be maximized. This post explains how to disable this feature.
What is Aero Snap
Aero Snap was first introduced in Windows 7. It allows arranging windows easily with special gestures. The Aero Snap feature can be used to resize windows to half size with a single mouse move, which is useful with a wide screen. This makes the side-by-side display a breeze.

Aero Snap supports the following hotkeys.
Win + Left arrow
Press to snap the current active window to the left half of the screen. If you have multiple screens, then you can keep pressing to move and snap the window to the screen to the left.
Win + Right arrow
Press to snap the current active window to the right half of the screen. If you have multiple screens, then you can keep pressing to move and snap the window to the screen to the right.
Win + Up arrow
If the window isn’t snapped, then it will maximize the window. If the window is snapped to a side, then it will snap the window to the top quarter of that side.
Win + Down arrow
If the window isn’t snapped, then it will minimize the window. If the window is maximized, it will restore down the window. If the window is snapped to a side, then it will snap the window to the bottom quarter of that side.
With the mouse pointer touching the left or right edges of the screen when dragging a window, it will be snapped to the left or right side of the screen respectively.
This can trigger accidental resizing or repositioning of the window. If it often happens to you, you can disable Aero Snap.
Disable Aero Snap in Windows 10
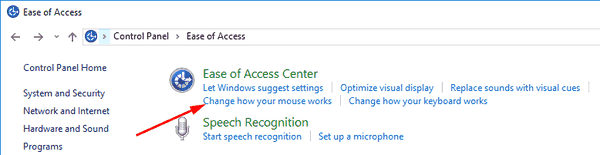
- Open the Control Panel.
- Navigate to
Control Panel\Ease of Access. - Click on the link ‘Change how your mouse works’.
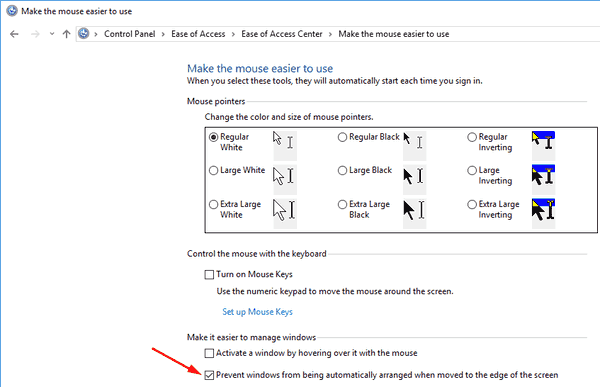
- On the next page, turn on (check) the option ‘Prevent windows from being automatically arranged when moved to the edge of the screen’.
Alternatively, Aero Snap can be disabled with Settings.
Disable Aero Snap with Settings
- Open Settings.
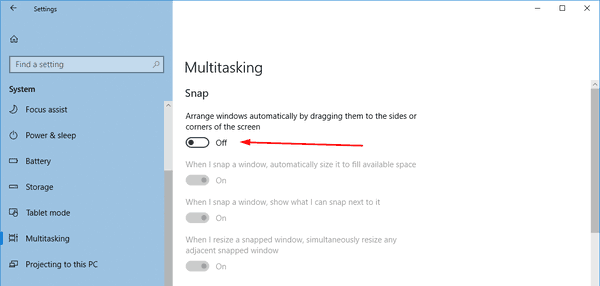
- Navigate to System – Multitasking.
- On the right, turn off the toggle option ‘Arrange windows automatically by dragging them to the sides or corners of the screen’. This will disable the Snap feature.
- Instead, you can customize the snap options using the options like ‘When I snap more than one window, automatically adjust the size of the windows’ (Snap Fill), ‘When I snap a window, show what I can snap next to it’ (Snap Assist), and ‘When I resize a snapped window, simultaneously resize any adjacent snapped window’.