Windows Defender is the built-in security solution in Windows 10. It provides basic protection against threats. In recent Windows 10 builds, Windows Defender is part of Windows Defender Security Center. This post explains how to reliably disable Windows Defender in Windows 10.
In Windows 10, Windows Defender was greatly improved and enhanced. The modern version of Defender is a mature security suite which features Advanced Threat Protection, Network Drive Scanning, Limited Periodic Scanning, Offline Scanning, the Security Center dashboard and Exploit Protection (previously offered by EMET exclusively).
Note: Don’t be confused between Windows Defender and Windows Defender Security Center. Windows Defender is the built-in anti-virus software, whereas Windows Defender Security Center is a dashboard which allows you to manage Defender and the protection state of several other Windows security technologies. Windows Defender Security Center is what opens when you click its icon in the system tray.
if you prefer to use some alternative solution instead of Windows Defender or you just want to disable it completely, it can be very tricky. The user interface of Windows Defender Security Center allows disabling real-time protection only for a short period of time.
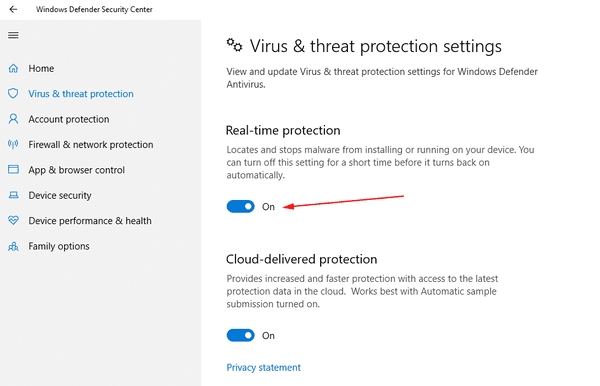
After some time, it will re-enable itself. For some users, this solution is suitable. Others would like to disable it permanently.
Disable Windows Defender In Windows 10
Step 1. Open Notepad and paste the following text into a new text document.
Windows Registry Editor Version 5.00

[HKEY_LOCAL_MACHINE\SOFTWARE\Policies\Microsoft\Windows Defender]
"DisableAntiSpyware"=dword:00000001

[HKEY_LOCAL_MACHINE\SOFTWARE\Policies\Microsoft\Windows Defender\Real-Time Protection]
"DisableBehaviorMonitoring"=dword:00000001
"DisableOnAccessProtection"=dword:00000001
"DisableScanOnRealtimeEnable"=dword:00000001
Step 2 In Notepad, press Ctrl + S or execute the File – Save item in the menu. In the Save dialog type or copy-paste the line “Disable Defender.reg” including quotes. Use double quotes to ensure that the file will get the “*.reg” extension and not *.reg.txt.
Step 3. Double-click the *.reg file. that you created. Confirm the UAC prompt and click Yes to merge it into the Registry.
Step 4. Restart Windows 10.
Note: You can download these Registry files to save your time.
Disable Windows Defender In Windows 10
The undo tweak is included.
thank you so much…it helps me so much