Here are two ways to prevent Windows 11 from installing Teams and Chat. The newest client OS from Microsoft has a Chat icon in the taskbar that opens the Teams app. However, it is not included in the setup media by default. Windows 11 automatically downloads it shortly after the installation of the system as an APPX package.
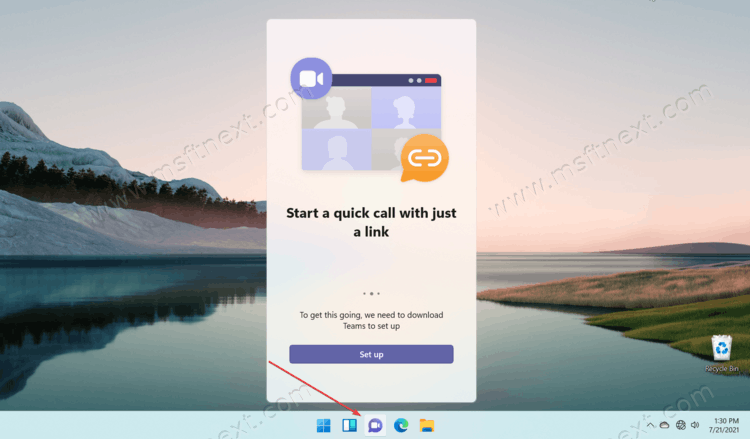
The Chat button in the taskbar simplifies the Microsoft Teams experience. Using the button available right in the taskbar by default, you can start chatting with your friends on Teams with one click. It supports text messages, voice, and video calls. Simply click the Chat button and start a new conversation.
When Microsoft adds a new component to the OS, it often gives IT professionals and consumers options to control over new behavior. Sometimes such options are a group policy, in some cases it is a registry tweak.
For the Chat icon, you can remove it in the Settings app, or by the Configures the Chat icon on the taskbar policy. Obviously, that does not save you from installing Teams.
To stop Windows 11 from downloading the Teams app, you need to modify the Registry and add a special value.
To prevent Windows 11 from installing Microsoft Teams, do the following.
How to prevent Windows 11 from installing Teams
- Download the app NSudo. Select the file
NSudo_All_Components.zipunder the ‘Assets’ section.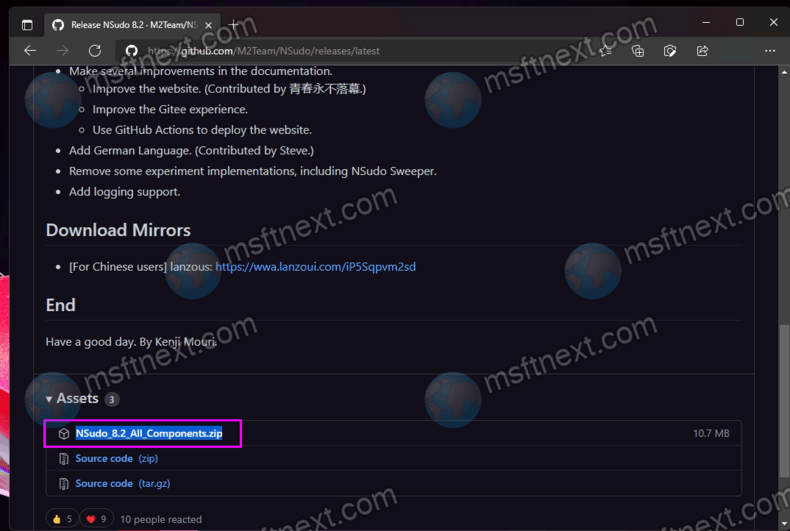
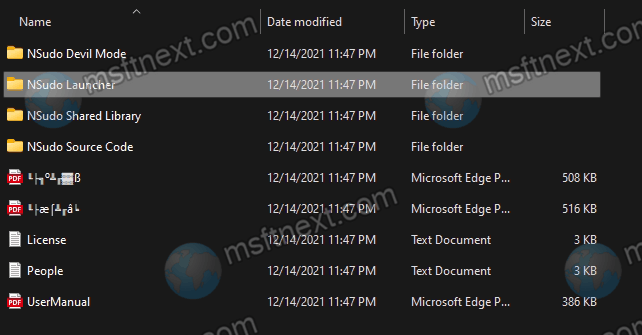
- Extract it to any folder of your choice, such as c:\NSUDO. You will find several directories in it, among which you need NSudo Launcher.
- Run the
nsudo.batfile. - In the ‘Open’ text box, type
cmd.exeand click Run.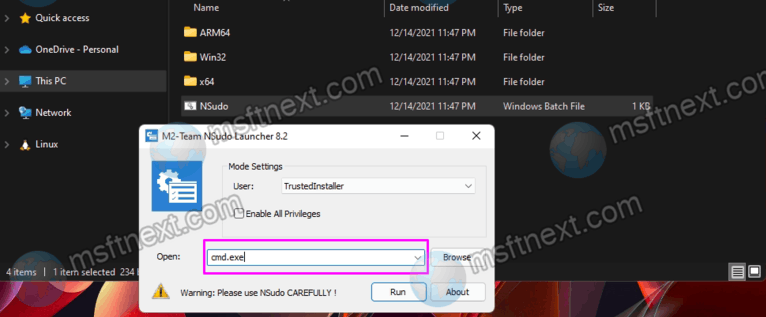
- Finally, in the Command Prompt window, type or copy-paste the following command:
reg add HKLM\Software\Microsoft\Windows\CurrentVersion\Communications /v ConfigureChatAutoInstall /t REG_DWORD /d 0 /f.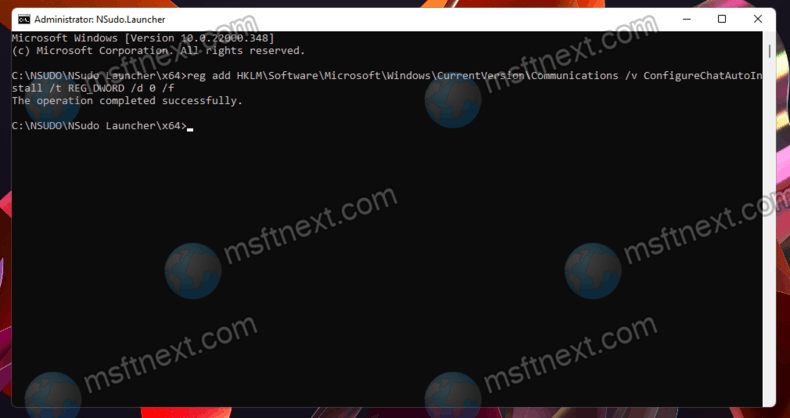
- Hit ↵ Enter to apply the change and prevent Windows 11 from installing Microsoft Teams.
Windows 11 will no longer install the Teams app.
The undo command is reg delete HKLM\Software\Microsoft\Windows\CurrentVersion\Communications /v ConfigureChatAutoInstall /f
Now you may want to hide the chat button from the taskbar.
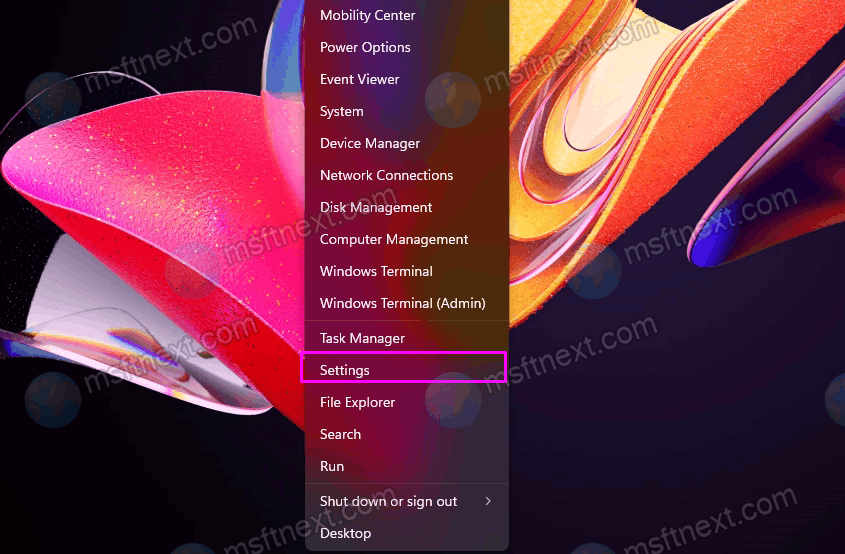
- Right-click the Start button and select ‘Settings’.
- Go to Personalization -> Taskbar.
- On the right side, disable the Chat button switch under the Taskbar Items section.
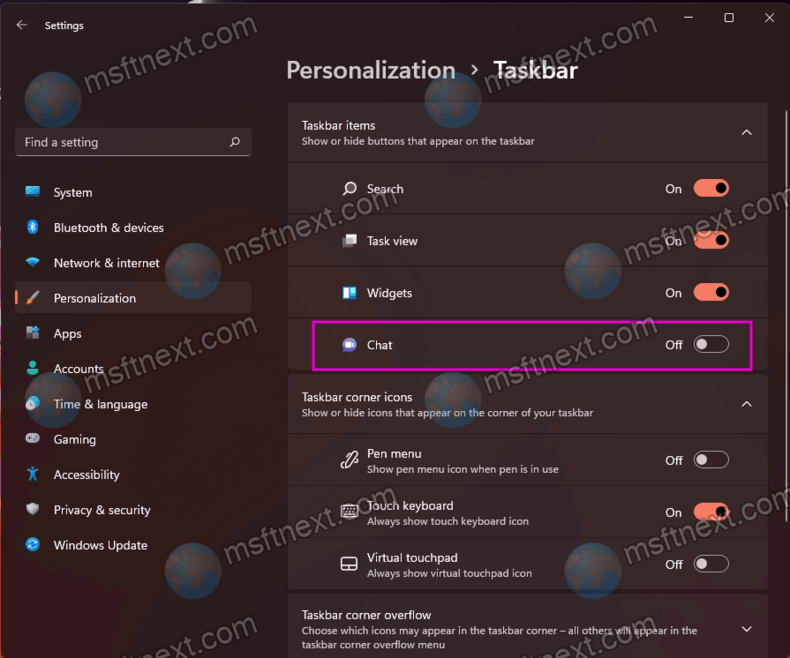
This will hide the chat button for the current user.
Additionally, you can hide the Chat taskbar button for all users by using the group policy mentioned earlier in the text. Simply run the following command as Administrator.
reg add "HKLM\Software\Policies\Microsoft\Windows\Windows Chat" /v ChatIcon /t REG_DWORD /d 2 /f
![]()
Note: To execute the command as administrator, right-click the Start button and select ‘Windows Terminal (Admin).’

Then run the command in the PowerShell or Command Prompt tab.
The undo command is
reg delete "HKLM\Software\Policies\Microsoft\Windows\Windows Chat" /v ChatIcon /f.
Finally, here is some additional information for those who automates Windows 11 Setup.
Disable Teams Automatic Installation with AutoUnattend.xml answers file
If you use an automated setup of Windows 11 with the AutoUnattend.xml file, you can create a special section in you answers file, so Windows 11 won’t download Teams after you install it. No further configuration required.
The ConfigureChatAutoInstall parameter has been added to the Microsoft-Windows-Shell-Setup component. However, it is not mentioned in the documentation yet.
To prevent installation, you can add a feature to the ‘oobeSystem’ or ‘specialize’ pass and set the ConfigureChatAutoInstall parameter to false.
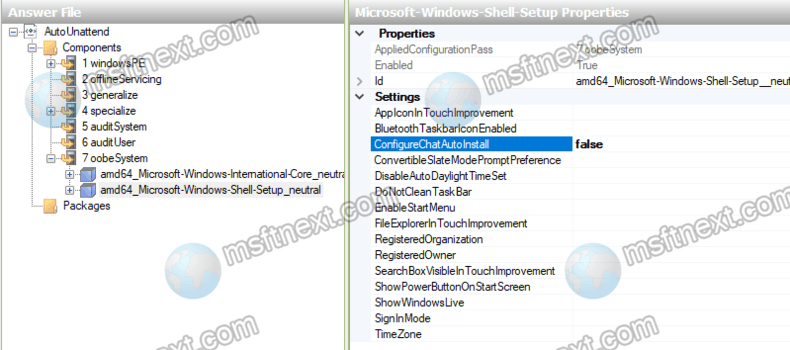
So, your AutoUnattend.xml file must include the following section.
<component name="Microsoft-Windows-Shell-Setup" processorArchitecture="amd64" publicKeyToken="31bf3856ad364e35" language="neutral" versionScope="nonSxS" xmlns:wcm="http://schemas.microsoft.com/WMIConfig/2002/State" xmlns:xsi="http://www.w3.org/2001/XMLSchema-instance"><ConfigureChatAutoInstall>false</ConfigureChatAutoInstall></component>