One of the useful features in Windows 11 and Windows 10 is the ability to create a full shadow copy manually for a drive or partition. If you are not familiar with shadow copies, they are a backup and recovery features of the OS. If some file gets corrupted, Windows can restore it from a shadow copy. As a nice bonus, there is the ability to extract individual files from a shadow copy.
System Restore, the built-in protection mechanism, also relies on shadow copies.
You can open it directly using apps like the ShadowExplorer program or browse them with File Explorer. Prior to Windows 10 version 1903, Window used to include most files to such a drive snapshot. This trick has helped many users many times.
But Windows 10 build 1903 has problems with shadow copies. Files extracted from them often become damaged. The larger the file, the more likely it is to be broken.
That’s because Microsoft deprecated the shadow copy feature, starting in Windows 8, and no longer maintains it. So, the automatically created snapshots will unlikely be fixed by Microsoft.
However, it is too early to say them goodbye. You can create shadow copies in Windows manually.
How to Create a Full Shadow Copy for a Drive or Partition
The simplest way to create a shadow copy of a drive is to use the wmic tool. Do it as follows.
- Right-click the Start button and select Windows Terminal (Admin). On Windows 10, choose PowerShell (admin) instead.

- Type and run the following command
wmic shadowcopy call create Volume=C:\.
- Don’t shut down or restart your computer for 15-20 minutes. While the command finishes instantly, it will take Windows some time to create a shadow copy.
- You can now close Windows Terminal.
Shadow copies created in this way are somewhat different from classic recovery points. Literally, Windows won’t be able to use them for System Restore. That’s because the classic restore point will not be created when the above command is executed.
However, you will be able to extract files from them. There will be no broken files!
You can access the manually created shadow copy from the drive properties of for which you have created it.
Extract a file from the manually created shadow copy
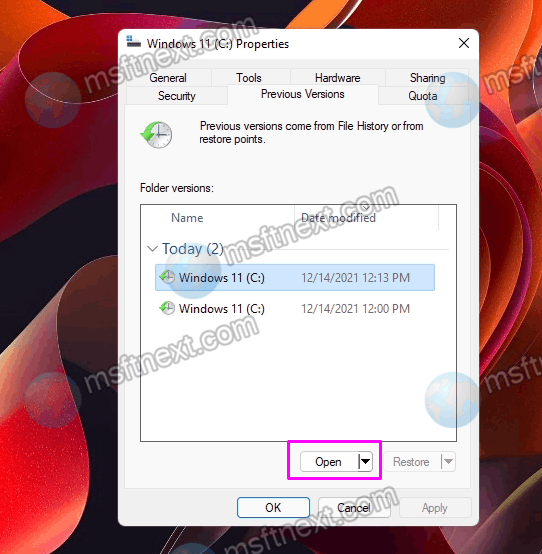
- To extract a specific file, right-click the drive.
- Select the Properties item from the menu.

- Switch to the Previous Versions tab.
- Select the shadow copy with the date you need, and click Open.
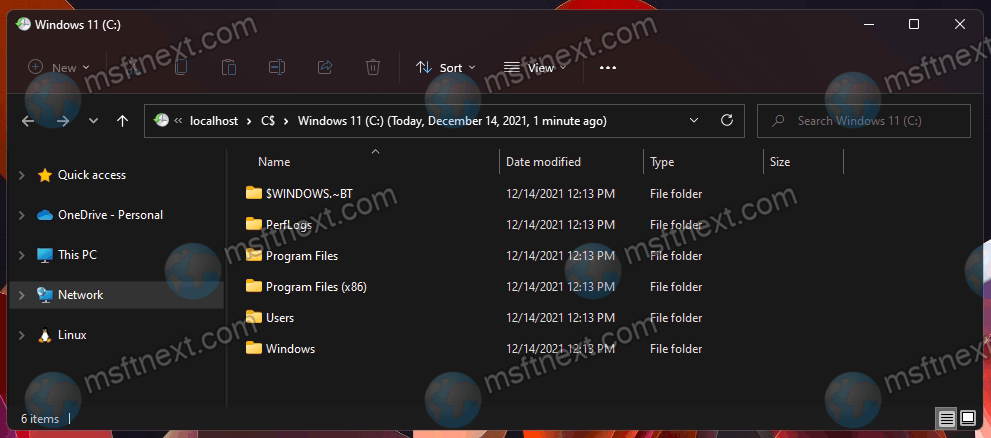
Now you will be able to browse the shadow copy and extract the files it contains.
Check out the following tutorial for extra information on browsing shadow copies: