There are many ways to enable or disable Wi-Fi in Windows 11. In this article, we tried to collect all possible ones.In the vast majority of scenarios, the user does not need to worry about disabling Wi-Fi in Windows 11. Still, there are times when you need to disable Wi-Fi to save battery power or for other reasons. Here’s how to do it.
Enable or disable Wi-Fi in Windows 11
There are several ways to turn Wi-Fi on or off in Windows 11. For example, you can get this done through quick settings, the Settings app, airplane mode, using a physical button on the device, in the Control Panel, Device Manager, and so on. The easiest and fastest way to turn Wi-Fi on or off is to use quick settings.
Turn Wi-Fi on or off in Windows 11 using quick settings
- To open quick settings, press ⊞ Win + A or click on the Internet, volume or battery icon in the notification area.
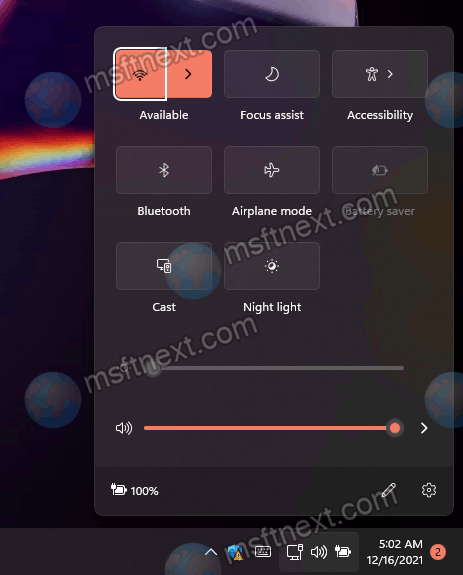
- In the quick settings menu that appears, click on the button with the Wi-Fi icon. This will turn Wi-Fi on or off in Windows 11.
- To connect to an available Wi-Fi network, click on the arrow button to the right of the Wi-Fi icon.
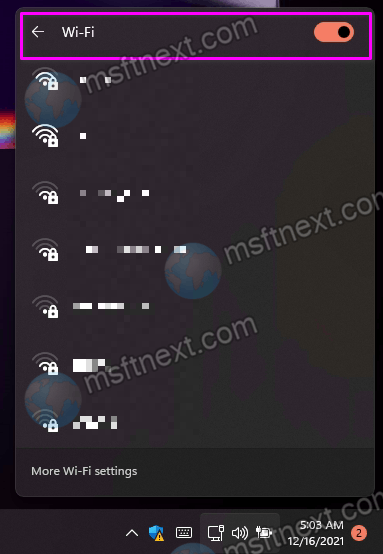
- On the next window, select the network you need and connect to it. There is also an additional Wi-Fi switch that can be used to enable or disable wireless Internet in Windows 11.
Note that when you turn off Wi-Fi in Windows 11 using quick settings, you can specify the time after which the computer will automatically turn Wi-Fi back on. This is a handy feature in case you only need to turn off the Internet for a short time.
A missing Wi-Fi in Windows 11 quick settings
If there is no Wi-Fi indicator in Windows 11 quick settings, you need to check the network adapter driver, as well as the adapter itself in Device Manager (more on this below). If the Wi-Fi settings are present in the Windows 11 settings, but not in the quick settings, you just need to activate the missing switch.
To add Wi-Fi to Windows 11 Quick Settings, do the following.
- Press ⊞ Win + A and click on the button with the pencil icon.

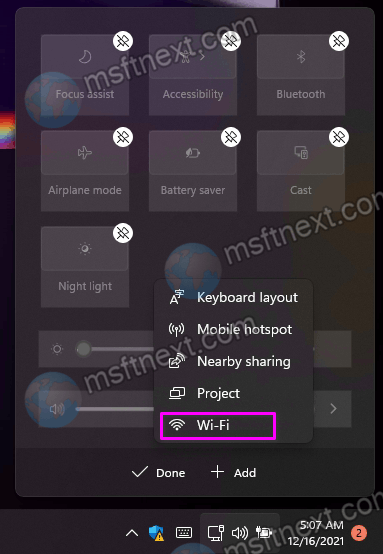
- Click the Add button and then select Wi-Fi.
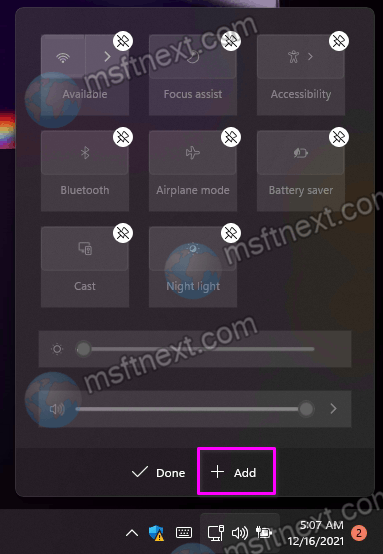
- Save your changes by clicking the Done button.
Now you have the Wi-Fi button in quick settings.
How to enable or disable Wi-Fi in Windows 11 settings
- On your keyboard, press the ⊞ Win + I buttons to launch the Settings app.
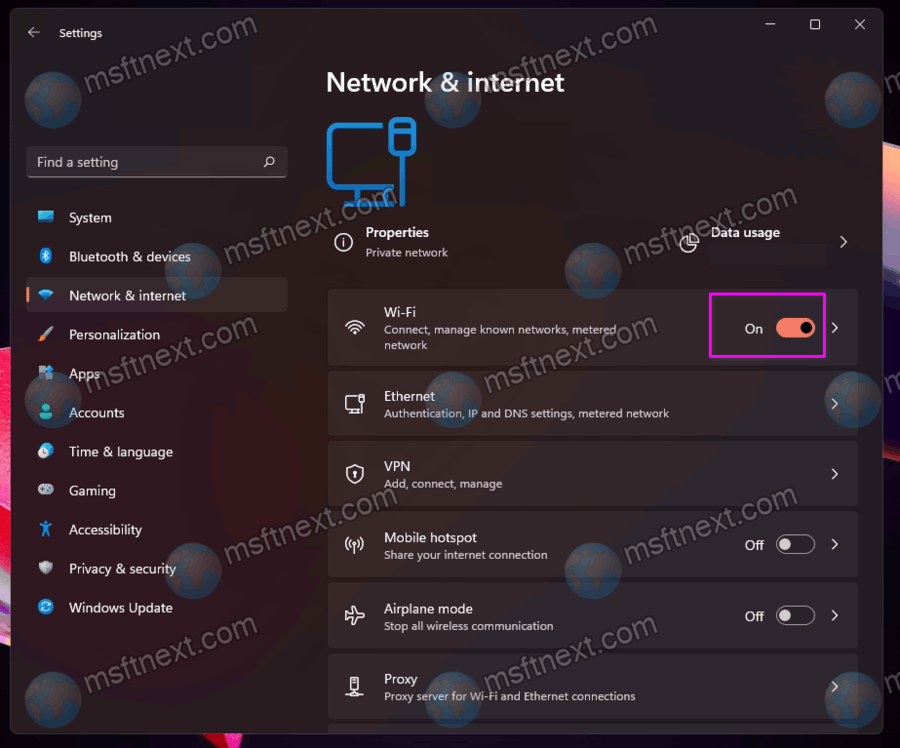
- Go to Network & Internet and then find Wi-Fi.
- Click on the switch to the right of Wi-Fi.
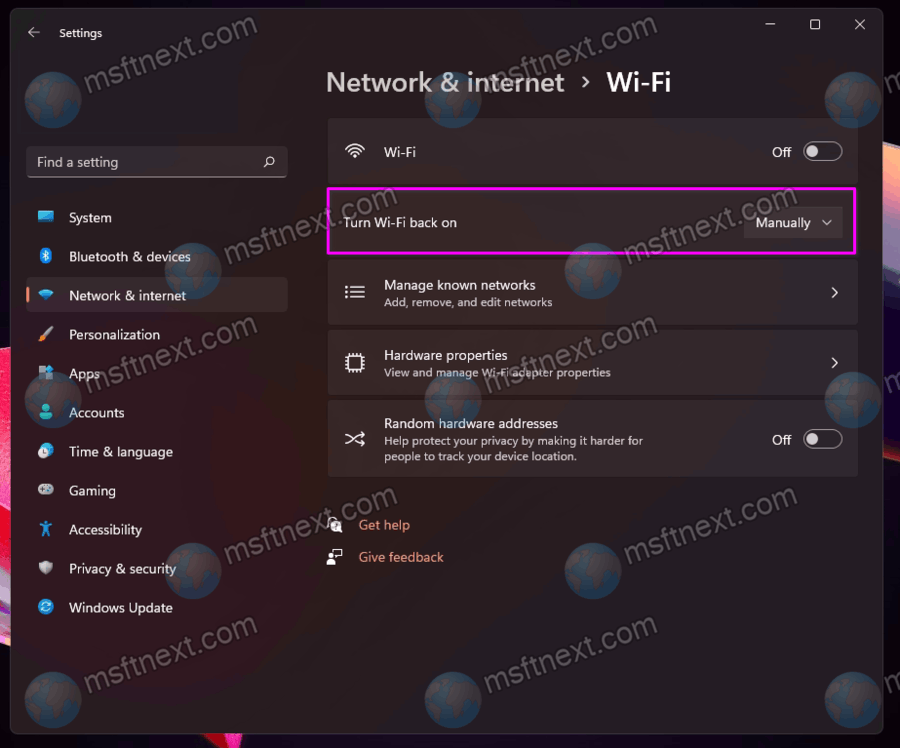
- After turning off, you can specify the time when the system will turn on Wi-Fi again. To do this, click on Wi-Fi, and then select the time after which Windows should activate Wi-Fi again.
Many laptops and tablets have physical wireless switches to turn Wi-Fi on or off. These switches are often combined with the Fn and F1 –F12 function keys. There are also combinations with the PrintScreen button. Look closely at the keyboard of your device and look for an antenna indicator with outgoing signals on it.

On older laptops or tablet devices for the corporate segment, there may be a physical switch at the edge.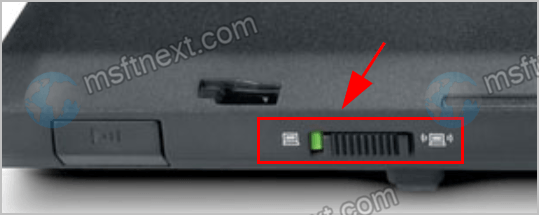
Another way to disable Wi-Fi in Windows 11 is to disable the adapter itself. In this case, all references to Wi-Fi will disappear from Windows 11 and you will not be able to turn on the wireless Internet until you turn the adapter back on.
How to disable Wi-Fi adapter in Windows 11
- Press ⊞ Win + I to launch the Settings app.
- Go to Network & Internet and then click Advanced network settings.
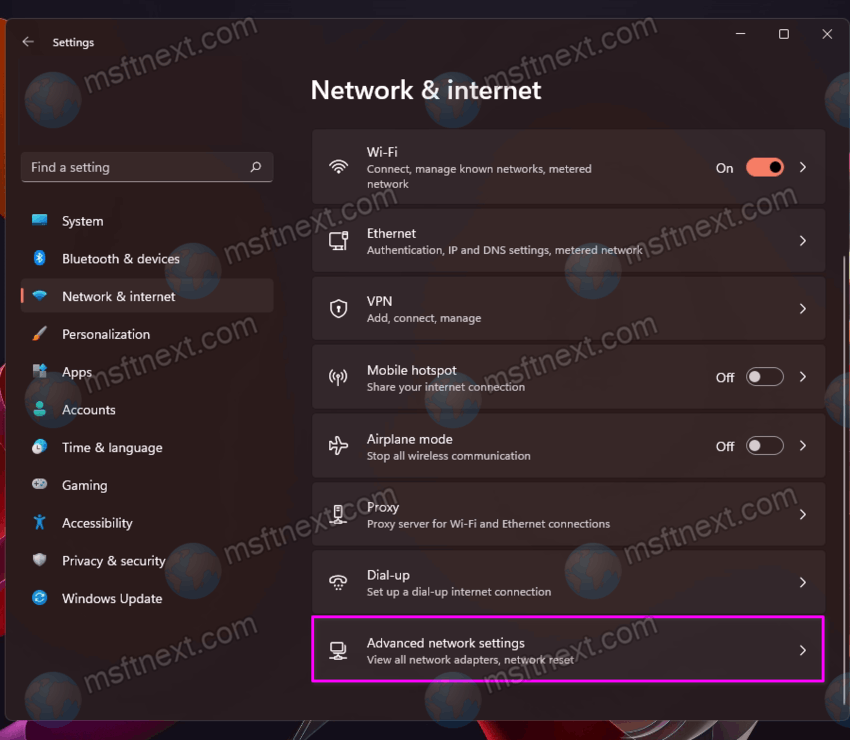
- Select Disable to the right of Wi-Fi.
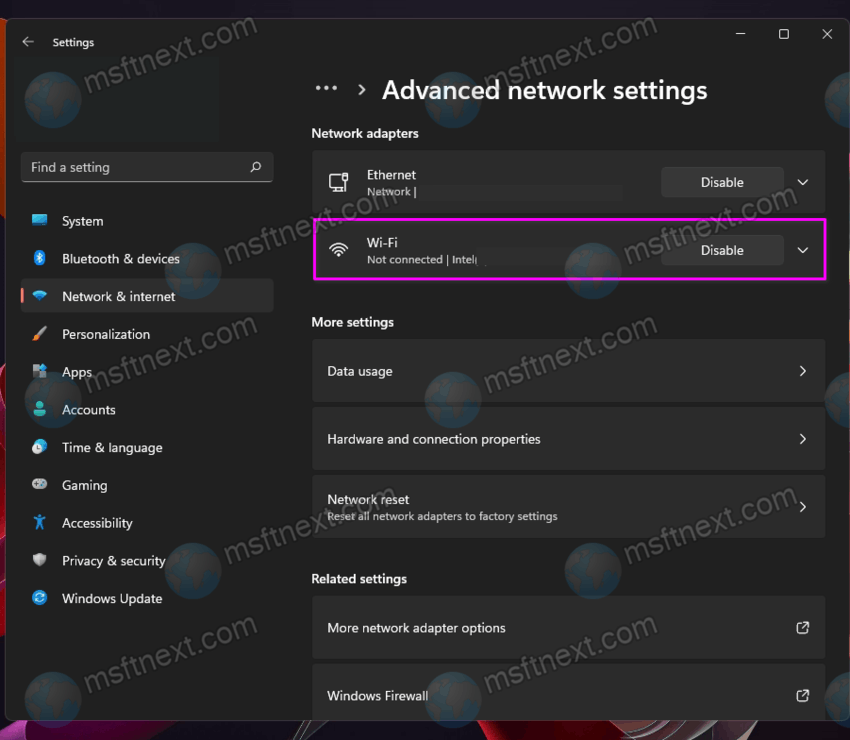
- To re-enable the Wi-Fi adapter, you just need to click the Enable button.
The good old Control Panel can also turn Wi-Fi on or off in Windows 11.
How to turn off Wi-Fi in Windows 11 using Control Panel
- Press ⊞ Win + R and enter the
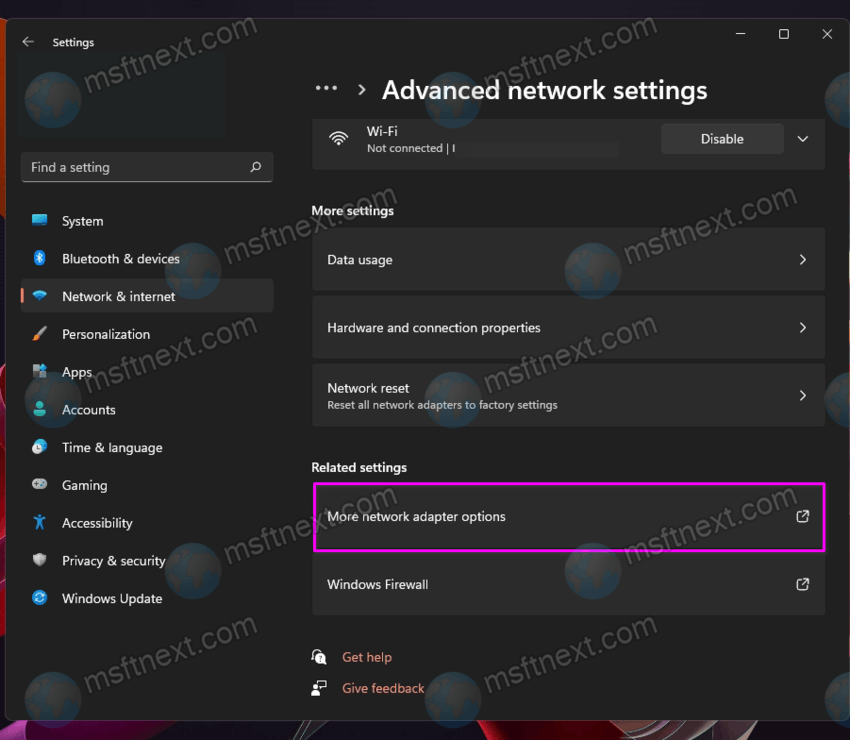
ncpa.cplcommand. - Alternatively, open Windows Settings and go to Network & Internet> Advanced network settings.
- Click More Network Adapter Settings.
- In the new window, find your Wi-Fi adapter and right click on it. Select Disable.
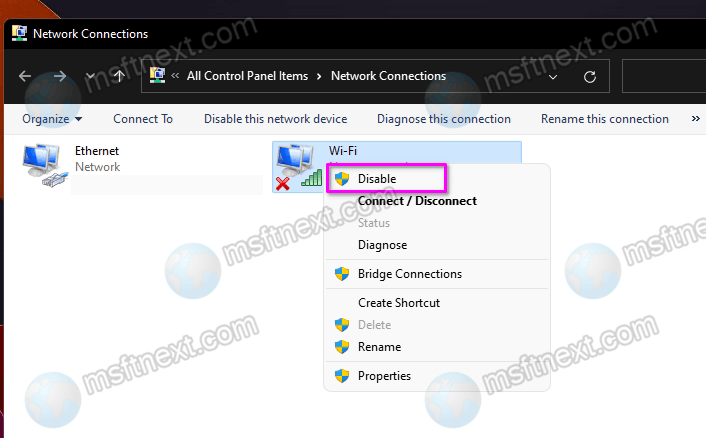
- To enable Wi-Fi using Control Panel, right-click on the adapter and select Enable.
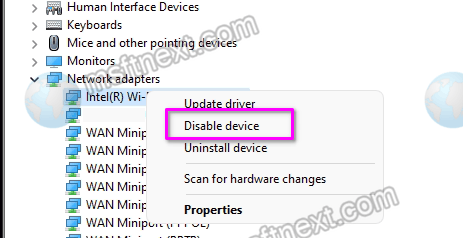
How to turn off Wi-Fi in Device Manager
- Right-click on the Start button and select Device Manager.
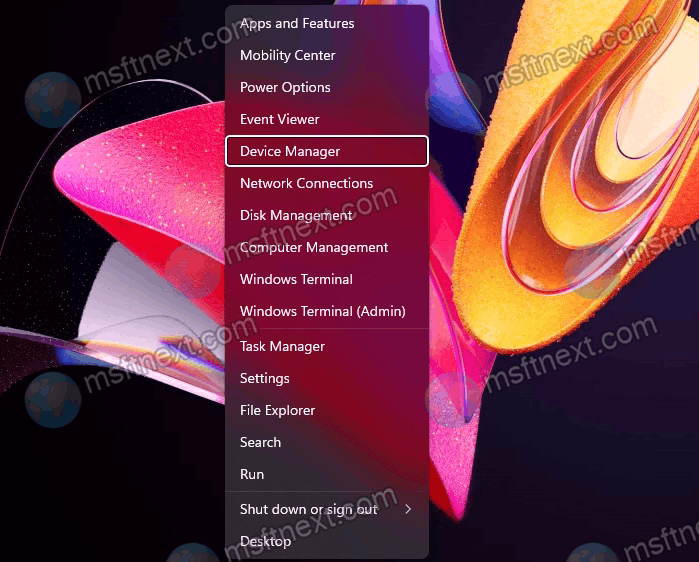
- In Device Manager, expand the Network adapters branch and find your Wi-Fi adapter.
- Right click on the adapter and select Disable device. Again, after disconnecting the adapter, you won’t be able to control Wi-Fi using the Settings app, quick settings, or other methods.
- To turn on Wi-Fi in Device Manager, right-click on the adapter and select Enable device.

How to turn off Wi-Fi using Airplane Mode
Airplane mode can disable all wireless modules in your computer. These are Wi-Fi, Bluetooth, Xbox Wireless, NFC and others. Press ⊞ Win + A and in the menu that appears, click Airplane mode.
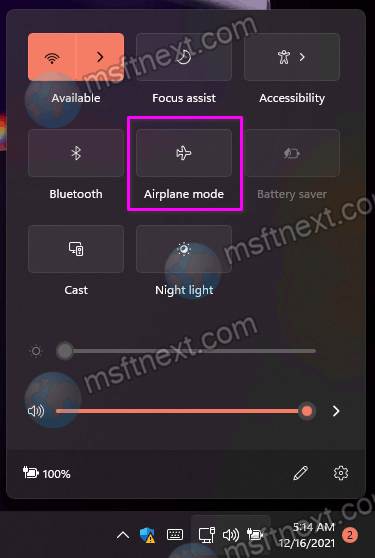
Turning off airplane mode will turn Wi-Fi back on.
Now you know all the ways to turn Wi-Fi on or off in Windows 11.