How to Create a New VHD or VHDX File in Windows 10
Windows 8 and Windows 10 are two operating systems that supports virtual disks without installing extra apps. The OS is able to recognize and use ISO, VHD and VHDX files with a single click in File Explorer. For ISO files, Windows 10 creates a virtual DVD drive. For VHD and VHDX files, Windows 10 creates a virtual drive that appears like a regular partition under This PC folder.
The Virtual Hard Disk (VHD) file format allows encapsulation of the hard disk into an individual file for use by the operating system as a virtual disk in all the same ways physical hard disks are used. These virtual disks are capable of hosting native file systems (NTFS, FAT, exFAT, and UDFS) while supporting standard disk and file operations. The maximum size of a VHD file is 2,040 GB.
VHDX is an update to the VHD file format which adds a larger storage capacity than its predecessor. It also includes data corruption protection during power failures and optimizes structural alignments of dynamic and differencing disks to prevent performance degradation on new, large-sector physical disks. It supports for virtual hard disk storage capacity of up to 64 TB.
Windows 10 supports two virtual disk types:
- Fixed—The VHD image file is pre-allocated on the physical storage for the maximum size requested.
- Expandable—Also known as “dynamic”, “dynamically expandable”, and “sparse”, the VHD image file uses only as much space on the backing store as needed to store the actual data the virtual disk currently contains. When creating this type of virtual disk, it doesn’t test for free space available on the physical disk based on the maximum size requested. This allows creating a dynamic virtual disk with a maximum size larger than the available physical disk free space.
Windows 10 has a few tools that can use to create a new VHD or VHDX file, all reviewed below. After that, you can assign the file(s) you created to a virtual machine or mount to the running system.
To Create a New VHD or VHDX File in Windows 10
- Press the Win + X keys together the keyboard.
- From the menu, select Disk Management.
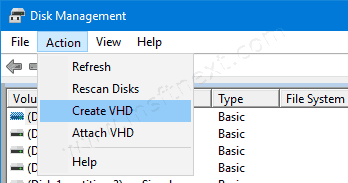
- In Disk Management, select Action > Create VHD from the menu.
- Click on the Browse button to specify the desired VHD(X) file location.
- Enter a file size you want to create a VHD file of.
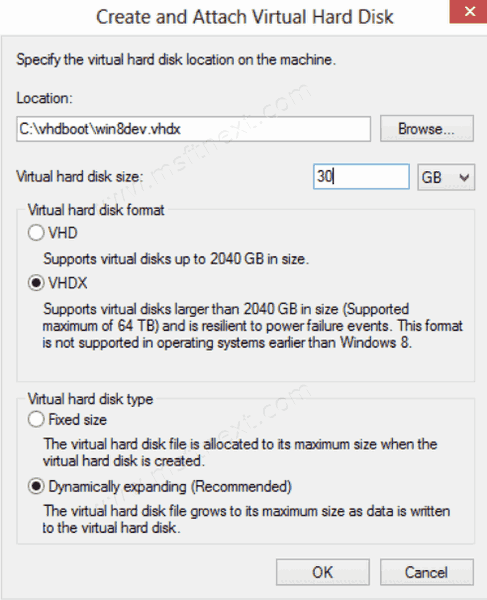
- Select the file type (VHD or VHDX).
- Select Fixed size or Dynamically expanding according to what works best in your case.
- Click OK and you are done.
Congrats, you just created your first VHD file. The disk will appear in the Disk Management console.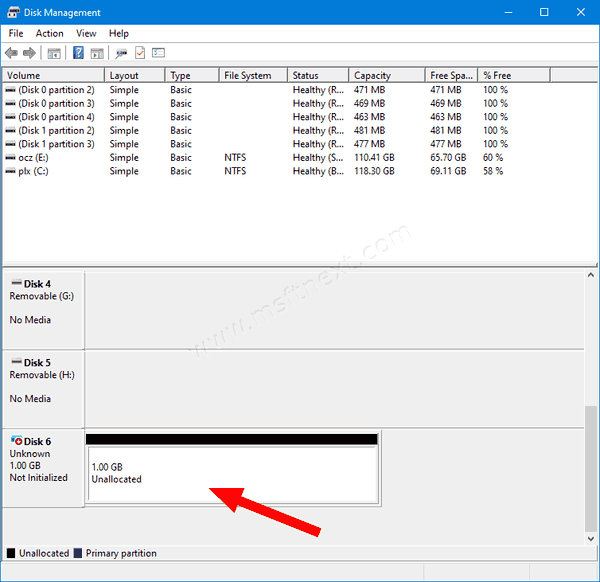
There are alternative options that you can use to create a new VHD file.
Create VHD(X) File using Hyper-V Manager
- Open the Hyper-V Manager app (Win + R > type
virtmgmt.mscinto the Run box). - Select a server on the left.
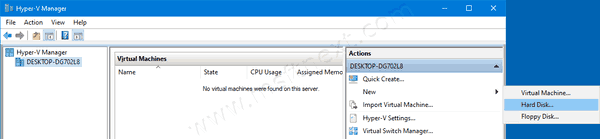
- On the right, click on New under Actions, and select Hard Disk.
- Click Next in the virtual disk wizard dialog.
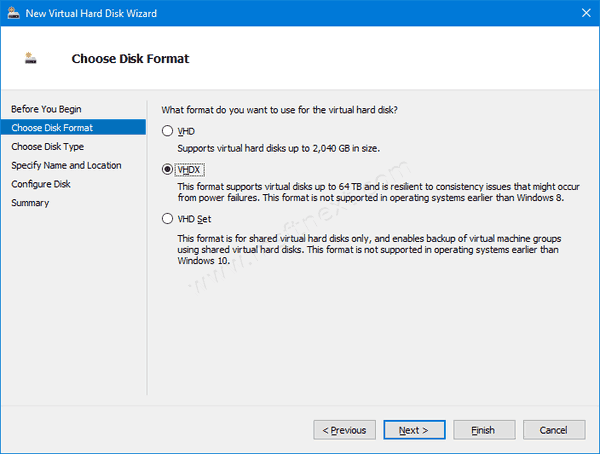
- Select VHD or VHDX for the disk format.
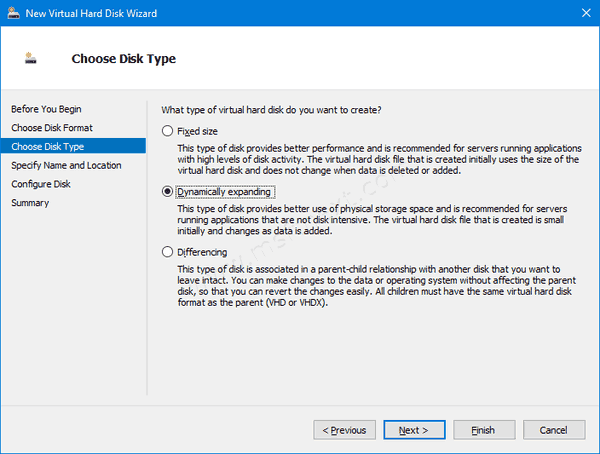
- Select Fixed size or Dynamically expanding for the disk type you want.
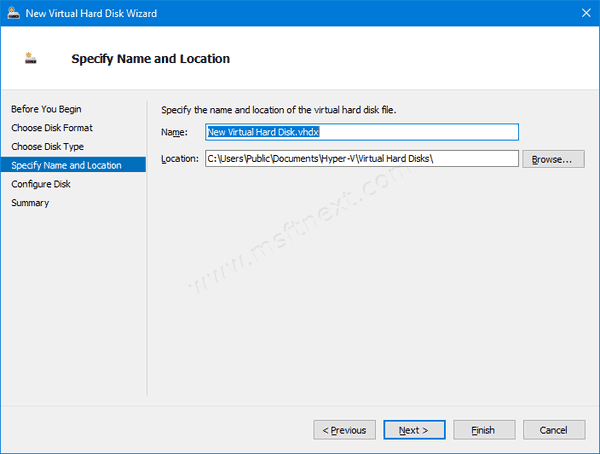
- Next, specify the directory path and the file name for your new VHD file.
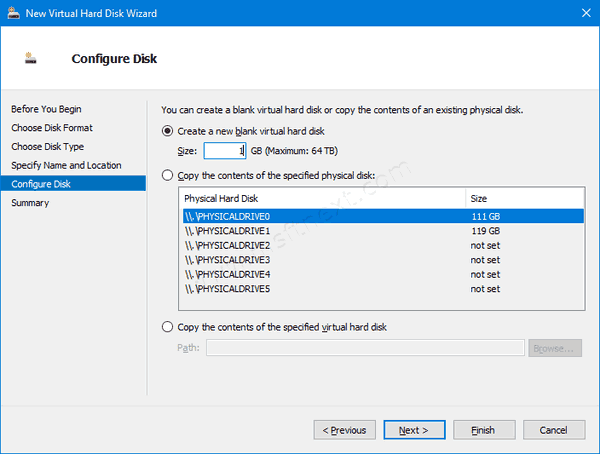
- Select Create a new blank virtual hard disk and enter the desired disk size in GB.
- Verify that everything is correct, and click on Finish.

You are done.
Now, let’s look on how it can be done with PowerShell.
Note: These PowerShell commands work only when the Hyper-V feature is enabled.
Create New VHD(X) File Using PowerShell
- Open PowerShell as Administrator.
- Execute te following command to create a fixed size VHD file:
New-VHD -Path "Full\path\to\vhd\file" -Fixed -SizeBytes <size>. - To create a dynamically expanding VHD, issue the command New-VHD -Path “Full path of .vhd or .vhdx location” -Dynamic -SizeBytes <size>.
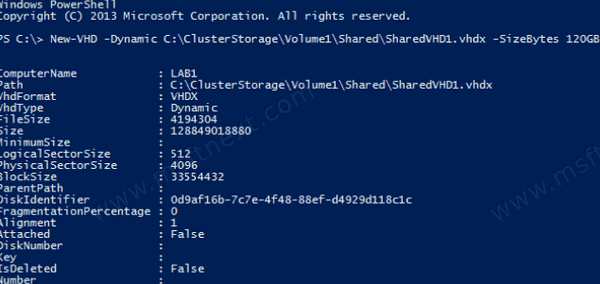
- Substitute
Full\path\to\vhd\filewith the actual full path of the .vhd or .vhdx file where you want to store it. - Substitute <size> with the maximum size (ex: “1GB”) you want for the .vhd or .vhdx file. This can be expressed as in MB, GB, or TB.
Also, you can use the DiskPart tool to create a new VHD(X) file in Windows 10. Here’s how.
Create New VHD or VHDX File with DiskPart
- Press Win + R shortcut keys on the keyboard to open the Run dialog.
- Type
diskpartinto the Run box and hit the Enter key. Confirm the UAC prompt.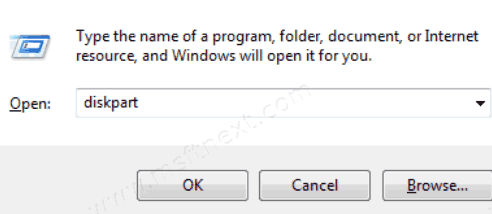
- Type the following command:
create vdisk file="Full\path\to\vhd\file" maximum=<size> type=fixed. This will create a new fixed size VHD. - To create a dynamically expanding VHD/VHDX file, execute the command:
create vdisk file="Full\path\to\vhd\file" maximum=<size> type=expandable.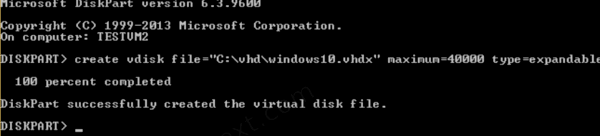
- Substitute
Full\path\to\vhd\filewith the actual full path of the .vhd or .vhdx file for where you want to store it at. - Substitute <size> with the maximum size you want for the .vhd or .vhdx file in megabytes. E.g. 1024 for 1GB.
You are done.
Regardless of the method you used to create a VHD file, you need to create a file system on it in order to store some data on it, e.g. install an operating system or just copy some files. Here is how it can be done.
To Create File System on VHD or VHDX File,
- Press the Win + X keys together on the keyboard. See the list of shortcuts with the Win key available in Windows 10.
- From the menu, select Disk Management.
- If you do not see you VHD in the list, then select Action > Attach VHD from the menu.
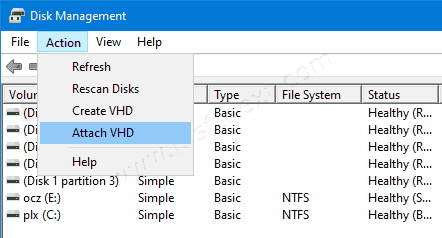
- Browse for you VHD file and click OK. Do not check the “read only” option.
- The VHD file will appear as a new drive in the list.
- Right-click the attached VHD file, and select Initialize Disk from the context menu.
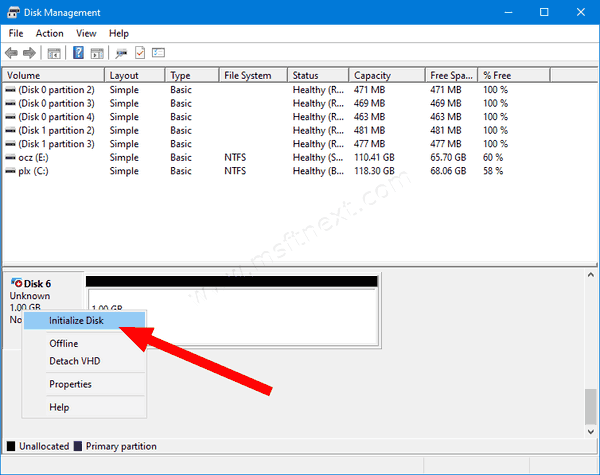
- Select MBR or GPT for the partition style and click OK.

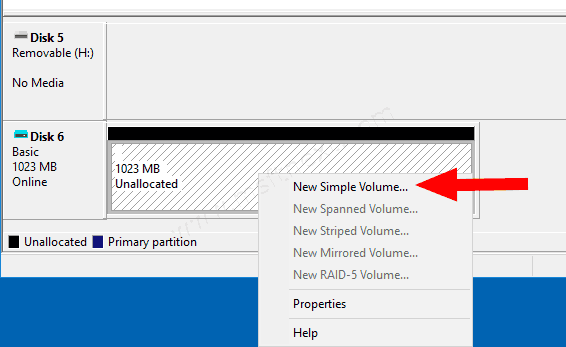
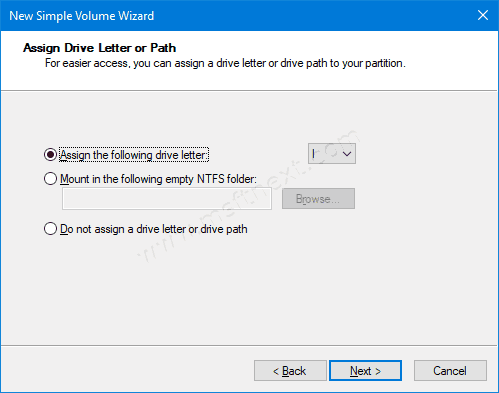
- Right-click the unallocated space on your virtual drive and select New Simple Volume...
- Select the partition size, file system, and specify the volume label for the new partition.
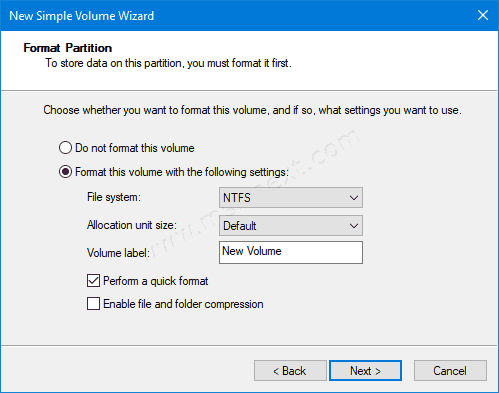
- Now your VHD file is ready for regular tasks.
Alternatively, you can create the file system for your drive with DiskPart.
Create File System on VHD or VHDX File with DiskPart
- Press Win + R shortcut keys on the keyboard to open the Run dialog.
- Type
diskpartinto the Run box and hit the Enter key. Confirm the UAC prompt. - In the diskpart prompt, type and run the command
select vdisk file="Full path of .vhd or .vhdx location".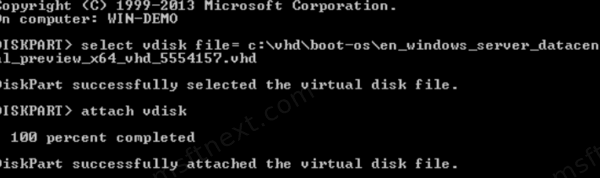
- Type and run the command
attach vdisk. - Create a new partition on the VHD using the following command:
create partition primary.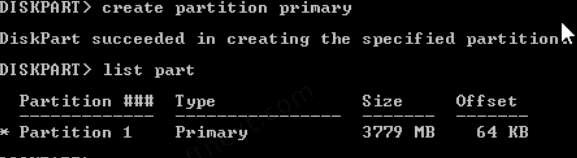
- Format the partition using the command
format fs=FILE_SYSTEM_NAME label="disk label of your choice" quick. - Substitute FILE_SYSTEM_NAME with either FAT, FAT32, or NTFS. NTFS is strongly recommended.
- Replace
"disk label of your choice"with some meaningful name, e.g. “my first VHD”.
- To make the partition you have created on VHD visible in File Explorer, issue the command
assign. Windows will assign any available drive letter automatically to the partition. - Instead, you can execute the command
assign letter=<Drive letter>(e.g.assign letter=Z) to make Windows assign a specific drive letter to the partition on your VHD.
You are done. The drive is now visible in File Explorer and is ready for use.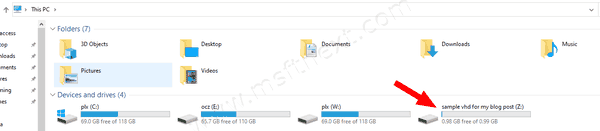
That’s it!