How to Disable ‘These Files Might Be Harmful to Your Computer’ Message in Windows 10
When you connect to a network share by making a network drive from a remote folder, and accessing it by IP address of the server, Windows 10 show a message These Files Might Be Harmful to Your Computer once you open a file stored there. You may want to get rid of that annoying message.
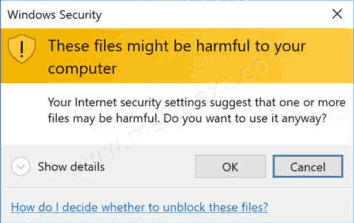
The warning message usually appears when you copy from the mapped network drive to your local drive when a remote location is mapped by an IP address. If you click on the OK button, the dialog will be closed and your files will be copied. This can be very annoying when you need to copy many files.
Fortunately, there are network options you can change so Windows 10 will consider the network location as a safe file source!
To Disable These Files Might Be Harmful to Your Computer Message,
- Open the classic Control Panel app.
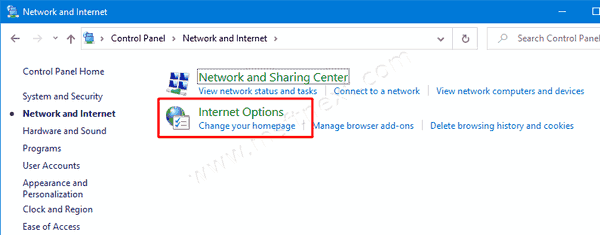
- Navigate to Control Panel > Network and Internet > Internet Options.
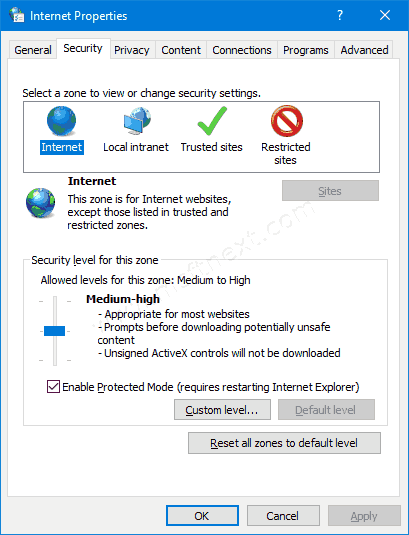
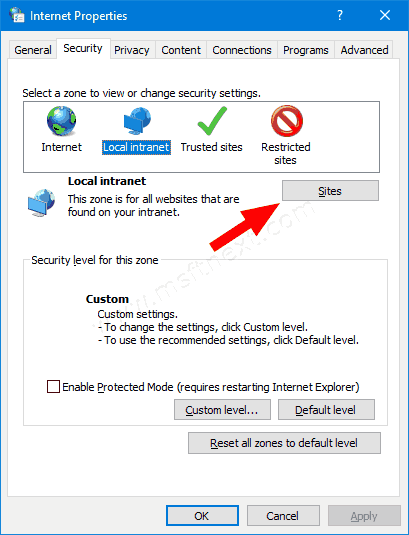
- Switch to the Security tab in the Internet Properties dialog.
- Click on the Local Intranet icon to select it.
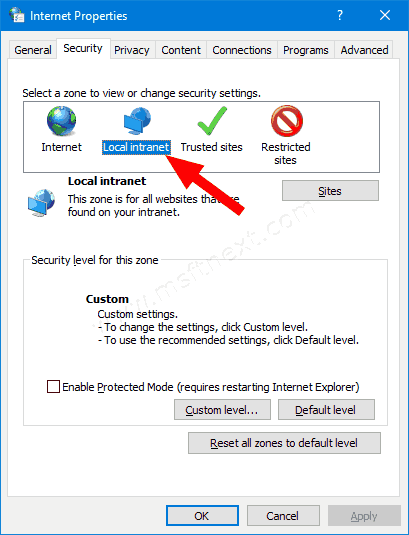
- Now, click on the Sites button.
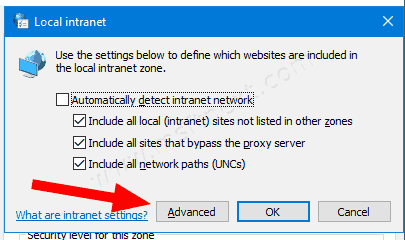
- In the next dialog titled Local Intranet, click on the Advanced button.
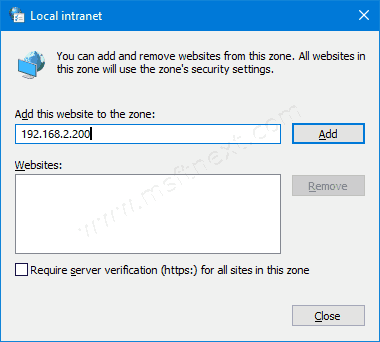
- In the next dialog type the IP address of the mapped network location into the Add this website to the zone box, and click on Add.
- Click on Close, and close other dialog boxes.
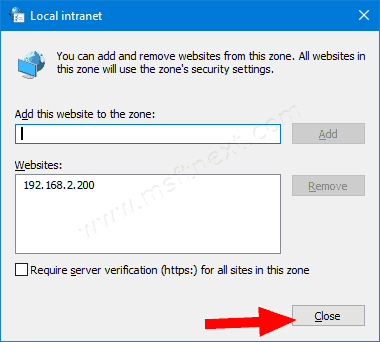
This makes Windows 10 trust the specified network computer on your local network, so it won’t display the annoying warning dialog every time you copy or move files from there.
It is worth mentioning that instead of the exact IP address of a remote PC, you can specify a wildcard, like 192.168.2.*. In this case Windows 10 will trust to all PCs with IP addresses from 192.168.2.1 to 192.168.2.255.
Note: The same method works in Windows 8, Windows 8.1 and Windows 7.