The Quick Launch toolbar is the classic feature of the taskbar in Windows. This useful toolbar was first introduced with Windows 95 OSR 2.5 and Internet Explorer 4.5. It was located next to the Start button. It was enabled by default for the last time in Windows Vista, but with the release of Windows 7, the Quick Launch toolbar was replaced with the ability to pin app icons to the taskbar.
However, Quick Launch hasn’t been completely removed. If you want, you can restore and use it in Windows 10.
Unfortunately, it is not so easy for a novice user. The procedure involves several steps. Let’s review them.
Enable the Quick Launch to the taskbar in Windows 10
There are a number of reasons why you might want to enable Quick Launch.
- Even if you set pinned icons to a small size, they are still spaced too far apart from one another.
- The taskbar mixes running programs with non-running ones, whereas if you use the Quick Launch toolbar, running programs will always appear to its right.
- Quick Launch has a more customizable appearance; you can easily put any shortcut or folder there. You can change their icons, have multiple rows of icons if you make the taskbar larger, and save overall space on the taskbar.
To enable Quick Launch in Windows 10, do the following.
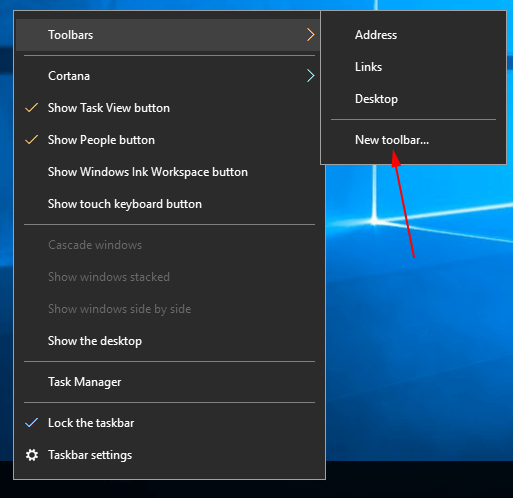
- Right click on an empty space of the taskbar.
- In the menu, select ‘Toolbars -> New Toolbar…’.
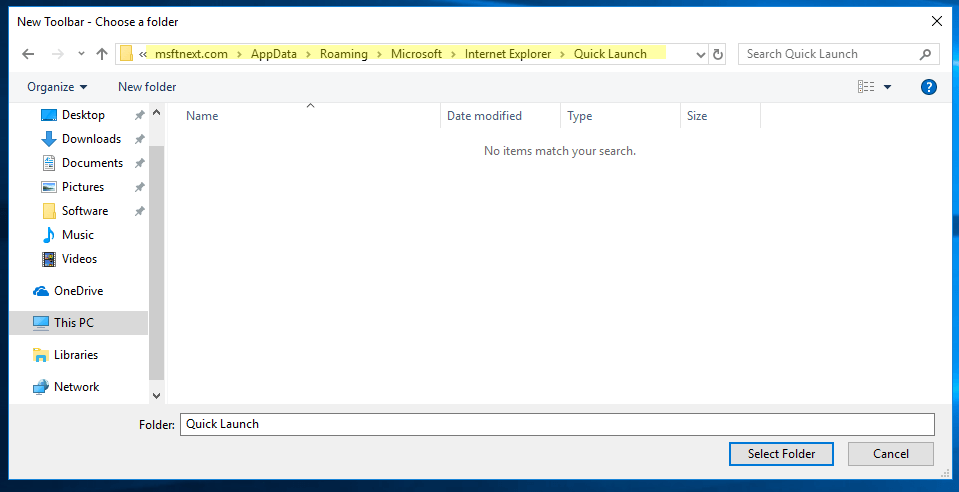
- In the ‘Choose a folder’ dialog, go to the folder
C:\Users\YOUR USER NAME\AppData\Roaming\Microsoft\Internet Explorer\Quick Launch.
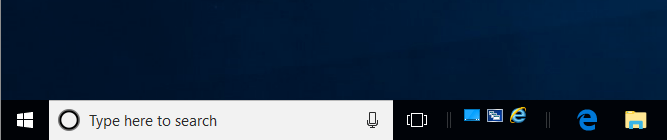
Tip: You can save your time. Just copy-paste the textshell:Quick Launchinto the ‘Folder’ text box in the dialog above and then press Enter. See the list of Shell commands in Windows 10 for reference. - The Quick Launch toolbar is now added to the taskbar.
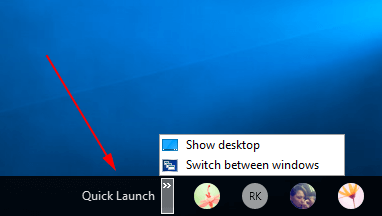
By default, it is locked to the right side of the taskbar and has a title. Here is how you can customize it.
Customize the Quick Launch toolbar in Windows 10
Right click on the taskbar and untick the item ‘Lock the taskbar’.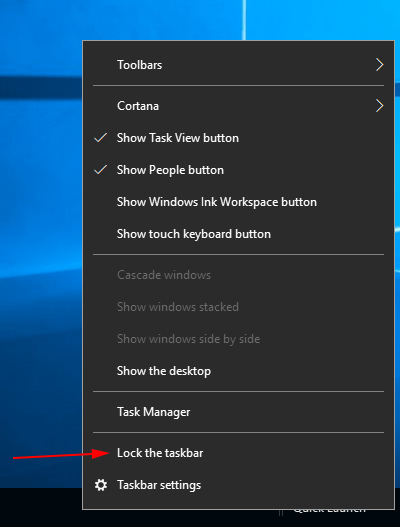
drag the Quick Launch toolbar from the right to the left, using the dotted bar which appears after your have unlocked the taskbar. Drag all the way to the left of any pinned icons you may have.

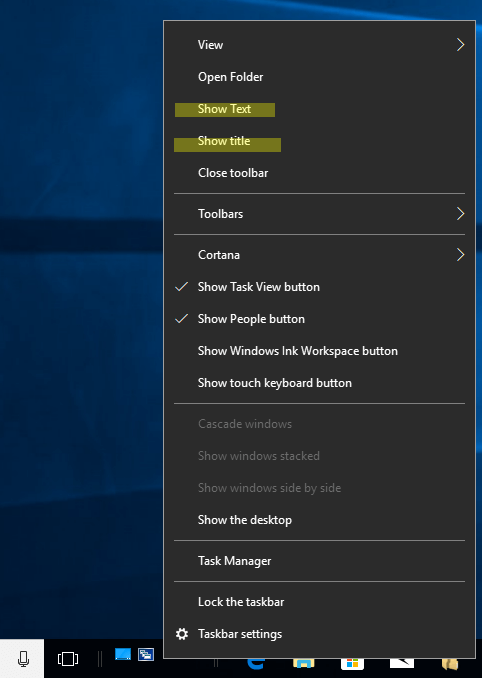
After that, right click on the Quick Launch toolbar and untick the following options:
- Show title
- Show text
That’s it. Now you have the Quick Launch toolbar with the classic look enabled in Windows 10.