Disable .NET Core updates in Windows Update
Starting in December 2020, Microsoft will deliver .NET Core updates on Windows via Microsoft (Windows) Update. This change will allow organizations to manage .NET Core updates the same way they currently manage .NET Framework updates.
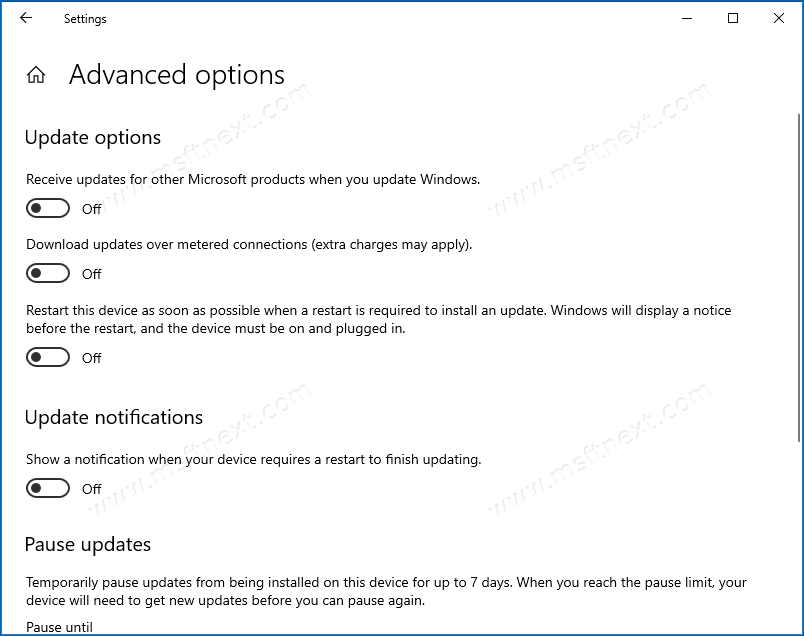
Microsoft updates is the service that delivers updates to all Microsoft products. In Windows 10, it can be enabled in Settings > Update & security > Windows Update > Advanced options. It is disabled by default in my Windows 10. The option is called Receive updates for other Microsoft products when you update Windows.
The firm says that if you don’t want to use Microsoft Update to update .NET on your devices, you don’t have to, and can continue using one of the existing options.
.NET Core update installation in Windows 10
Earlier, updates for .NET Core were not available via Microsoft Update because of customer feedback around potentially breaking apps. That feedback was collected from .NET Framework users. .NET Framework updates were installed in-place rather than side-by-side.
However. .NET Core updates always install side-by-side, including major and minor releases. Only monthly servicing updates install in-place and replace previous servicing updates.
Here is how it will work for .NET Core updates.
- Devices will receive .NET Core updates from Microsoft Update.
- Unlike .NET Framework, .NET Core is an independent software and is not a component of Windows.
- Only the latest service release will be available in the OS. It will replace all previously installed minor releases. E.g. version 3.1.5 will replace anything 3.1.x older.
- Microsoft Update doesn’t include pre-release .NET Core versions.
This post will show you how to disable .NET Core updates for all or individual versions if you are not interested in installing them.
How to Disable .NET Core updates in Windows Update
Step 1 Open the Registry app.
Step 2 Browse to the following key: HKEY_LOCAL_MACHINE\SOFTWARE\Microsoft\.NET.
Step 3 Create a new 32-bit dword value BlockMU and set it to 1 to block .NET Core updates for all its versions.
Step 4 Restart the computer.
This will allow you to receive updates to other Microsoft products but exclude .NET Core from those updates.
Also, it is possible to block updates for individual .NET Core versions.
Block updates for individual .NET Core versions
Step 1 Open the Registry app.
Step 2 Open either one of the following keys:
- For .NET Core 5 –
HKEY_LOCAL_MACHINE\SOFTWARE\Microsoft\.NET\5.0 - For .NET Core 3.1 –
HKEY_LOCAL_MACHINE\SOFTWARE\Microsoft\.NET\3.1 - For .NET Core 2.1 –
HKEY_LOCAL_MACHINE\SOFTWARE\Microsoft\.NET\2.1
Step 3 Under the above key(s), create a 32-bit DWORD value BlockMU and set it to 1.
Step 4 Restart the computer.
The above Registry options is a nice option for users who want to receive updates for installed Microsoft products, but want to exclude .NET Core updates from being installed automatically. Users who want receive updates only for Windows, may turn off the above mentioned Receive updates for other Microsoft products when you update Windows option. This way they won’t receive .NET Core updates too.
More details on this change can be found in the official announcement.