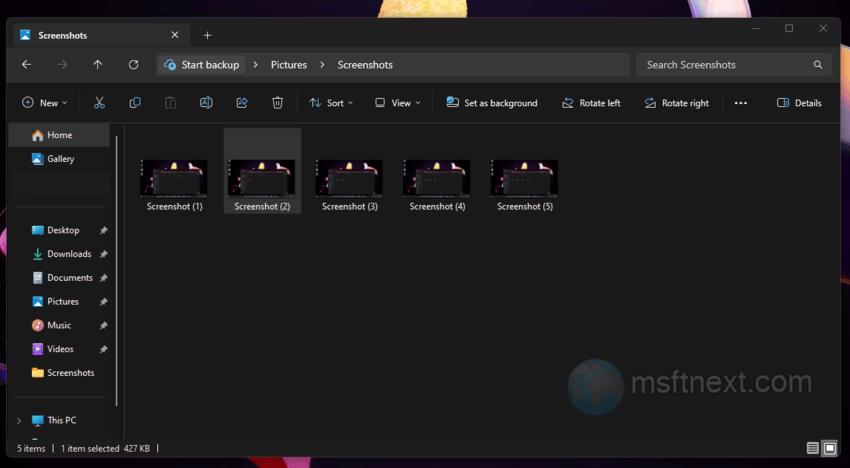
In Windows 11, there are at least two ways to create screenshots. You can use the preintalled Snipping Tool and the ⊞ Win + PrintScreen key combination. The last method is the most convenient and fastest, since it does not bring up additional confirmations in dialog boxes. PNG screenshots will be saved to the %userprofile%\Pictures\Screenshots directory and are named “Screenshot (X)” , where X is the image number.
Note: To capture an active window, use the ⊞ Win + PrintScreen + Alt hotkey. But in recent versions of Windows 10 and 11 it is controlled by the Xbox app . The screenshots created with it are saved to the %userprofile%\Videos\Captures folder and are called “Screenshots date time”.
By default, Windows remembers the index of the last screenshot. If you remove the file having that index, the next one will not use the deleted file number.

To clarify, when deleting a folder with 10 screenshots, the subsequent screenshot will be labeled as “Screenshot (11)” instead of “Screenshot (1)”. Resetting the screenshot counter requires modifying the registry settings.
Reset the screenshot index
- Open the registry editor with the
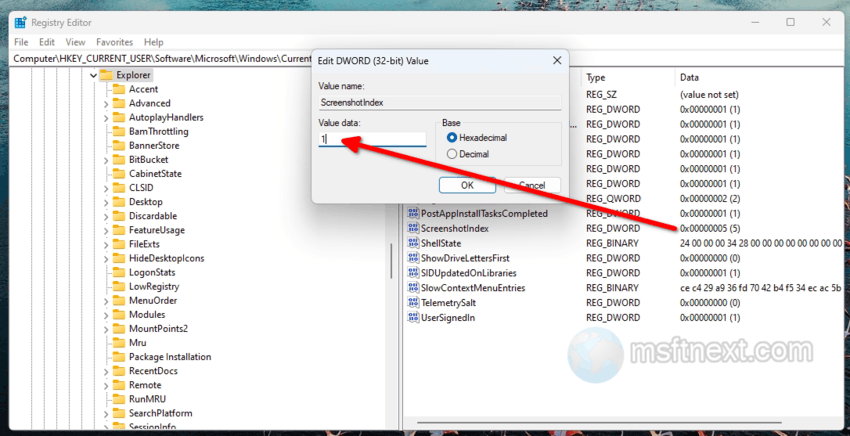
regeditcommand - Now go to the HKCU\Software\Microsoft\Windows\CurrentVersion\Explorer branch.
- On the right, find the ScreenshotIndex DWORD value and set its value to 1. This will reset the screenshot counter.

reset screenshot index - If necessary, you can set it to any number a starting point, just remember to switch to the decimal number system in the value editing window in this case.That is all.
However, please note that resetting the counter will not affect existing files.
For instance, if there is already a screenshot named “Screenshot (1)” in the Screenshots folder, changing the value of the ScreenshotIndex parameter to 1 will result in the subsequent screenshot being named “Screenshot (2)”. In other words, if such a file already exists, the index will automatically increment by one.
