How to Reset DNS Cache in Windows 10
The DNS cache is one of the important network parameters which allows you to browse the Internet and resolve remote computer names faster. This post explains what is DNS, and why and how you can reset its cache.
DNS stands for Domain Name System. A Domain Name System is a service that allows you to type a friendly domain name in the web browser to load a web page.
Any computer connected to a network (and to the internet) receives an IP address to communicate with other devices. However, these addresses are not easy for us to remember (ex.: 108.19.129.45), as such DNS provides the mechanism to translate friendly domain names, such as google.com, into an IP address that your PC can recognize.
Windows comes with an option which stores the specified DNS server address and makes the TCP/IP stack use that IP address. It refers to this user-specified DNS service or gateway-specified service to resolve the domain name of a website to its IP address and load it in your web browser.
In most cases, your Internet Service Provider (ISP) provides its own DNS server(s) which [usually] works reliable. These DNS servers are usually configured in your router or automatically fetched from the ISP via DHCP.
Windows makes the name resolution process faster by caching resolved addresses. If the IP address of a website can be found in the local cache, it will be resolved faster. The web site will be opened instantly without extra requests to Internet servers.
See your current DNS Cache
- Open a new command prompt as Administrator
- Type this command:
ipconfig /displaydns - The command will produce a very long output.
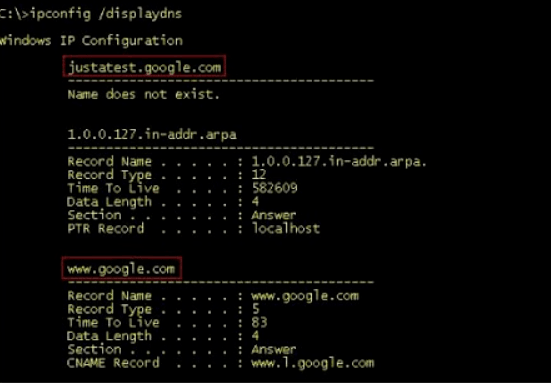
For your convenience, you can redirect it to a file. Use the following command:
ipconfig /displaydns >%USERPROFILE%\Desktop\dns.txt
Then you can open the dns.txt file created on your Desktop and inspect its entries.
If the information in the DNS cache is out of date, some sites may not open or appear broken in the browser. If you encounter such a problem having a reliable network connection, you should try to reset the DNS cache.
To reset DNS cache in Windows 10,
- Open a command prompt as Adminsitrator.
- Type or copy-paste the next command:
ipconfig /flushdns
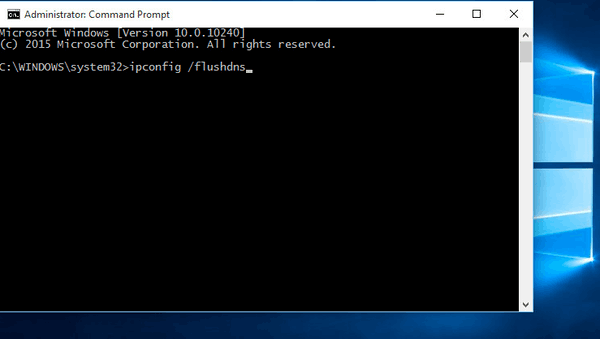
This is all you need to do to reset your DNS cache in Windows 10.