This post explains how to add the slow-motion effect to video files in Windows 10 without installing a third party program. All you need is Windows 10 Fall Creators Update and the built-in Photos app.
With Windows 10 Fall Creators Update (version 1709), the built-in Photos app has got tons of extra features. For instance, you can quickly combine video clips.
You can now directly Add Slow-Motion Effect to Video in Photos App without involving additional software. Traditionally, the applications that are used for adding Slow Motion effect to videos are too expensive as well as hard to afford and use. But with Photos, you can add this effect easily!
The best thing about the slow-motion effect feature of the Photos app is that it can show a preview of the slow-motion effect before saving the video clip. Additionally, when you save your video, the app creates a new copy of the original video clip without making any changes to the source file.
Add the slow-motion effect to a video in Windows 10
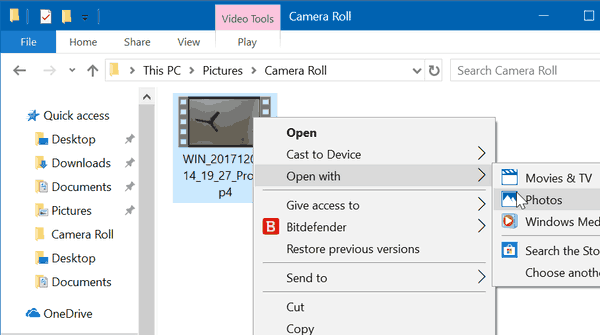
- Open File Explorer (Win+E) and go to the folder which contains your video file for which you would like to add the slow-motion effect. .
- Right-click the file, and select ‘Open with’ – ‘Photos’ in the menu.
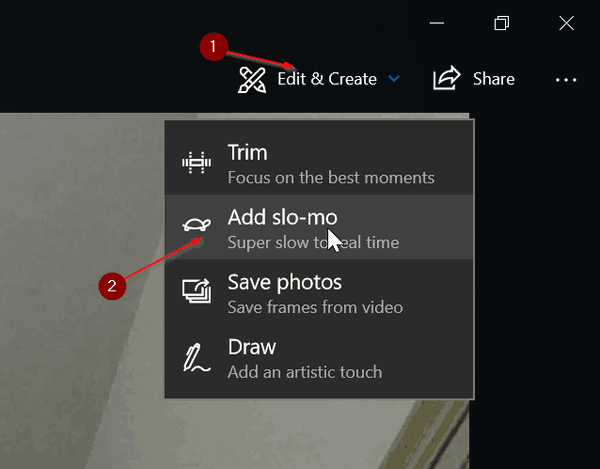
- Upon opening the file in Photos, click anywhere on the black portion to explore its options.
- Click on ‘Edit & Create’ – ‘Add slo-mo’.
- Now, select the speed of the slow-motion effect by moving the slider.
- Choose the portion where you want to apply this effect.
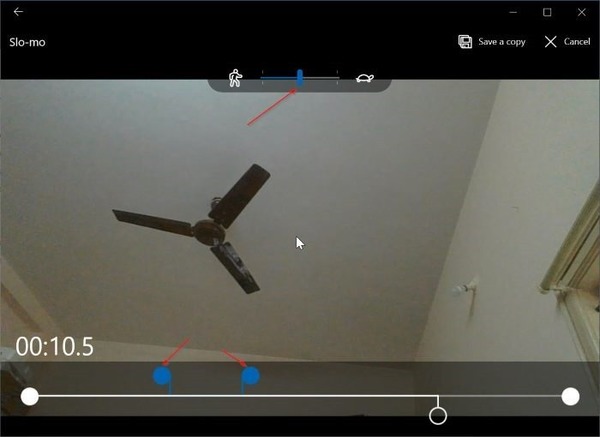
- Click ‘Save a copy’ to create a new video clip with the slow-motion effect. A new file will be saved in the same folder and won’t make any change in the original one.
You can check out the slow-motion effect in action by clicking on the ‘Play’ button to preview your video clip with the slow-motion effect applied.
Image credits: pixabay.com