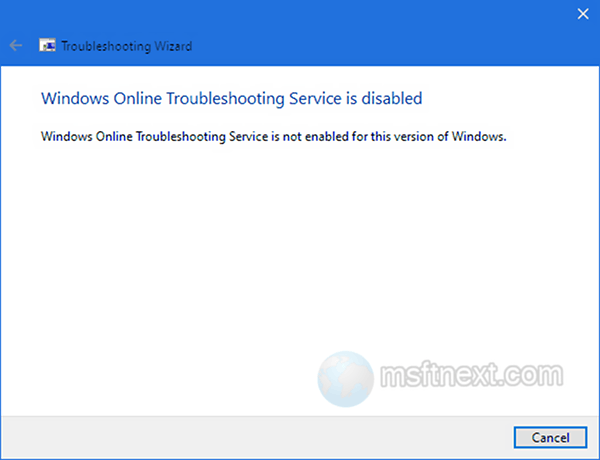
You can use a Troubleshooter to diagnose and fix common problems in Windows, but it one day this tool itself may need your help. When you run the utility, it gives an error message “The Windows Online Troubleshooting Service is disabled. Windows Online Troubleshooting Service is not enabled for this version of Windows. ”
This error is commonly encountered when using the portable version of the Troubleshooter downloaded from the Microsoft website. However, it can also occur when using the built-in tool in the operating system. If you are sure that your tool version is up to date or if the error occurs with the built-in utility, consider the following solutions.
How to Fix the “Windows Online Troubleshooting Service Is Disabled” Error in Windows
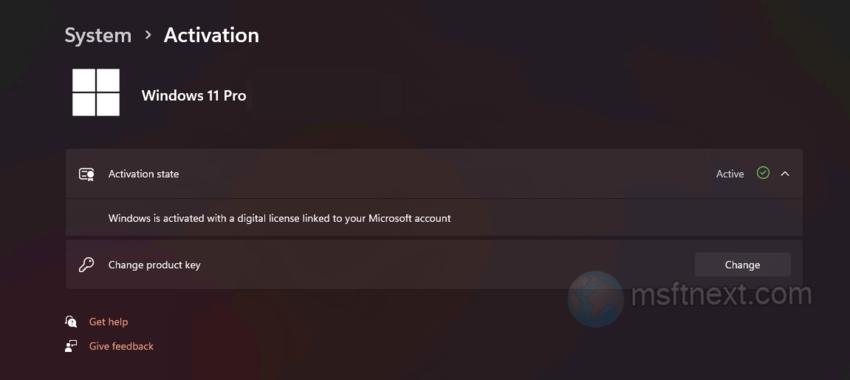
Finish Windows Activation
Activate your Windows with a license key. If you don’t have one, we don’t recommend you use any public keys or special utilities. You should buy a genuine one.
Check Group Policy Settings
- Open the local group policy editor using the
gpedit.msccommand - Navigate to “Computer Configuration” -> “Administrative Templates” → “System” -> “Troubleshooting and Diagnostics” -> “Scripted Diagnostics“.
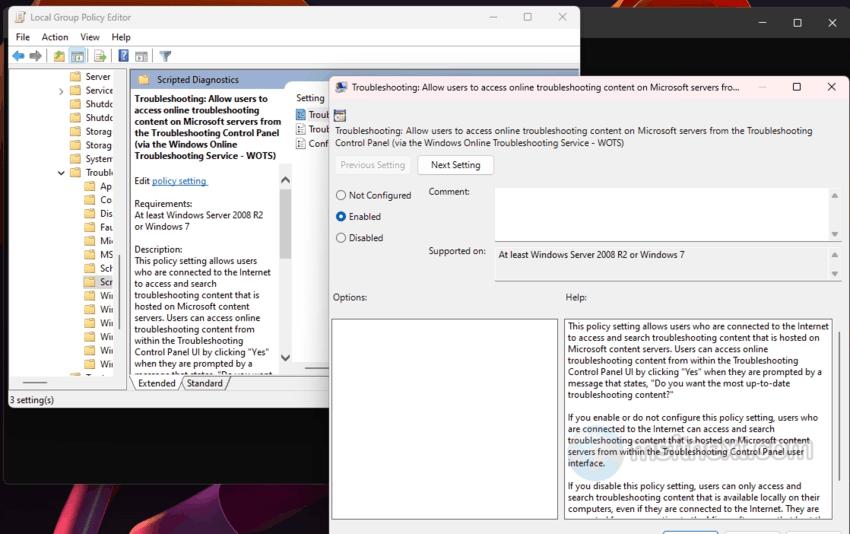
change group policy settings - Open the “Double-click the Allow users to access online troubleshooting content on Microsoft servers from the Troubleshooting Control Panel (via the Windows Online Troubleshooting Service – WOTS)” policy settings and enable it.
- Restart your computer and check if the troubleshooter works.
Change Software Publishing Status in Registry
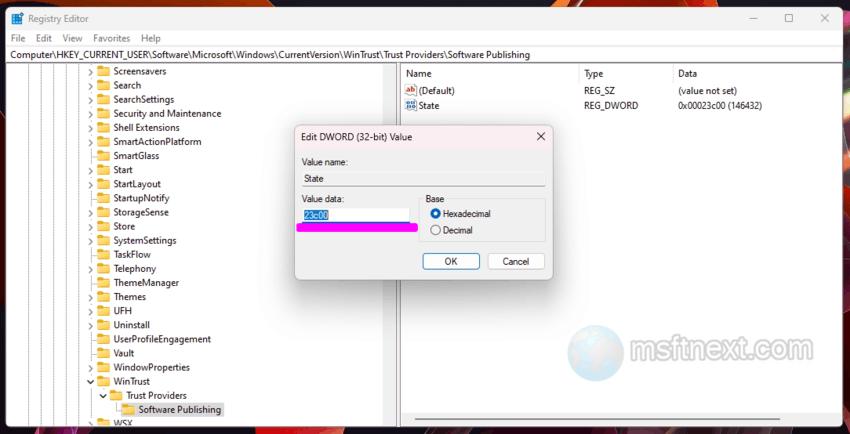
- Open the registry editor using the
regeditcommand. Type it right into the Search box on the taskbar and select Registry editor. - Go to the following key: HKCU\Software\Microsoft\Windows\CurrentVersion\WinTrust\Trust Providers\Software Publishing.
- Change the value of the State parameter to 23c00 if it is different. Restart your computer.
Modify Registry Publishing State option
Check Windows Services
Check the status of the Background Intelligent Transfer Service (BITS) and other related services.
- Open the services management snap-in using the
services.msccommand. - Ensure that the BITS service is running. If not, start it from the context menu or properties
- Set its startup type to “Manual”.
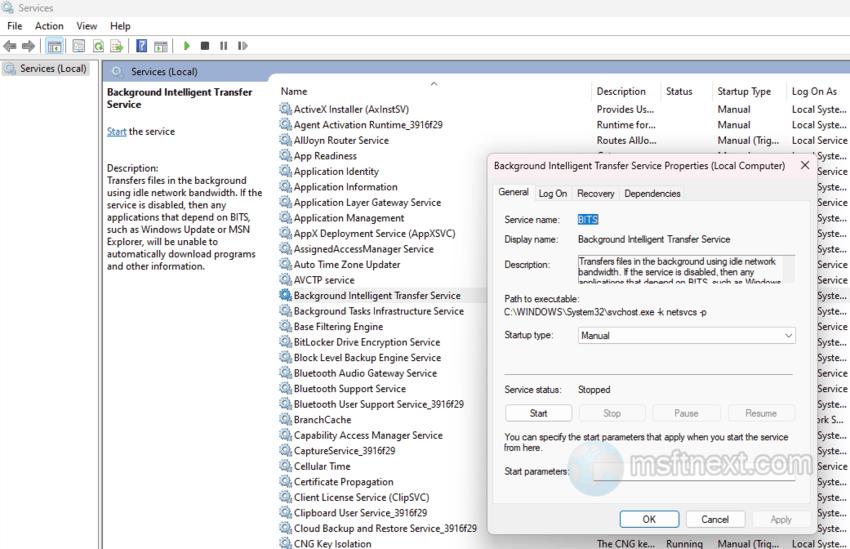
Check services configuration - Now, check the status and startup types of other services such as Diagnostic Policy Service, Cryptographic Services, Windows Time Service, Delivery Optimization, Diagnostic Service Host, Node of the Diagnostic System, Windows Modules Installer, and Windows Management Service.
Note that the first two services on the list should have the startup type “Automatic“, while the others should have the startup type “Manual” by default.
If you are still out of luck, here are the options to try as a last resort.
Further Fixing the “Windows Online Troubleshooting Service is Disabled” Error
The “Windows Online Troubleshooting Service is disabled” error can also be caused by issues with your PC’s system files. To resolve this, you can run the SFC (System File Checker) and DISM (Deployment Image Servicing and Management) scans. These scans will check for any corrupt or missing system files on your computer and try to repair them.
- Open command prompt as administrator.
- Run the following command:
SFC /scannow. - Restart you computer.
- Open the command prompt again as admin.
- This time run the following command:
DISM /Online /Cleanup-Image /RestoreHealth. - Restart your computer one more time.
If you had system file issues, they are now resolved.
Other solutions to try
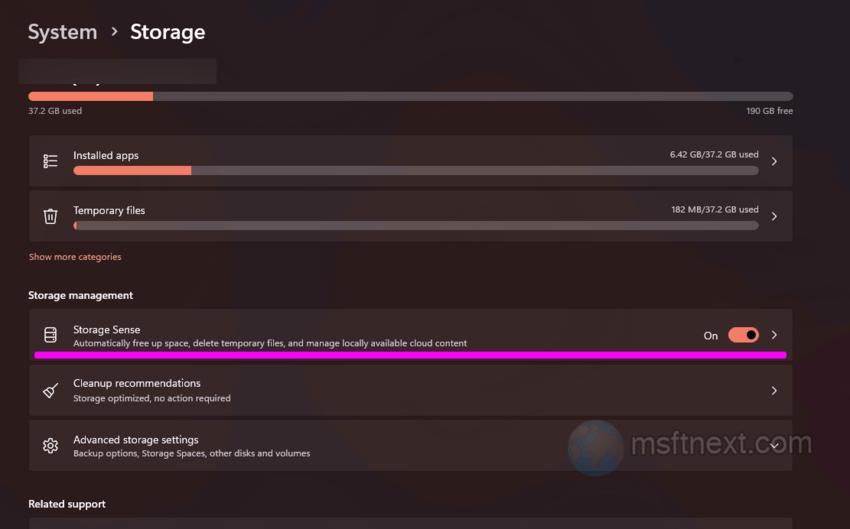
- Clean temp files. Type “Storage Sense” in the search box in Windows Settings app (⊞ Win + I ). Select Turn on Storage Sense from what it finds, and click the Storage Sense toggle switch on. It will remove Temp files automatically. To execute the cleanup right away, click on the arrow button on the right and then click Run Storage Sense now.
clean temp files - Installing Windows Updates may be of help as well. If a troubleshooter has some bug, it may be already fixed. So open Settings, click on Windows Updates, and click the Check for updates button on the right.
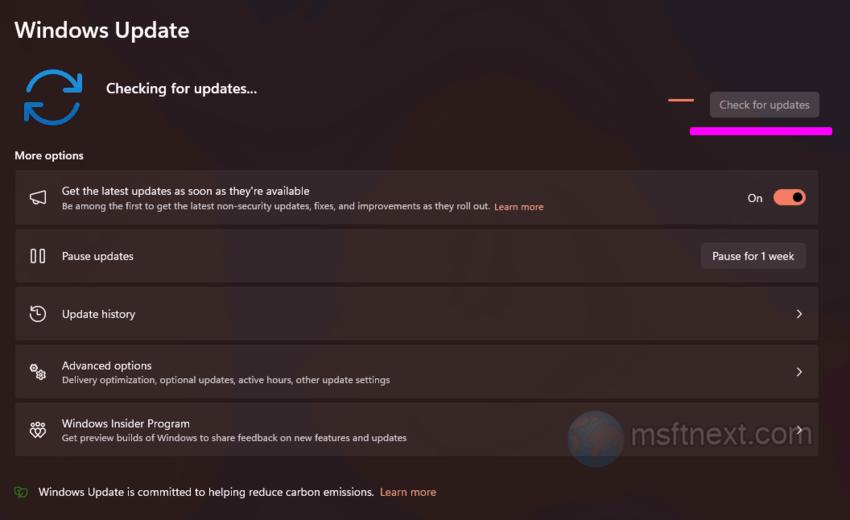
check for updates