This tutorial will show you how to enable or disable a scheduled task in Windows 10. Windows 10, like any other modern operating system, is extremely complex software with hundreds of background processes and tasks. There are many ways to manage these processes. The Task Scheduler is one such method.
As you can tell from the app name, it is responsible for automating certain routines in Windows 10. For example, it runs applications, files, or scripts. Task Scheduler is included with all editions of Windows and is an integral part of the operating system.
While you do not need to thoroughly understand how Task Scheduler works, you may still need to refer to this section to troubleshoot a problem or simply change the configuration of certain Windows settings. If you don’t know how to turn off a task in Windows 10, this tutorial will walk you through the basics of using Task Scheduler.
For your information: If you want to enable or disable a task created in your user account, you do not need Administrator rights, which means you do not need to run Command Prompt or PowerShell as Administrator (more on this in the relevant sections of the article). If you want to change the system task (which works for all users), you will need access with Administrator rights or a password from the corresponding account if your profile does not have the required privileges.
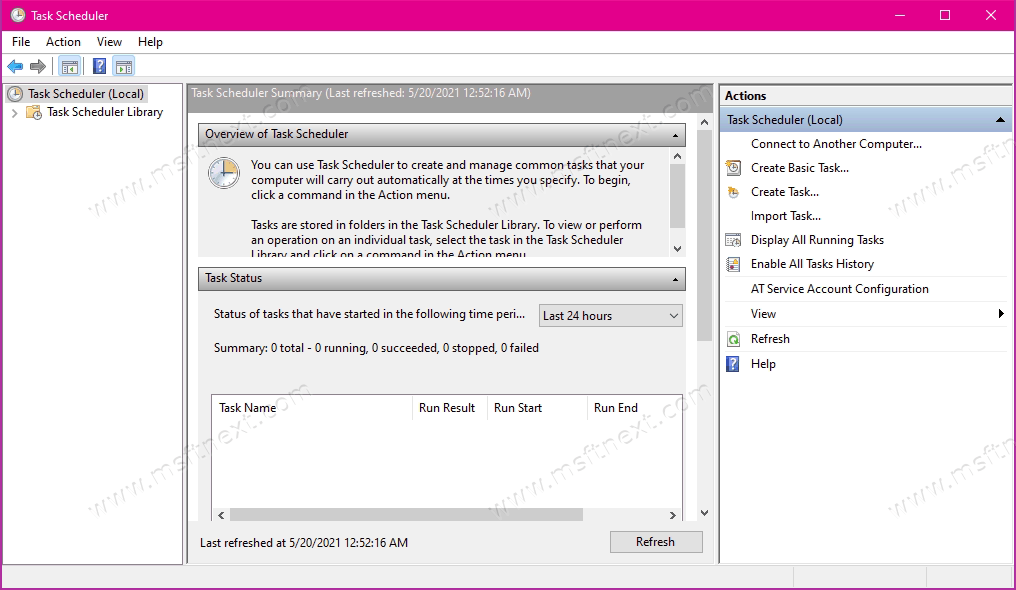
How to open Task Scheduler in Windows 10
There are several ways to start Task Scheduler in Windows 10. Here are some of them:
- Press Win + R and enter the
taskschd.msccommand. Press Enter.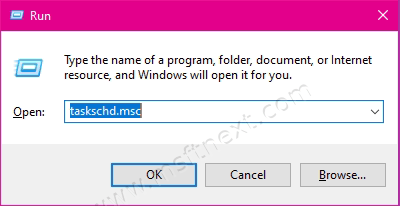
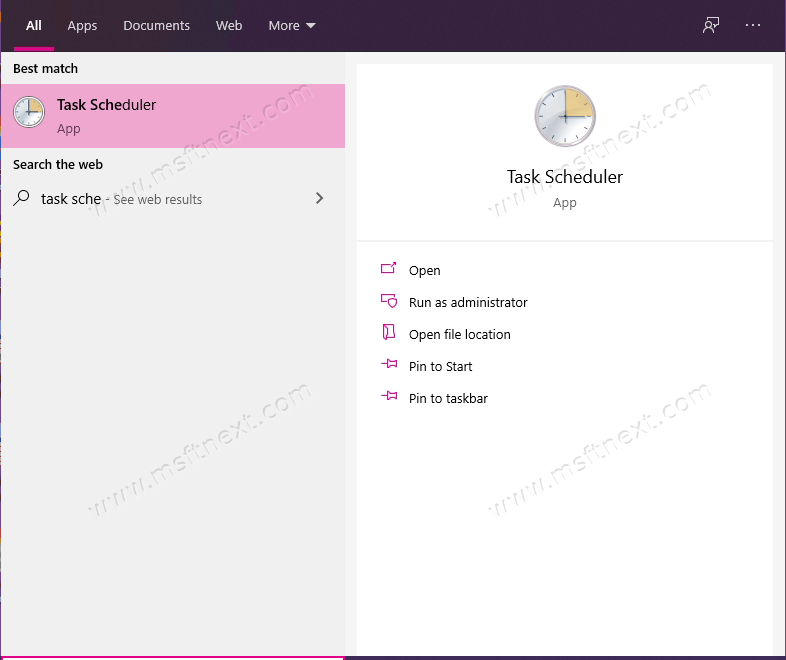
- Click the Start menu and start typing Task Scheduler. Run the app from the search results.
- You can also work with Scheduled tasks through PowerShell or the Command Prompt. You will learn about this below.
Please note: Do not disable tasks in Windows 10 without knowing what the task do. Only work with tasks you know the purpose of. Otherwise, you can significantly disrupt the stability of the operating system or installed applications.
How to disable a scheduled task in Windows 10
- Open Task Scheduler and on the left side of the window, click Task Scheduler Library. A long list of tasks on your system will appear in the center of the window.
- Find the task you want and click on it. Task controls will become available on the right side of the window.
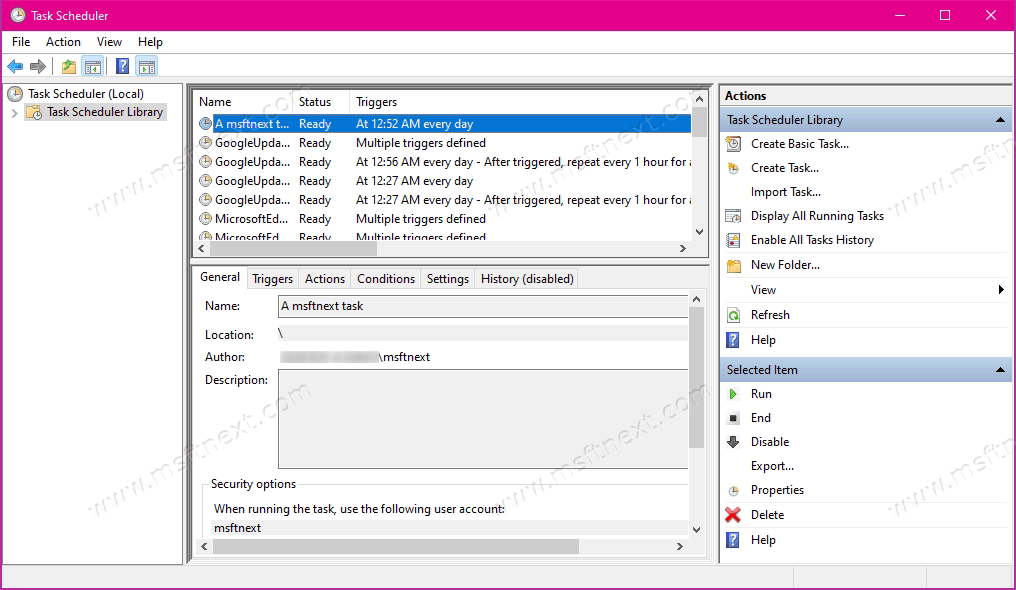
- Locate the Selected item section, and then click the Disable down arrow button.
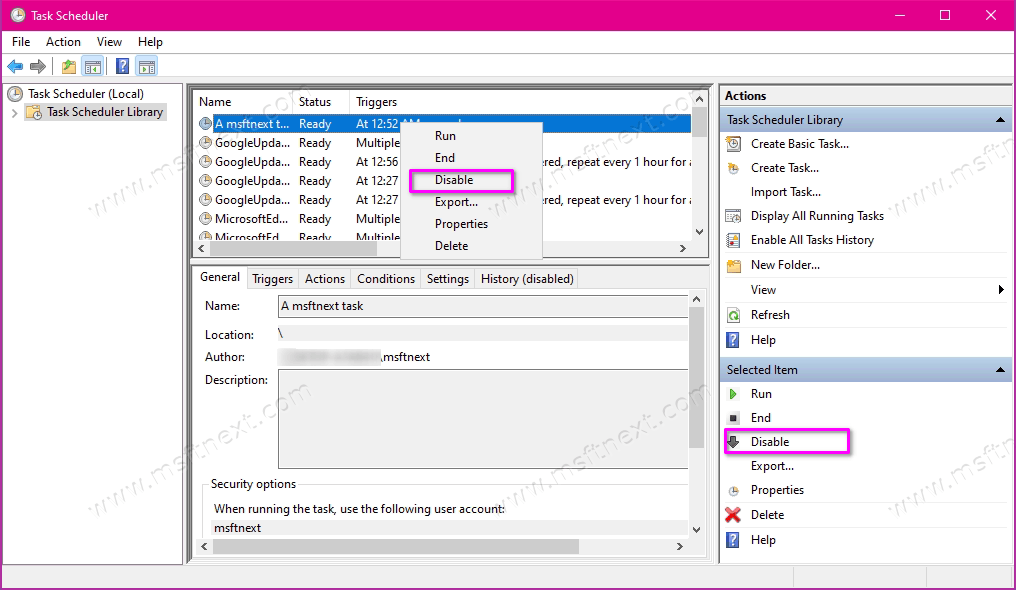
- Alternatively, you can select the desired task and click the Action – Disable menu, or right-click it and select the same Disable entry.

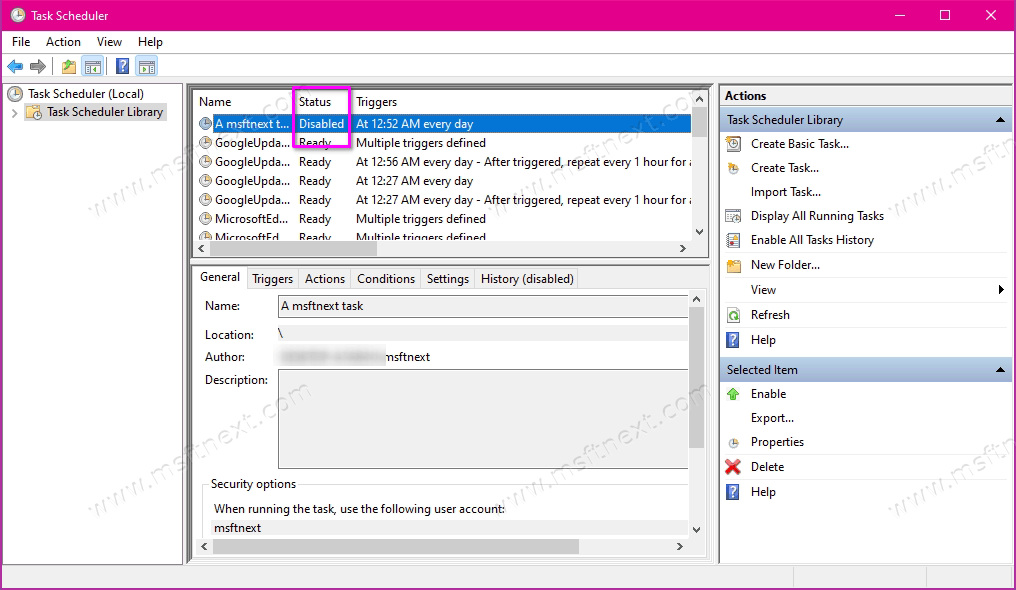
Done, the task is disabled.
How to enable a scheduled task in Windows 10
This process differs from the previous one only in which menu items you clock. To enable a scheduled task, do the following.
- Launch Task Scheduler in a convenient way. For example, Win + R –
taskschd.msc. - In the middle of the window, find the disabled task that you want to enable. To help navigate the huge list, sort the tasks by clicking on the Status column.
- To enable a task in Windows Task Scheduler, click on the required task, and then on the Enable button (up arrow) in the lower right corner of the window. This can also be done by right-clicking on the task or using the Action – Enable menu.
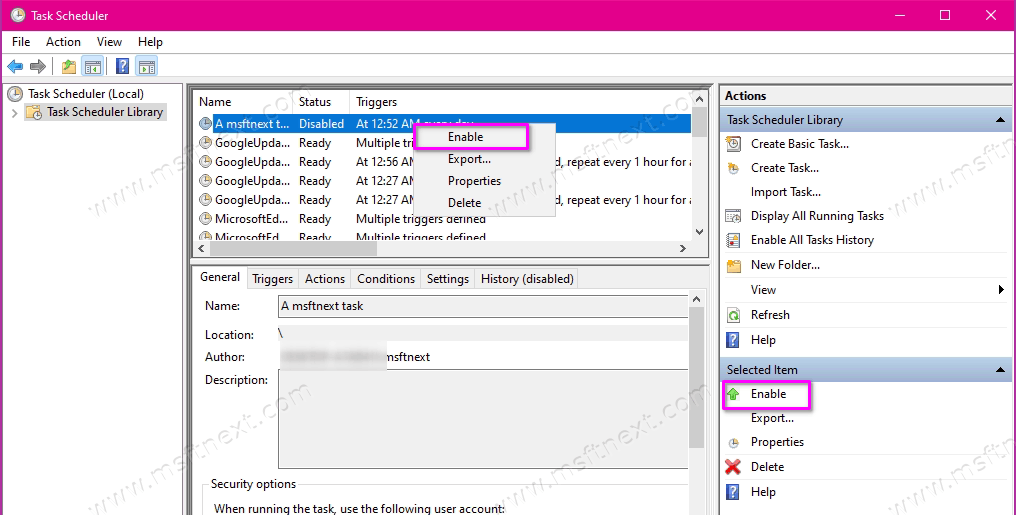
- Done. The task is enabled and running.
How to enable or disable a task in Windows 10 using PowerShell
This method is unlikely to suit the average user, but it is good because it allows you to automate various scenarios. PowerShell contains the special Disable-ScheduledTask and Enable-ScheduledTask cmdlets. When working with them, you can specify only the name of the task (if it is located in the root of the library), and the full path to the task (if it is located in subfolders).
How to disable a task in Windows 10 using PowerShell
- Run PowerShell as Administrator.
- Enter the following command, respecting the syntax and all quotation marks:
Disable-ScheduledTask -TaskName "<Task name>". Instead of “task name” you need to enter the name of the task that you want to disable. In this case, the command will be executed for tasks in the root of the library.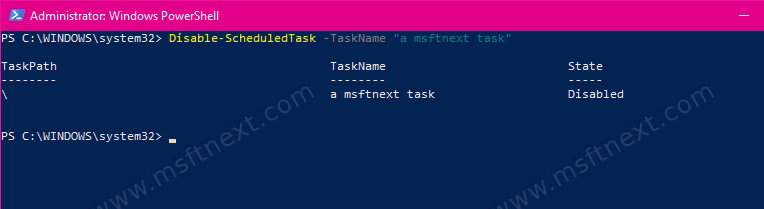
- To disable a task in a subfolder, use the following command:
Disable-ScheduledTask -TaskPath "\<full path>\" -TaskName "<Task name>". Use the appropriate values instead of “full path” and “task name”. - Press Enter and then you can close the PowerShell window.
How to enable a task using PowerShell
Enabling scheduled jobs using PowerShell is not much different from disabling, which is described above. The only difference is the cmdlet name.
-
Enable-ScheduledTask -TaskName "<Task name>"– enable the task in the root of the library.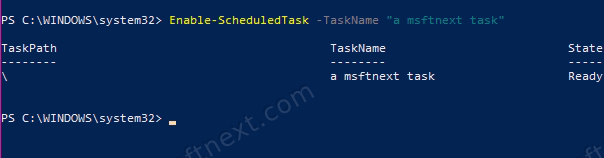
-
Enable-ScheduledTask -TaskPath "\<full path>\" -TaskName "<Task name>"– enable the task in a specific subfolder.
Another method that involves working with the Command Prompt. In fact it is similar to PowerShell, only slightly different commands are used.
How to enable or disable a scheduled task using Command Prompt
- Run Command Prompt as Administrator in any way convenient for you.
- To disable a task, enter
schtasks /Change /TN "<[path to folder]\task name>" /Disable.
- To enable a task use the command
schtasks / Change / TN "<[path to folder]\task name>" /Enable.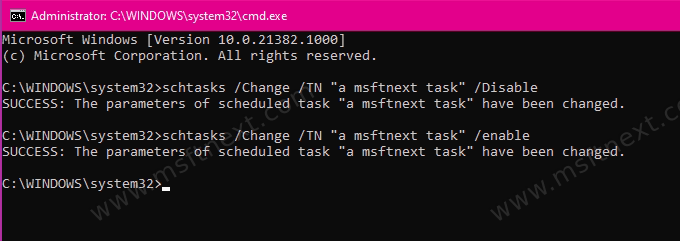
- Press Enter, after which the command line should report the successful execution of the command.
That’s all about disabling scheduled tasks.