In addition to physical printers connected to your computer, Windows 10 includes a few virtual printers such as Microsoft Print to PDF and Microsoft XPS Document Writer. This post explains how to remove XPS Document Writer from Windows 10.
XPS is an XML-based file format designed to print onscreen content while preserving fidelity. It is also the Windows print spooler format and can also be used to share and exchange electronic fixed layout documents like PDF. Windows 10 ships with XPS Document Writer which is the virtual printer installed out-of-the-box so you can create XPS documents.
Most users prefer using PDF to save and share documents. If you don’t use the XPS document format on your PC, you may want to remove the XPS Writer printer from the system. You can use any of the methods described below.
Remove XPS Writer From Windows 10
- Open Settings (press the Win + I keys).
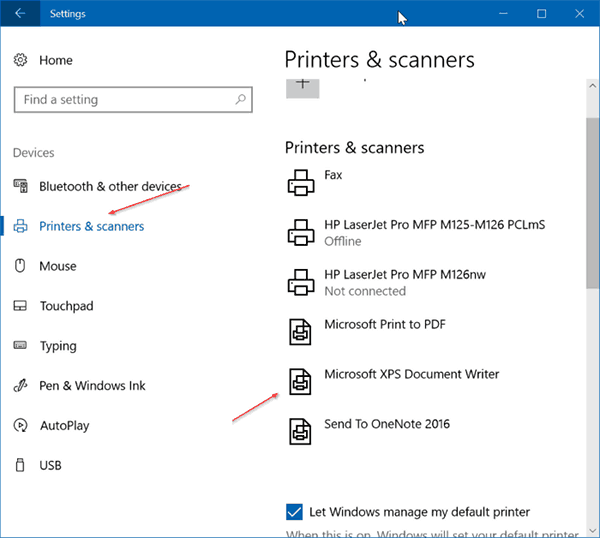
- Navigate to Devices > Printers & Scanners. You should now see all your printers and scanners, along with the Microsoft XPS Document Writer printer.
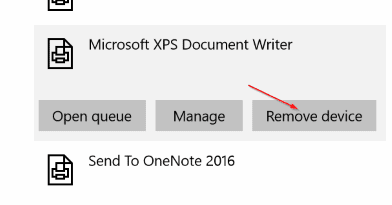
- Select the entry named ‘Microsoft XPS Document Writer’ on the right. You’ll see the ‘Open Queue’, ‘Manage’, and ‘Remove Device’ buttons.
- Click on the ‘Remove Device’ button.
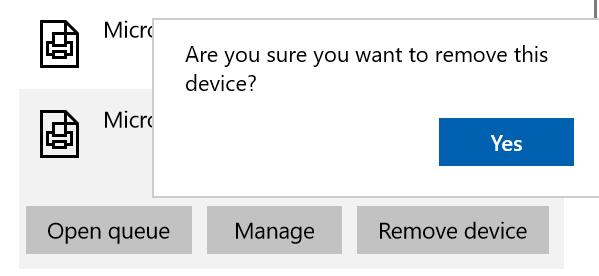
- A confirmation box ‘Are you sure you want to remove this device?’ will appear. Click on the Yes button there to remove the XPS Writer.
Remove XPS Writer In Command Prompt
- Open a new command prompt window. Press the Win + R keys and type
cmd.exein Run. - Type the next command and then press Enter to execute it.
printui.exe /dl /n "Microsoft XPS Document Writer"
Remove XPS Writer In PowerShell
- Open a new PowerShell window.
- Type the next command and then press Enter to execute it.
Remove-Printer -Name "Microsoft XPS Document Writer"
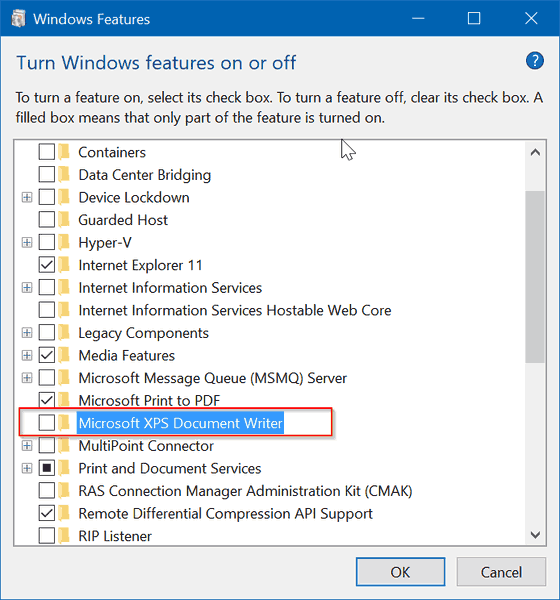
Completely Remove The XPS Feature
- Open Settings (press the Win + I keys).
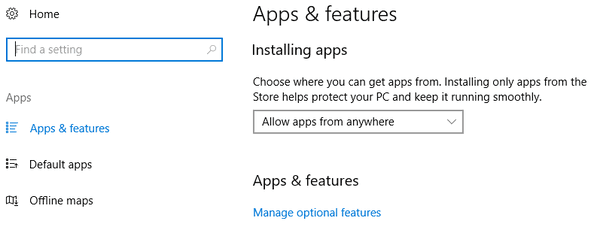
- Navigate to Apps > Apps & features
- In the right pane of the window, click on the link ‘Manage optional features’.
- The ‘Windows Features’ window will open. Uncheck the box next to the Microsoft XPS Document Writer line, and then click on the OK button.