How to Schedule Signature Updates for Microsoft Defender Antivirus in Windows 10
Microsoft Defender is the built-in security solution in Windows 10. It provides basic protection against threats. In recent Windows 10 builds, Microsoft Defender is part of the Windows Security app.
Microsoft Defender is the default antivirus app shipped with Windows 10. Earlier versions of Windows like Windows 8.1, Windows 8, Windows 7 and Vista also had it but it was less efficient previously as it only scanned spyware and adware. In Windows 8 and Windows 10, Defender is based on the Microsoft Security Essentials app which offers better protection by adding full blown protection against all kinds of malware. Microsoft is renaming the app Microsoft Defender.
Note: Don’t be confused between Microsoft Defender and Windows Security. Defender is the built-in anti-virus software, whereas Windows Security is a dashboard which allows you to manage Defender and the protection state of several other Windows security technologies.
Note: Windows 10 allows to only temporary disable Windows Defender with a special option in Windows Security. After some period of time, it will be re-enabled automatically. If you need to disable it permanently, see Disable Windows Defender in Windows 10.
Microsoft Defender Signature Updates
Microsoft regularly issues updates for Defender definitions to cover the latest threats, enhancing the ability of Microsoft Defender Antivirus and other Microsoft antimalware solutions to accurately identify threats. It also includes cloud-based protection to deliver fast and powerful AI-enhanced, next-generation protection.
Defender signature updates are tied to the built-in Windows Update feature. When you have it disabled, paused with Focus Assist, or you are on a metered connection, Microsoft Defender won’t receive signature updates, too. In this case, you can create a custom schedule for it, making its updates independent from Windows Update.
We will use the built-in MpCmdRun.exe tool. It has a number of command line switches which can be viewed by running MpCmdRun.exe with “/?”. We need two of them,
- Clear the downloaded signature cache:
"%ProgramFiles%\Windows Defender\MpCmdRun.exe" -removedefinitions -dynamicsignatures.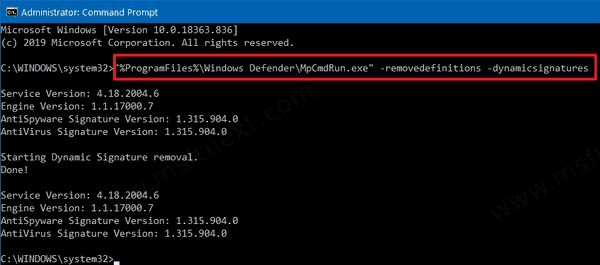
- Update definitions:
"%ProgramFiles%\Windows Defender\MpCmdRun.exe" -SignatureUpdate.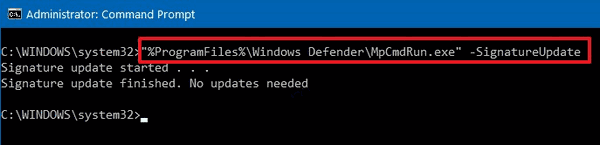
To Schedule Defender Signature Updates in Windows 10,
- In Search, start typing
Task Schedulerand click on app’s icon.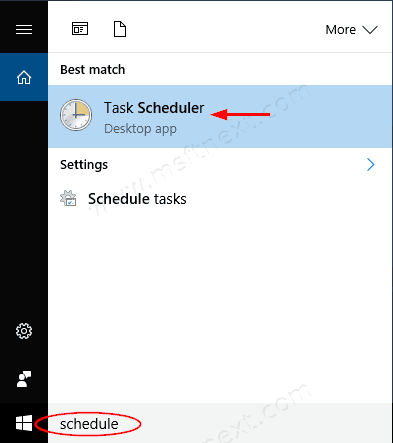
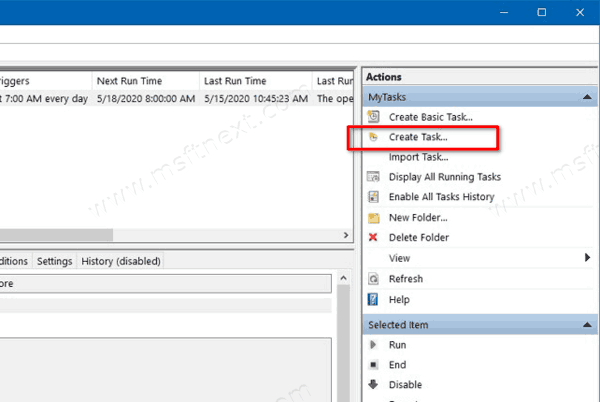
- In the left pane, click the item “Task Scheduler Library”.
- In the right pane, click on the link “Create task”.
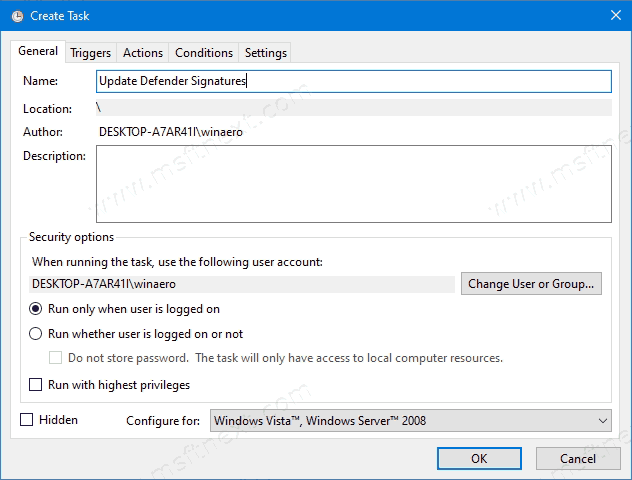
- A new window titled “Create Task” will be opened. On the “General” tab, specify the name of the task. Pick an easily recognizable name like “Update Defender Signatures”.
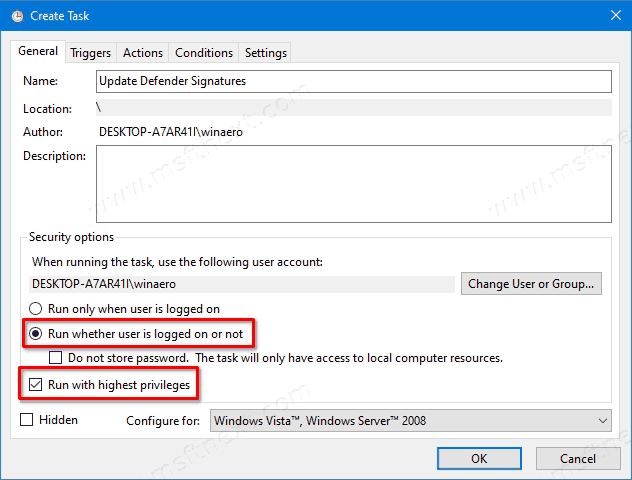
- Tick the checkbox named “Run with highest privileges”.
- Enable the option “Run whether user is logged on or not”.
- Switch to the “Actions” tab. There, click the “New…” button.
- The “New Action” window will be opened. There, you need to specify the following data.
Action:Start a program
Program/script:"%ProgramFiles%\Windows Defender\MpCmdRun.exe"
Add arguments(optional):-removedefinitions -dynamicsignatures.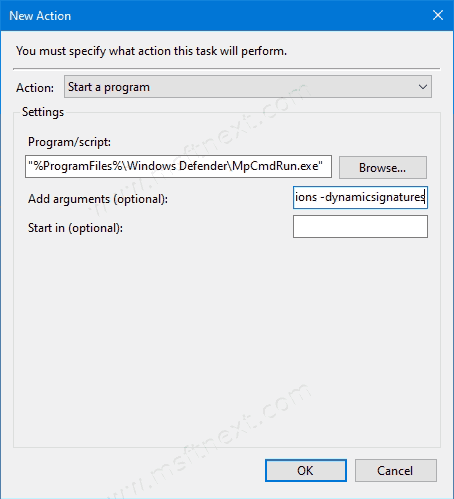
- Click on the New button again, and create the following new action:
Action:Start a program
Program/script:"%ProgramFiles%\Windows Defender\MpCmdRun.exe"
Add arguments(optional):-SignatureUpdate.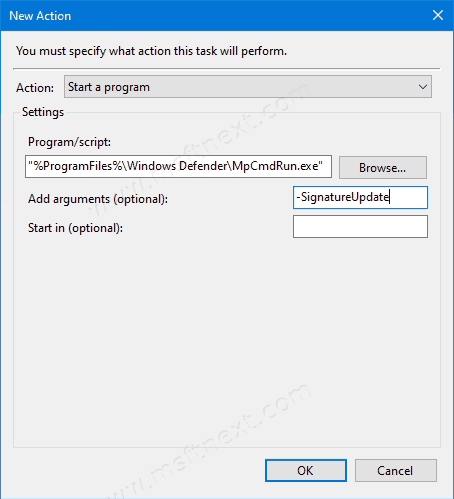
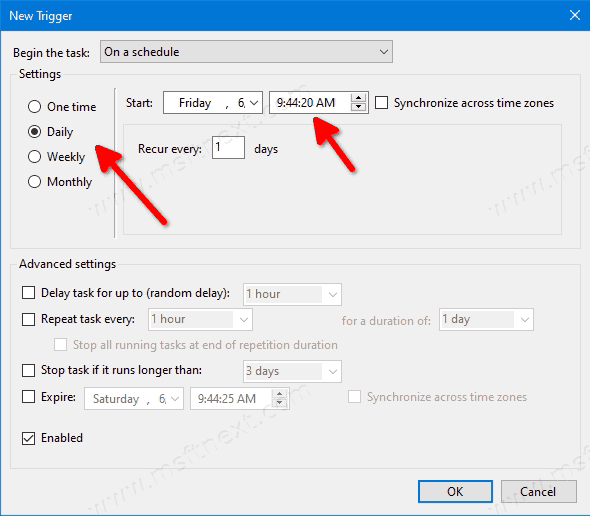
- Go to the Triggers tab in your task. There, click on the New button.
- Under Begin the task, select On a schedule in the drop down list.
- Specify the desired time frame, e.g. daily, and click on the OK button.
- Switch to the “Conditions” tab.
- Untick these options:
- Stop if the computer switches to battery power
- Start the task only if the computer is on AC power
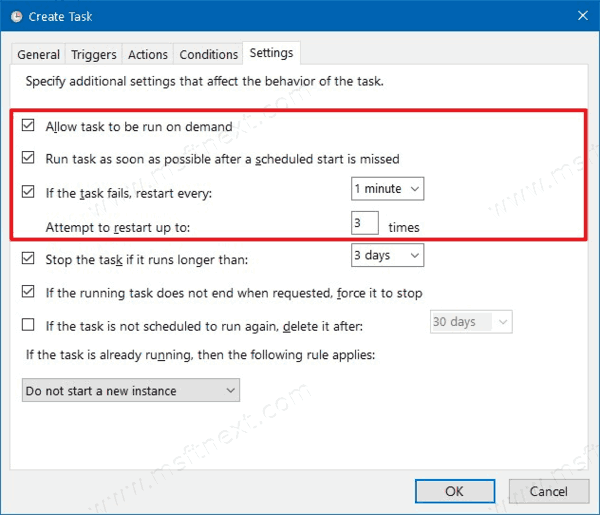
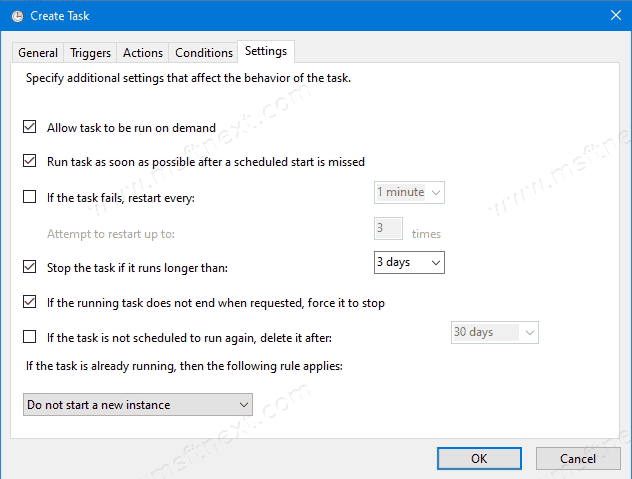
- Switch to the Settings tab.
- Turn on (check) the following options:
- Allow task to be run on demand (should be already enabled by default).
- Run task as soon as possible after a scheduled start missed.
- Click OK to create your task and type your administrative login and password when prompted.
Note: Your administrative account should be password protected. By default, unprotected user accounts cannot be used with scheduled tasks.
That’s it.