PowerShell and Command Prompt are two applications that allow managing the operating system from the console and run console apps. PowerShell offers more features and includes special commands for managing OS settings and service. PowerShell is actively developed, while the command prompt hasn’t changed functionally for many years.
There are two branches of PowerShell development: the classic version 5.1 (and below), and the new generation started with version 6.0 and above. The old branch is no longer being developed, and you cannot upgrade it directly. Instead, you can install a new version of PowerShell based on the .NET 5+ (NET Core) platform. Both versions of PowerShell can exist side by side, and both will work on your computer.
Update PowerShell
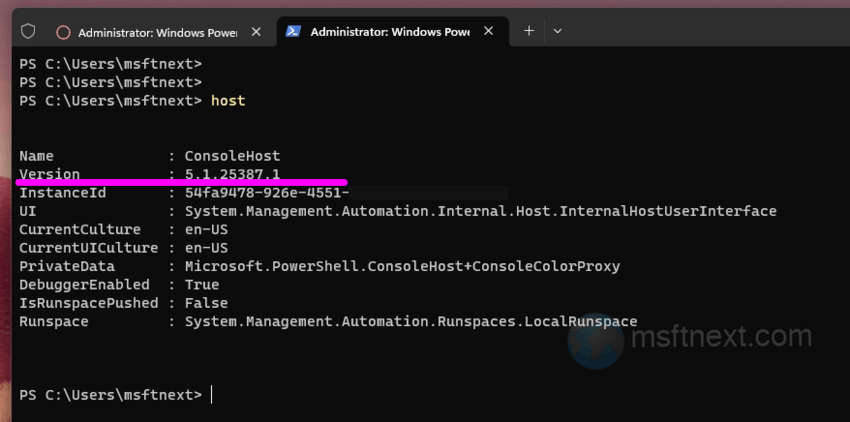
Find the current PowerShell version
To determine the current version of PowerShell, you can run the host command in the console and look at the value of the Version parameter. If it says 5.1.xxxx, then you have an old “non-upgradable” version of the console installed.
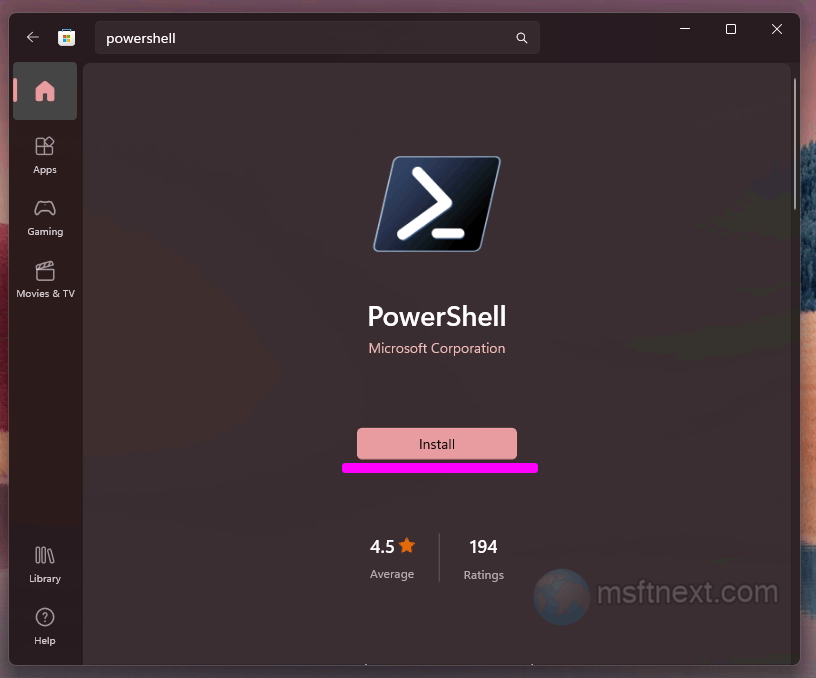
Update PowerShell from Microsoft Store
If you have a Microsoft account, you can install and update PowerShell through the built-in Store app. Simply search for PowerShell and click “Install” to install it. PowerShell will be automatically updated in the future through the Store.
Installing from an MSI file
If you don’t have a Microsoft account or prefer not to use the Appx and AppxBundle installers, you can download the PowerShell installer from the project’s official GitHub and install it from there. It is recommended to choose the Stable or LTS version.
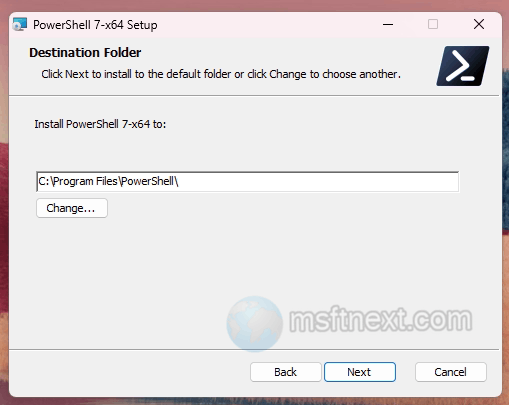
The installation is performed with the default settings. Alternatively, you can download and run the MSI file directly from the console by running a command in PowerShell as an administrator.
To do this, in PowerShell open as an administrator, execute the command:
iex "& { $(irm https://aka.ms/install-powershell.ps1) } -UseMSI"
The .msi installer file will be downloaded and launched automatically .
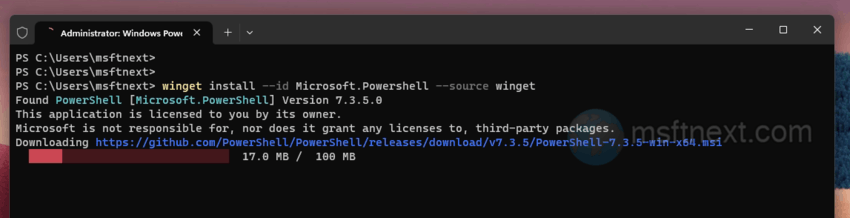
Updating and installing PowerShell with Winget
The latest builds of Windows 10 and Windows 11 have a built-in package manager called Winget, which you can use to install/update PowerShell. You can run the appropriate command in PowerShell or Command Prompt to install the current version of PowerShell in silent mode. For example, open Command Prompt as Administrator and run this command:
winget install --id Microsoft.Powershell --source winget
Running multiple PowerShell version simultaneously
You can launch both the old and new versions of PowerShell from the Start menu or the Run dialog box.
- PowerShell 5.1 starts with the “powershell” command
- To open the newer versions, you need to use the “pwsh” command.
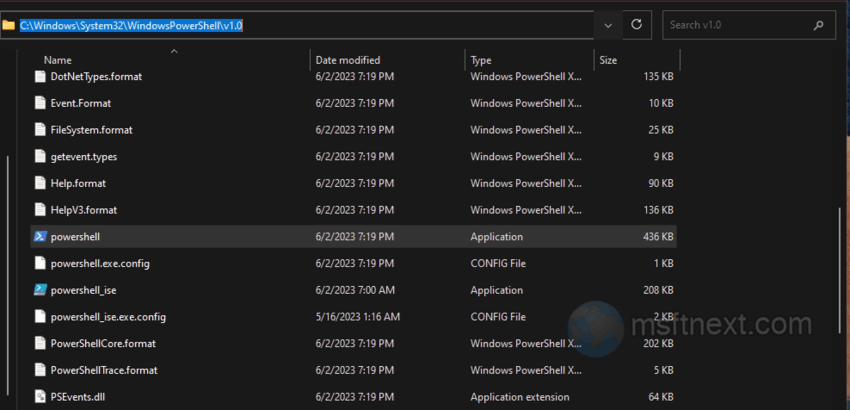
You will find PowerShell 5.1 file in the %windir%\System32\WindowsPowerShell\v1.0 folder.
But the files for PowerShell 6.0 and later are located in %programfiles%\PowerShell\<Version>, where “<Version>” is the version number, .e.g, 7.3.