Sometime you need to create a bootable media from an ISO Linux distribution, e.g. a USB flash drive, using Rufus or a similar program. You may already know that you can flash the ISO image in two modes – ISO and DD. Experienced users are likely familiar with how these modes differ and which one should be preferred in one case or another. But many beginners may find the choice unclear. Let’s take a closer look at these modes.
What is a hybrid ISO?
It is important to note that Rufus will only provide the option to choose between ISO and DD modes if the image being written is a hybrid (ISOHybrid). Hybrid images typically contain data for both USB flash drives or external hard drives and optical DVDs, allowing the target device to boot. While most Linux distributions available online are hybrid, there are some exceptions.
ISO and DD modes
Rufus recommends utilizing ISO mode as the primary and adaptable choice. This mode involves the creation of a FAT partition on a USB flash drive, transferring the image files to it, and then generating a bootloader on a removable device to make the partition bootable. Despite being burned in ISO mode, the flash drive’s data remains accessible and modifiable, with any remaining space available for storing additional data.
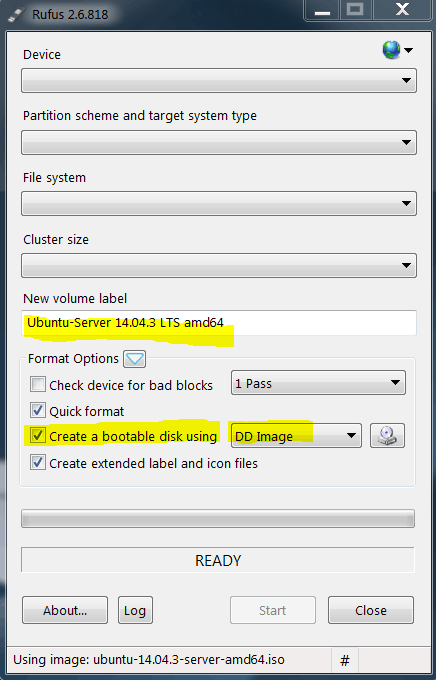
On the other hand, DD mode involves copying data from the ISO image byte by byte, ensuring the complete transfer of the image’s structure and properties. However, it does not create a file system or partition table on the flash drive, except for the small FAT boot partition created by Rufus at the beginning of a removable flash drive.
After burning the ISO image in DD mode, the flash drive will become unavailable for viewing in Explorer and writing any data to it.
DD mode is most often used for cloning the contents of images, as well as for burning Linux LiveCD , but for some Linux distributions it is not suitable. In that case, if you burn such Linux to a USB flash drive and try to boot from it, you will get an error.
In this case, use the generic ISO mode.