In this guide, we’ll go over the basic ways to add or remove startup apps in Windows 11 to get things done efficiently on your device. When you turn on your computer, it is convenient for certain software to start automatically. OneDrive is a good example, as syncing to the cloud is often the first step after signing in. There are several ways to add or remove a program from the list of software that automatically starts with the OS.
Add or remove apps from Windows 11 Startup
The most common places to auto-launch applications are the Startup folder in the Start menu, and a few keys in the registry. The same places can be used to prevent the automatic start of apps. In addition, you can configure startup apps for everyone or just the current user.
Also, Windows 11 has options related to autostart in Task Manager and Settings. Using them, you can easily disable or enable startup programs. Let’s take a closer look at all the available options.
Add application to startup folder for current user
The easiest way to add an application or program to startup is to place its shortcut in the Startup folder. The folder is physically located at the following path: C:\Users\User name\AppData\Roaming\Microsoft\Windows\Start Menu\Programs\Startup.
Do the following:
- Click ⊞ Win + R on your keyboard and type in the Run dialog box:
shell:startup.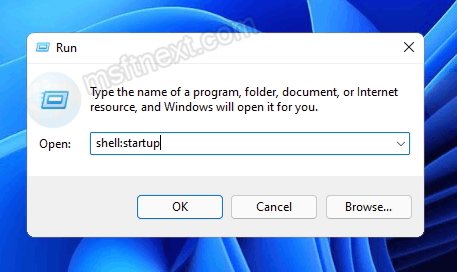
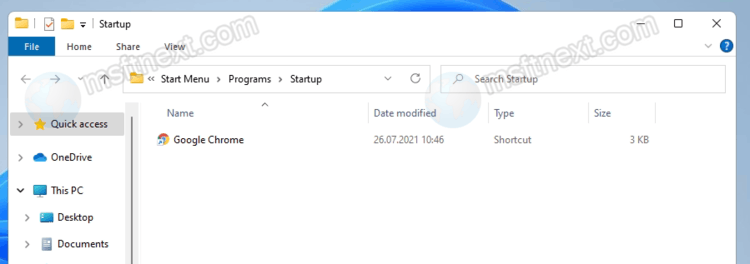
- Or, Open File Explorer (⊞ Win + E ) and copy and paste the following path into the address bar and press ↵ Enter :
C:\Users\%USERNAME%\AppData\Roaming\Microsoft\Windows\Start Menu\Programs\Startup. This will open the Startup folder for you. - Place a shortcut to the application in this folder so that it starts automatically when Windows 11 starts.
- Alternatively, you can drag an executable file (*.exe) to that folder, but hold down the key Alt while dragging it. This will create a new shortcut for the executable file.
Also, you can add an application to startup in Windows 11 using the registry.
Add application to startup using Windows 11 registry
- Press ⊞ Win + R and type
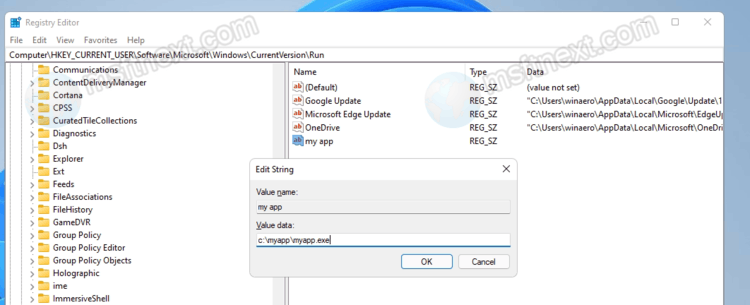
regeditto open the Registry Editor application. - Open the key .HKEY_CURRENT_USER\Software\Microsoft\Windows\CurrentVersion\Run
- Here you will find existing programs added to startup (if any) for the current user.
- Right-click in the left pane on the Run folder and select New → String Parameter.
- Give the created parameter the same name as the name of the application you want to add to startup, for example “Word”.
- Set the value to the full path to the application that you want to load when Windows 11 starts.
Repeat steps 4-5 above for all applications that you want to add to Windows Startup. The next time you turn on your computer, the specified applications will start automatically.
Add apps to startup for all users
You can also configure auto-start of some applications for all users. This method is not much different from the method for the current user. Fortunately, Windows 11 hasn’t gotten rid of this handy option. All you have to do is open the startup shared folder or registry branch that the OS uses regardless of who logs on to the system.
To add an application to startup for all users, do the following.
- Press ⊞ Win + R, type shell:Common Startup in Run dialog box and press ↵ Enter.
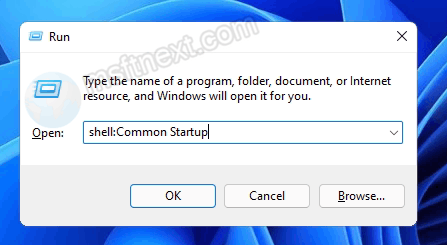
- Windows will open the C:\ProgramData\Microsoft\Windows\Start Menu\Programs\Startup folder.
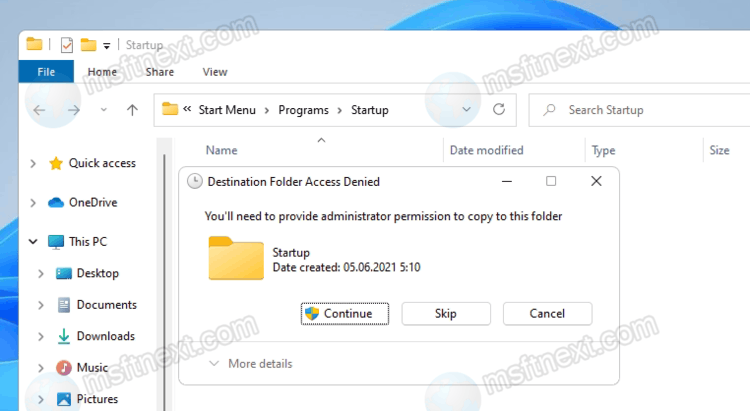
- Copy and paste here the shortcut for one or more applications that you want to launch automatically. When prompted, click Continue.
- As for the Registry method, open regedit.exe and go to the
HKEY_LOCAL_MACHINE\SOFTWARE\Microsoft\Windows\CurrentVersion\Runkey.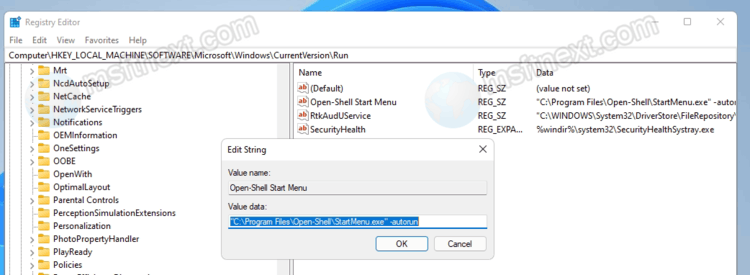
- Create a new string parameter here for one or more applications that you want to launch automatically for all users on your PC. For each parameter, specify the full path to the executable file of the corresponding application or program.
Now you know how to add applications to startup in Windows 11. In the same way, you can remove applications you no longer need from startup.
Remove apps from Windows 11 Startup
Depending on how you set your application to launch with Windows 11, you may need to erase its value from the registry or remove the shortcut from the startup folder.
- Open File Explorer using ⊞ Win +E keys or any other way.
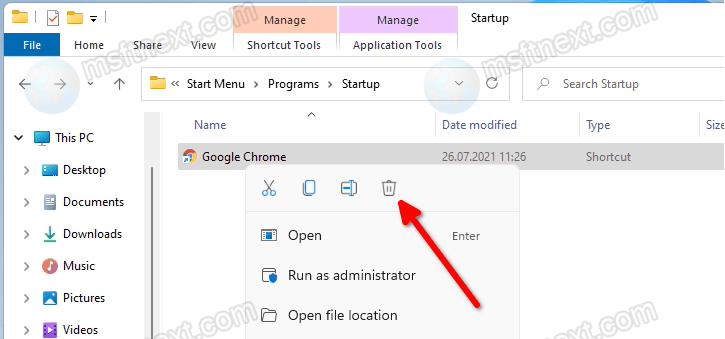
- Navigate to the startup folder of the current user: C:\Users\%USERNAME%\AppData\Roaming\Microsoft\Windows\Start Menu\Programs\Startup. Or, use the “
shell:Startup” command to do it faster. - Remove any shortcuts for apps you want to remove from the Windows 11 Startup.
- If the application runs for all users, go to the C:\ProgramData\Microsoft\Windows\Start Menu\Programs\Startup folder. Similarly, use the
shell:Common Startupcommand to directly open it.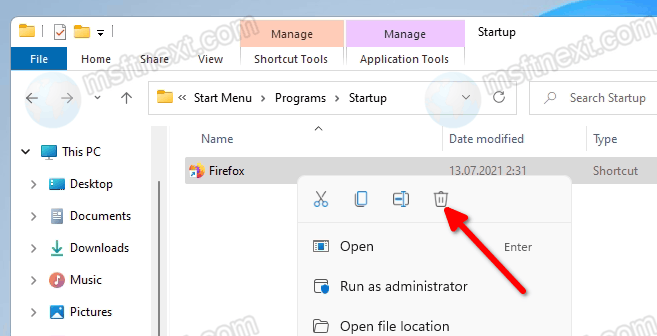
- Likewise, remove unnecessary program shortcuts from here.
Now we can open the Registry and delete the entries for programs and applications that have been added to startup.
Remove an app from startup using Registry Editor
- Press ⊞ Win + R and type
regeditin the Run window. - To remove an application from startup for the current user, open the HKEY_CURRENT_USER\Software\Microsoft\Windows\CurrentVersion\Run key.
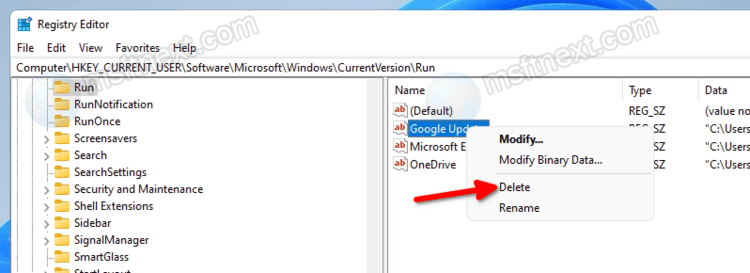
- On the left, find the value that represents the program you want to stop from starting with Windows 11 and right-click it.
- In the context menu, select the “Delete” item.
- If application auto-start is set for all users, repeat steps 3-4 but under the key:
HKEY_LOCAL_MACHINE\SOFTWARE\Microsoft\Windows\CurrentVersion\Run.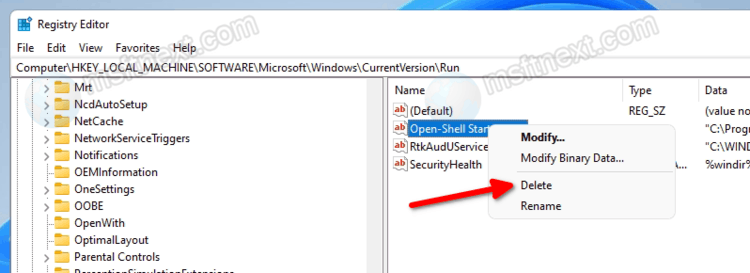
- Now close the registry editor tool.
In addition to desktop apps, Windows 11 includes many Store apps that you can manage. Let’s take a look at how to control the auto-launch of these applications.
Add or remove apps from Microsoft Store to Windows 11 Startup
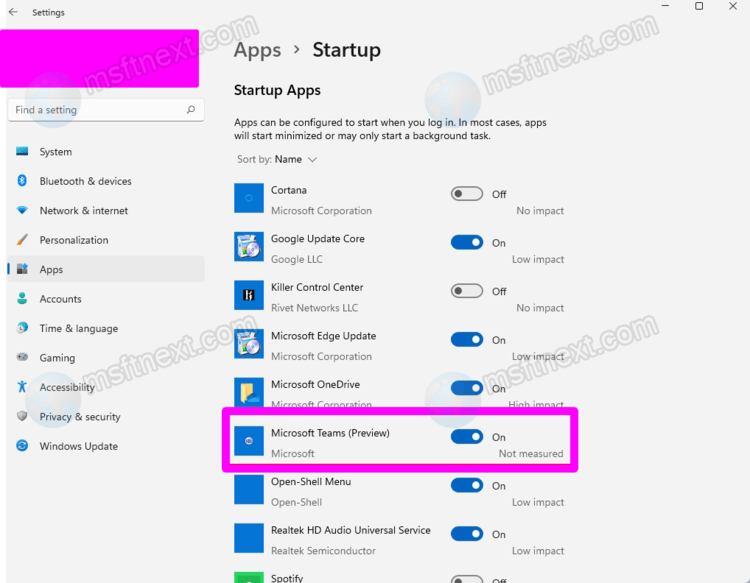
- Open the Settings app; press ⊞ Win +I.
- Go to the Apps section on the left, then click the Startup tab on the right.
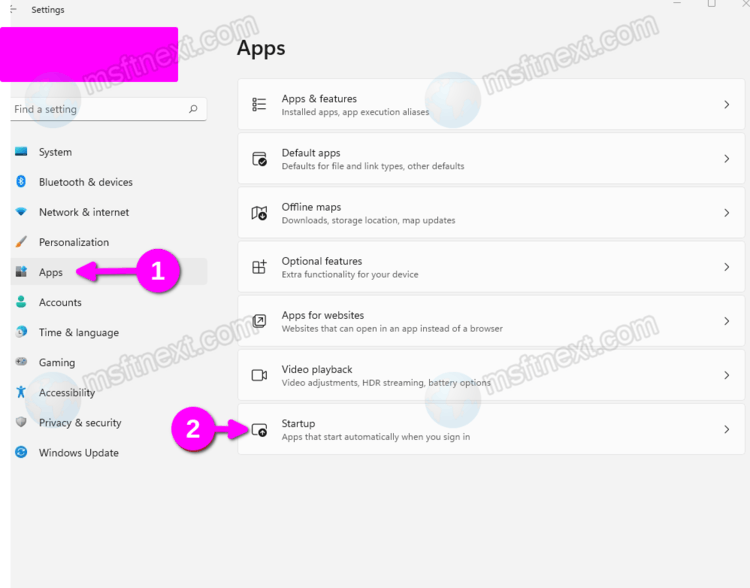
- On the next page, enable or disable the switch for the apps you want to add or remove from startup in the Startup Apps list.
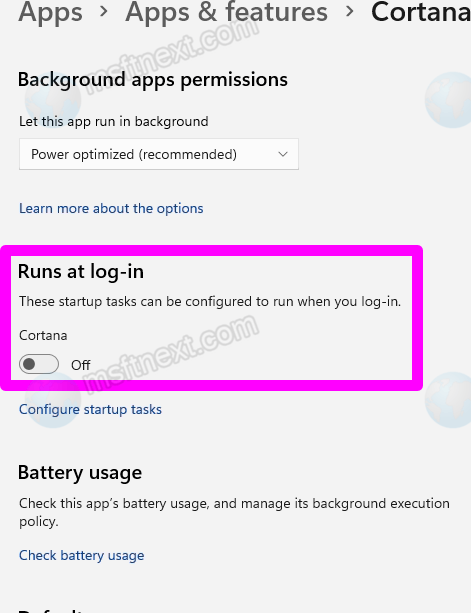
You can achieve the same in the advanced settings of a Store application. The apps that support the “launch at login” feature have there an option called “Runs at log-in”.
Add Store app to Startup in Advanced Settings
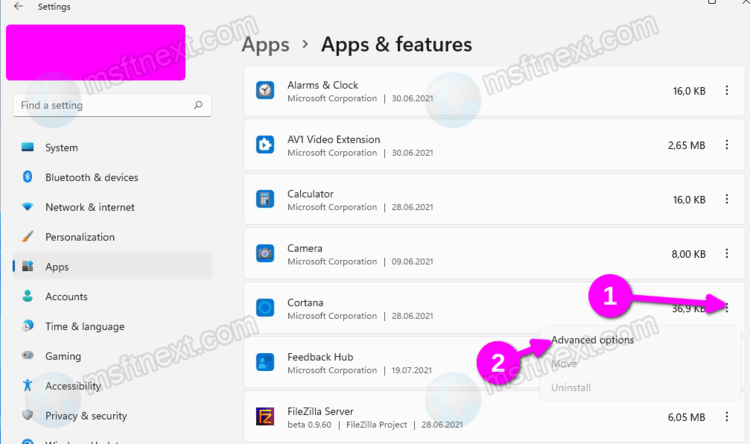
- Open Settings in any way convenient for you, e.g. with the ⊞ Win + I keys.
- On the left, go to “Apps” → “Apps and Features“.
- Find the app for which you want to enable or disable startup at login.
- Click the button with three vertical dots to see more actions and choose Advanced options.
- On the next page, enable or disable the Runs at log-in option depending on what you want to do.
You may find that some Store apps are missing from the list. Let’s say you want the built-in Calculator app to launch automatically, but it doesn’t support that feature in the options. Here’s a workaround for this inconvenience.
Add any app from the Microsoft Store to Startup manually
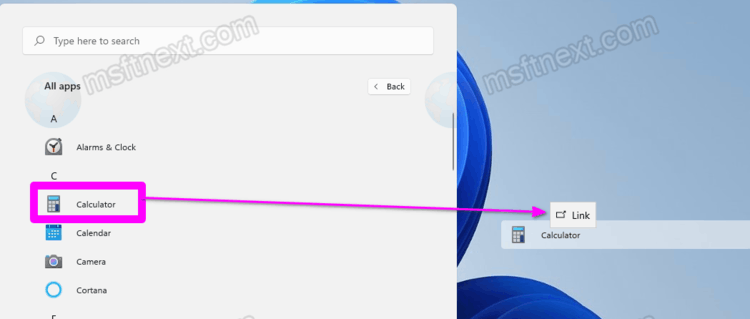
- Open the Start menu and click the All Apps button.
- In the list of Store apps, find the app you want to launch automatically, such as Calculator.
- Drag the application icon from the Start menu to the desktop to create a shortcut for it.
- Now open the Startup folder using the Run dialog box and the
shell:Startupcommand. - Move the shortcut from the desktop to the open folder, which is
C:\Users\%username%\AppData\Roaming\Microsoft\Windows\Start Menu\Programs\Startup.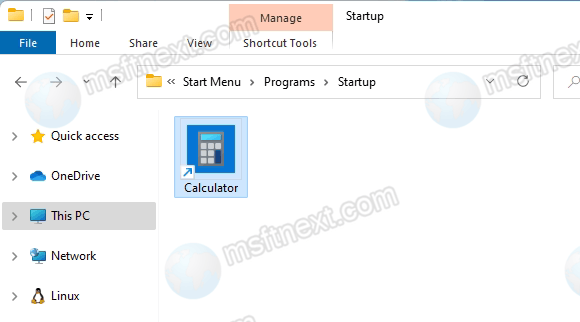
The next time you log on, Windows 11 will launch this application automatically.
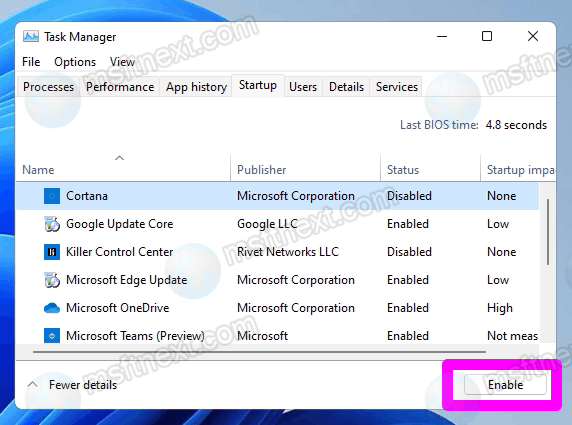
Enable or disable a Startup app using Task Manager
- Open Task Manager by pressing Ctrl + Shift + Esc.
- If Task Manager opens in a compact view, click the Details button.
- Go to the Startup tab. Note: You can open the Startup tab right in the Task Manager. To do this, in the Run dialog box, enter:
taskmgr /0 /startup. This will open the Task Manager application right at the Startup tab. - Select the application in the list that you want to remove from startup and click Disable.

- Likewise, select the disabled application that you want to make auto-starting again in Windows 11 and click Enable.