You can force set a custom specific Windows wallpaper and prevent other users from changing it. The operating system provides the ability to customize the desktop background. But you can also apply a wallpaper without alternative to all user accounts in the system, as well as to new ones created. This opportunity exists mostly for enterprises to unify the look of their devices.
So they may set branded pictures as wallpaper on corporate computers. But ordinary users can also use this feature if they has a personal reason for that. Let’s review how to use it.
There is a Group Policy in Windows with that you can install a wallpaper by default and forbid other from changing it. It works in any actual version of Windows.
However, the Group Policy tool is only available in advanced edition starting with Pro. If you have the Home edition, this is also possible. But for this you have to apply a corresponding Registry tweak a third-party program.
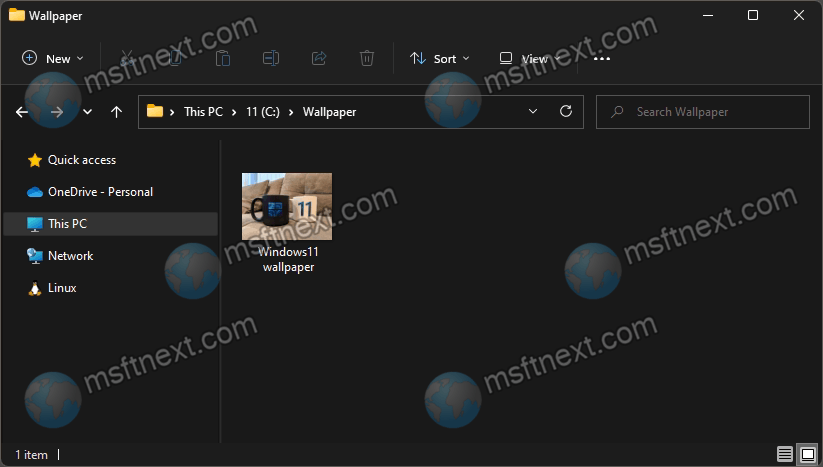
The first step is to copy the path of the image that we will make the default Windows wallpaper. This image must be transferred to a location on the computer’s disk accessible by all users for reading. For example, I will create a “Wallpaper” folder on the C: drive, in which I will place my custom image.
You can also use one of the system wallpapers that Windows stores in the C:\Windows\Web folder.
Set Windows wallpaper and prevent others from changing it
- Open the folder with wallpaper in Explorer and select the image file.
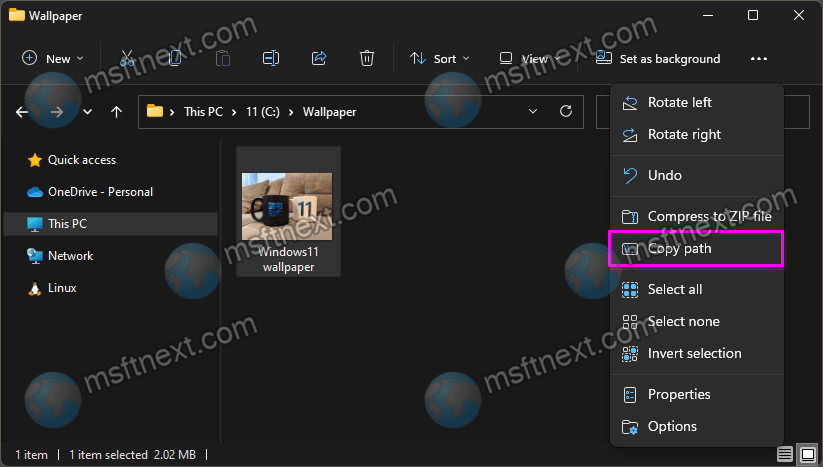
- Copy the image path to the clipboard using the button in Explorer.
- Now press ⊞ Win + R and launch the
gpedit.msctool.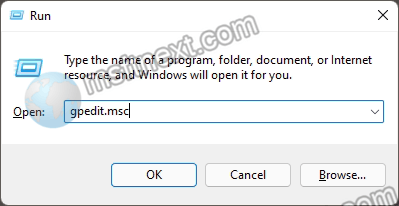
- In the Local Group Policy editor, open the folders on the left to “User Configuration”, “Administrative Templates” and then “Desktop\Desktop.”
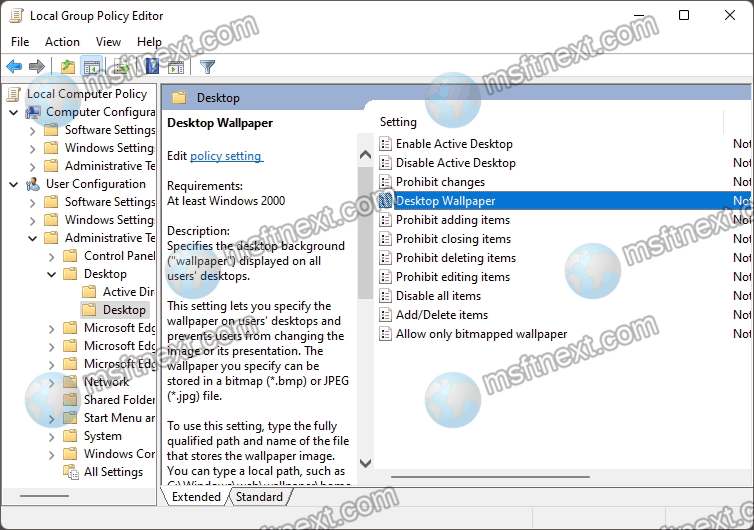
- Look for the option “Desktop Wallpaper”. Double click it to change it.
- Set the value of the parameter to “Enabled”.
- In the background image name field, paste the path copied to the clipboard.
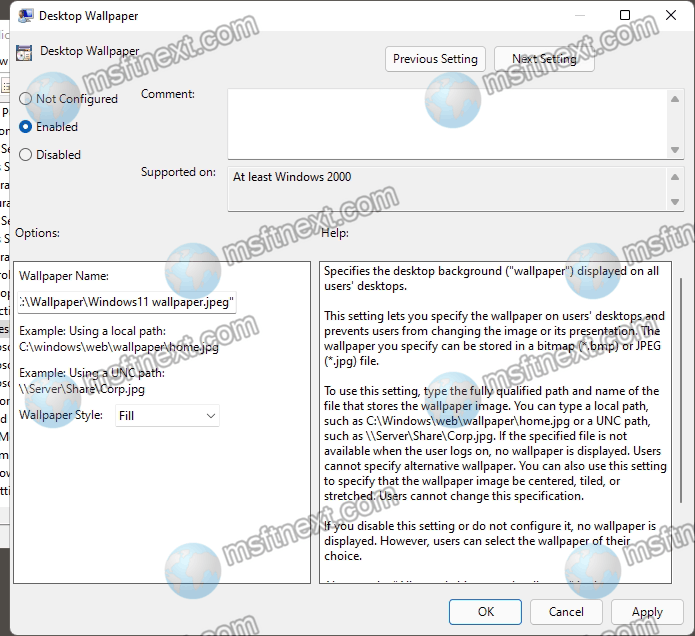
- Select the fill style for the background image; the best option would be filling. Click “Apply” and “OK”.
- Reboot Windows for the settings to take effect.
You have finished the task. Now the customized image will be applied to the desktop for all user accounts on the computer. Also this image will be set for all new accounts if you some in the future.
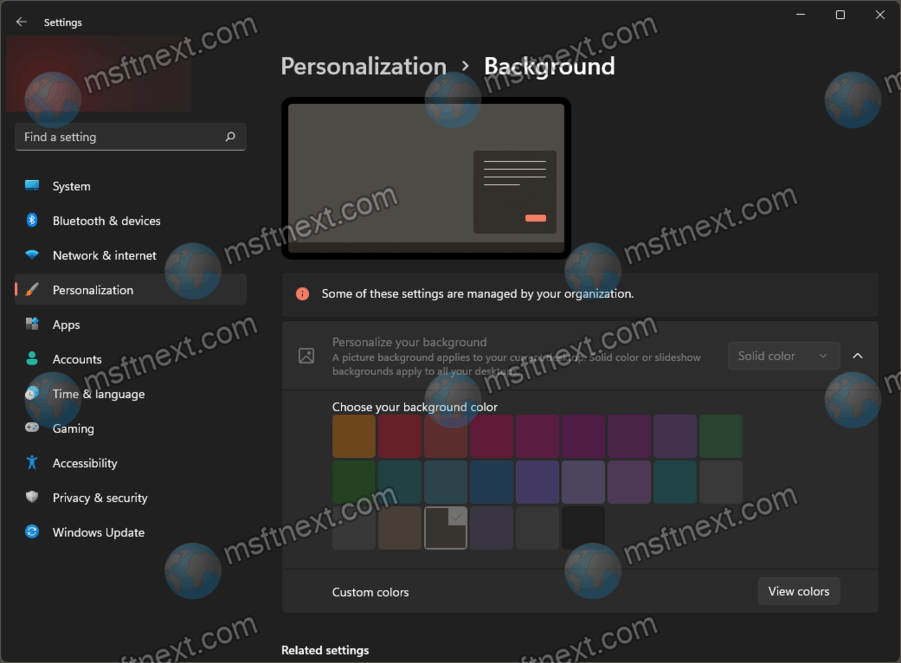
Users will not be able to change this image in the Personalization settings. The wallpaper page will have a notification that the option is managed by your organization. At the same time, the rest of the personalization options will be available for changing.
In Windows Home edition, where gpedit is missing, apply the following registry tweak.
Registry tweak to force a wallpaper
- Run the
regedittool. - Open it to the HKCU\Software\Microsoft\Windows\CurrentVersion\Policies\System folder on the left. Create it if missing.
- Create here a new “Wallpaper” string value and set it to the full path to the image.
- Now, create one more string value “WallpaperStyle” and set it to one of the following numbers.
- Center = 0
- Tile = 1
- Stretch = 2
- Fit = 3
- Fill = 4
- Span = 5
See the screenshot below.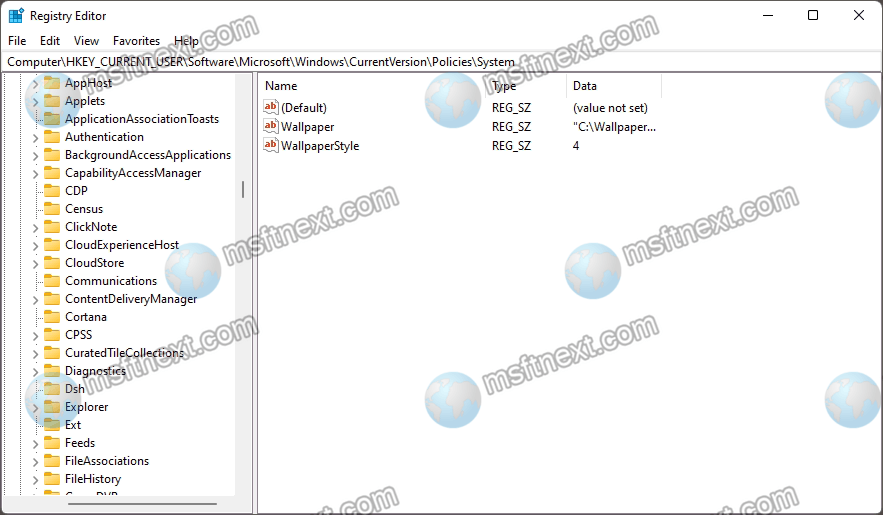
You may need to sign out from Windows to make the change take effect.