Here’s how to install WSL Linux subsystem on Windows 11 in just a couple of clicks, allowing you to use Linux without having to install a double-boot operating system or virtual machines.Microsoft announced the Linux subsystem for Windows 10 back in 2016. Since then, the project has received several major updates and improvements. Newer versions of Windows come with a second generation Linux subsystem that is much easier to install than its predecessor.
On Windows 11, installing Windows Subsystem for Linux requires only entering one or two commands in the Windows Terminal. Here’s how to do it.
Install WSL subsystem on Windows 11
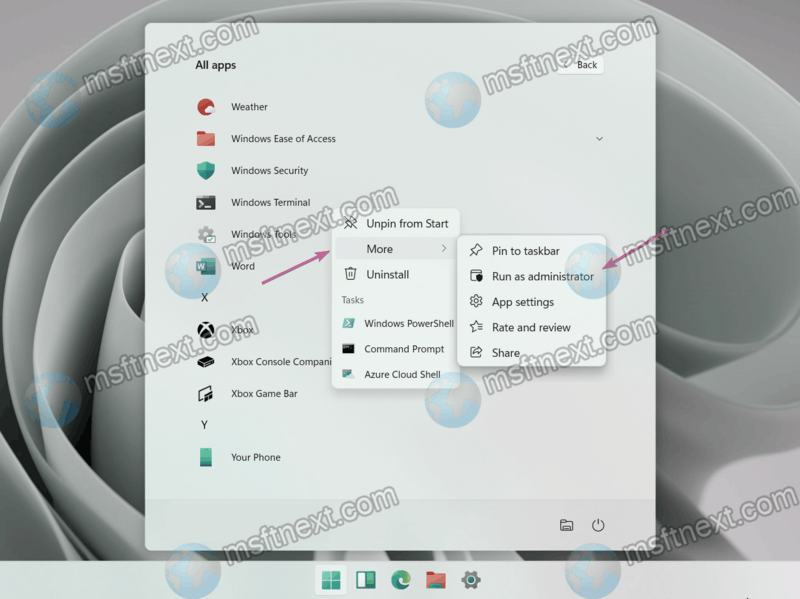
- Press ⊞ Win + X or right-click on the Start button. In the menu that appears, select Windows Terminal (Admin). Alternatively, find it in the Start menu.
- Enter the
wsl --installcommand. This command automatically performs all the steps that the user previously had to do manually. For example, install the virtual machine platform, subsystem files, the Ubuntu OS, and so on.
- Wait for the Linux subsystem to install on Windows 11.
- After that, restart your computer.
Now you can start WSL and use it according to your needs. If you need to update Windows Subsystem for Linux, use the wsl --update command.
Windows 11 uses Ubuntu by default when installing the Linux subsystem using the wsl --install command. If you are not satisfied with this, proceed with the installation using the second chapter below.
Ubuntu, openSUSE Leap, Kali Linux, Debian GNU and many more are available in the Microsoft Store. If earlier Windows only allowed working with Ubuntu, now you can work with several different distributions at once.
Install WSL Linux in Windows 11 with a choice of distribution
- Open Windows Terminal as Administrator.
- Enter the
wsl --list --onlinecommand. This command will display a list of Linux distributions available for download. - Having decided on the distribution kit you need, enter the command to install the subsystem:
wsl --install -d NAME. ReplaceNAMEwith the distribution name from the first column. For examplewsl --install -d kali-linux.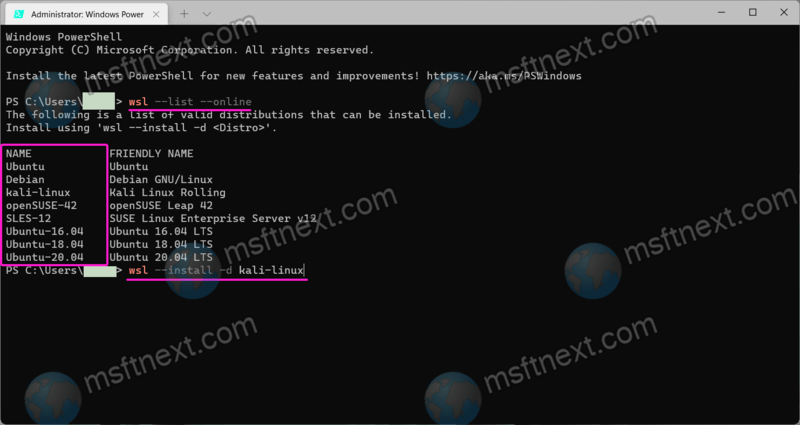
- Press ↵ Enter and wait for all required files to download and install.
- Reboot your computer.
After restarting your computer, you can start the Linux subsystem and the distribution package it downloaded and installed. Enjoy.