This tutorial will explain you how to make Wi-Fi Disconnect when connected to Ethernet. If multiple wireless networks are available, Windows 10 will automatically select the Wi-Fi connection with the strongest signal. This will happen regardless of whether this network is used by other devices. Also, the OS doesn’t check if it provides a more or less high connection speed compared to other Wi-Fi networks. But if you connect your computer to a wired network that provides a more stable signal and faster speeds, Windows 10 will still continue to use the Wi-Fi connection.
In order for the system to start using Ethernet, you need to manually disconnect from Wi-Fi. Or you can configure Windows to auto-disconnect from the wireless network.
Let’s see how you can do this.
In the settings of some Wi-Fi adapters, there is an option that allows you to disable the adapter when a faster Ethernet connection is detected.
Make Wi-Fi Disconnect When Connected to Ethernet in Windows 10
- Press ⊞ Win + R to open the Run box.
- Type
shell:Network connectionsand press Enter . This is a shell command. - Right-click your wireless adapter and select Properties.
- On the next page click the Configure… button.
- Switch to the “Advanced” tab and look for the “Disable after wired connection” option.
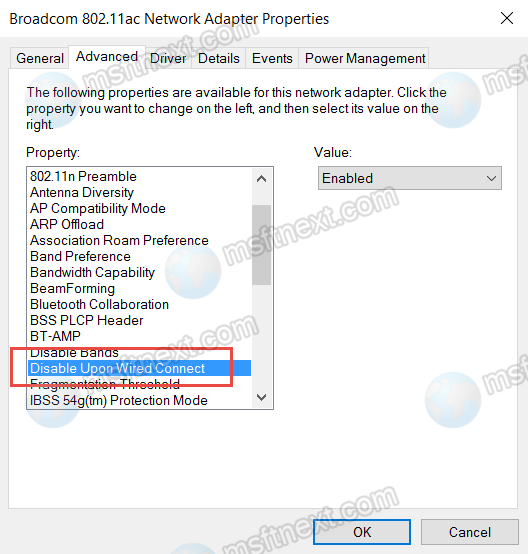
- If there is one, select it and set it to Enable.
There is also an alternative method. If you don’t have the option to automatically turn off Wi-Fi, try using a third-party solution, a PowerShell script that automates switching between Wi-Fi and Ethernet networks.
Using the WLANManager script
Note: It is an aged script. While executing it, you may see errors and it may even fail. But in any case it is worth trying.
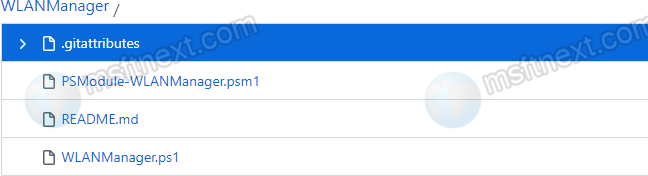
Go to the project page: github.com/askvictor/WLANManager/find/master.
From there, download the PSModule-WLANManager.psm1 and WLANManager.ps1 files.
Run PowerShell as administrator and first of all enable the execution of scripts with the command:
Set-ExecutionPolicy RemoteSigned
Then go to the location of the downloaded scripts and run the script installation command:
. \ WLANManager.ps1 -Install: System
If everything will be done without issues, you will have a WLAN Manager task in the Task Scheduler.
The task runs the installed script, which checks network connections. If an Ethernet connection is detected, it disables all available wireless adapters. And vice versa, when the cable is disconnected, the script executes a command to re-enable the Wi-Fi adapters.
WLAN Switching option in BIOS
If the solutions reviewed above do not satisfy you or do not work, you should look into the BIOS of your computer. Open it and look for the LAN / WLAN Switching option there, it may have other names, for example, Wireless Radio Control.
Turn on the option by setting it to “Enabled”.