Here is how to show Windows version and build number on the desktop.
You can add a watermark to the bottom right corner of the Desktop that will contain the currently installed Windows version, edition, and build number. This will allow you to quickly find the install OS version at a glance.
This post will explain you how to add the Windows build and version watermark to the desktop in Windows 7, Windows 8, and Windows 10.

Note that this method does not disable the Insider Preview watermark in Windows 10. Also, it doesn’t remove a watermark that appears in evaluation and not activated Windows setups. It only applicable to stable and activated versions of Windows 10, Windows 8, and Windows 7.
Do the following to add a Windows version watermark to the desktop.
Show Windows version on Desktop for the current user
- Open the Registry Editor (press Win+R and type
regedit).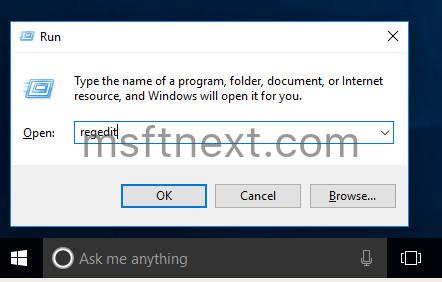
- Browse to the key
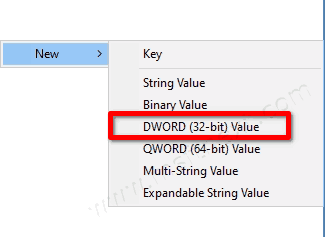
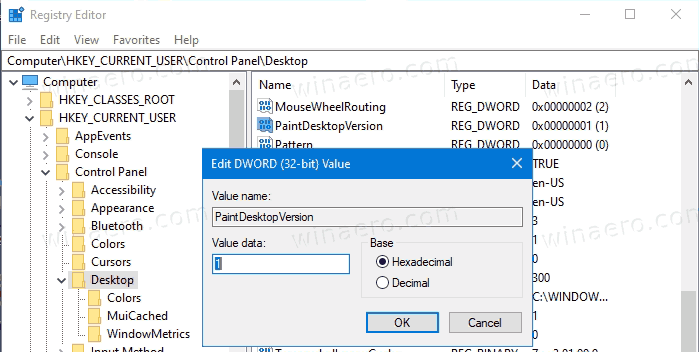
HKEY_CURRENT_USER\Control Panel\Desktop. - In the right pane create a new 32-bit DWORD value PaintDesktopVersion. You need to create the 32-bit DWORD even if you have a 64-bit Windows.
- Set its value to 1.
- Restart Explorer.
💡Tip: You can run this in the command prompt to directly create and set the PaintDesktopVersion value: REG ADD "HKCU\Control Panel\Desktop" /V PaintDesktopVersion /T REG_DWORD /D 1 /F
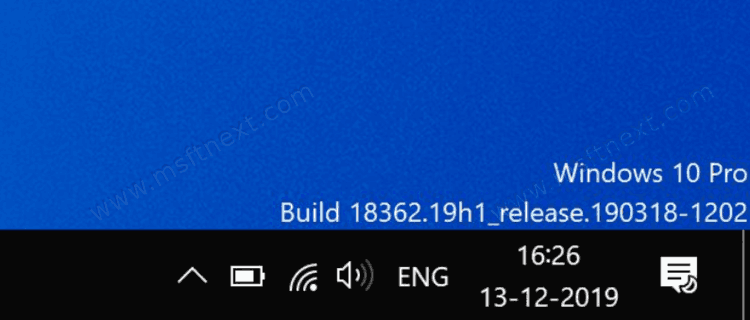
You now have the Windows version and build number watermark on the desktop. It visible for your user account only.
You can alternatively enable it for all user accounts. Note that this method doesn’t work in Windows 7, it requires at least Windows 8. Follow the steps below.
Show Windows version on Desktop for all users
- Open the Registry Editor.
- Browse to the key
HKEY_LOCAL_MACHINE\SOFTWARE\Microsoft\Windows NT\CurrentVersion\Windows. - Create a new 32-bit DWORD value DisplayVersion on the right. You need to create the 32-bit DWORD even if you have a 64-bit Windows.
- Set its value to 1.
- Restart Explorer.
💡Tip: You can run this in the command prompt to directly create and set the PaintDesktopVersion value: REG ADD "HKLM\SOFTWARE\Microsoft\Windows NT\CurrentVersion\Windows" /V DisplayVersion /T REG_DWORD /D 1 /F
You’ll have the following watermark.
In addition to the build number and edition, this watermark will also include the path to the Windows directory, which is usually C:\Windows.
Also, to remove any of the above watermarks, just delete the respective DisplayVersion and PaintDesktopVersion values you have earlier created.
Download batch files to show or hide Windows version on the desktop
You can also download batch files to add or remove the Windows version desktop watermarks. They will directly modify the Registry values for you and restart Explorer.
- Download this ZIP archive: Show Windows Version Watermark.
- Unblock the downloaded file.
- Extract its contents to any folder.
- Double-click one of the files to perform the desired modification.
- Add Windows Version Watermark On Desktop Of Current User.bat
- Remove Windows Version Watermark On Desktop Of Current User.bat
- Add Windows Version Watermark On Desktop Of All Users.bat
- Remove Windows Version Watermark On Desktop Of All Users.bat
A command prompt window will appear briefly and the screen will flicker once as Explorer and the taskbar will reload to apply the changes you made.
What the watermark shows
When Windows displays such a watermark, it reads a couple values from the HKEY_LOCAL_MACHINE\SOFTWARE\Microsoft\Windows NT\CurrentVersion key.
- The ProductName string (REG_SZ) value provides the edition.
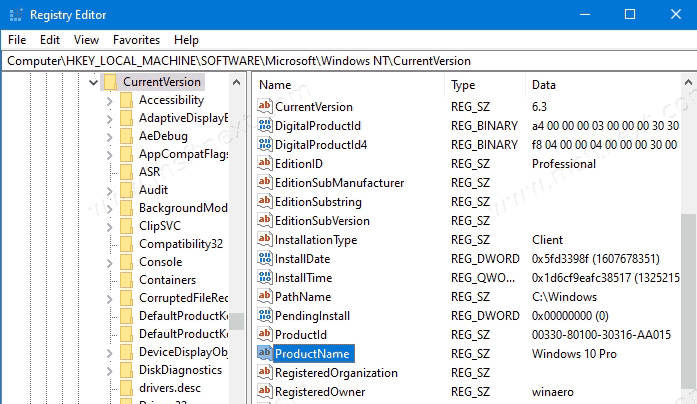
- The BuildLab string (REG_SZ) value is used to display the build number.
