How to Disable Settings Header in Windows 10 2004 and 20H2
Windows 10 versions 2004 and 20H2 ship with a new header area in the Settings app for many users. Initially available to a small select group of Insiders, the Settings banner is now available to regular users as well. Let’s take a look at how to get rid of it in Settings in Windows 10.
Settings is modern control panel app in Windows 10. The Settings is the app that you can use to customize the Start menu and taskbar, change the desktop and lock screen background, and much more.
It consists of several pages which bring new options to configure Windows 10 along with some older options directly taken from the classic Control Panel.
In Windows 10 version 2004 and WIndows 10 version 20H2 the Settings app has a new header, that displays some piece of information related to your user account and the OS.
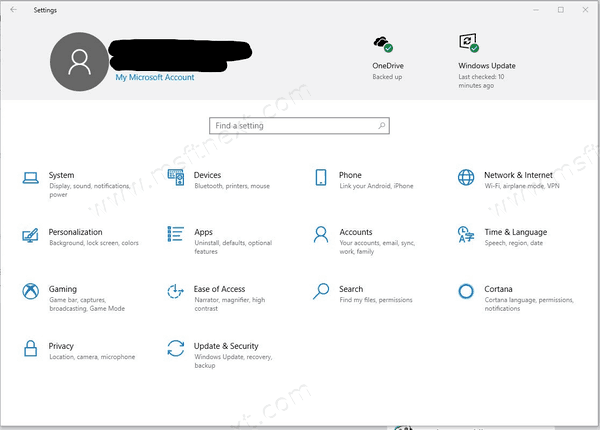
The header shows your user name and the e-mail address, and a number of links to quickly access the Your Phone options page, and the Windows Update settings page. Also, there is a link to Microsoft Rewards and OneDrive. In version Windows 10 version 20H2, it also shows a link to set the Microsoft Edge as your default browser.
This post will show you how to disable the Settings Header in Settings in Windows 10, version 2004, and version 20H2.
Some people may find links in the header of a banner useful as they allow direct access to certain settings pages. However, the header banner in the settings is huge and takes up a huge space only to display a few links. While there is no way to easily disable the title, it can be done using the open source third-party ViveTool app.
To Disable Header Ad Banner in Settings in Windows 10 2004 and 20H2
- Download the latest ViveTool release from GitHub.
- Unblock the downloaded file.
- Extract the archive contents to any folder you like.
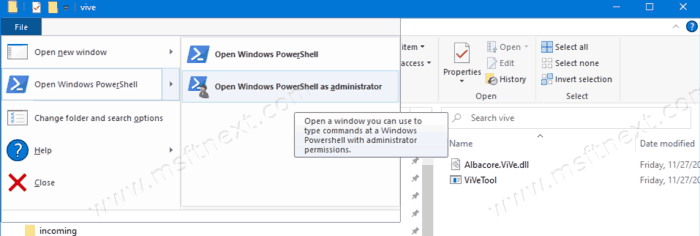
- Open PowerShell as Administrator in that folder by clicking on File > Open Windows PowerShell > Open Windows PowerShell as Administrator in File Explorer.
- Type the following command:
.\ViveTool.exe addconfig 18299130 1.
- You will get a message “Successfully set feature configuration”. Now restart Windows 10.
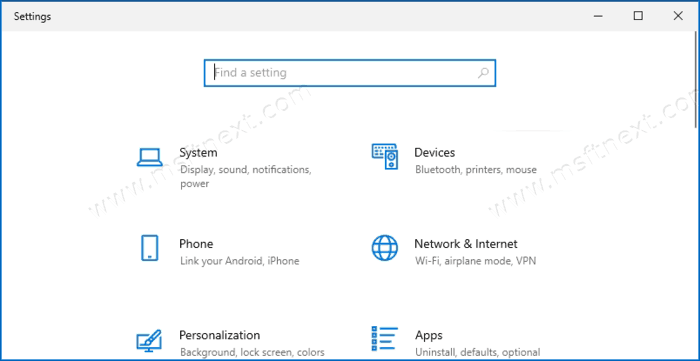
The Settings header is now disabled.
Later you can re-enable the banner option in Settings by following the below steps.
- Open PowerShell as Administrator in the folder where you have the ViveTool app.
- Type and run the following command:
.\ViveTool.exe addconfig 18299130 2.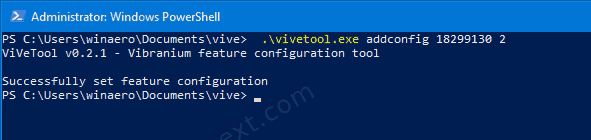
- Restart Windows 10.
You are done.
Summary
By following these simple steps you can quickly get rid of the Settings ad banner. It is also easy to re-enable it on demand. Please keep in mind that Microsoft will eventually change Windows 10, so this method to disable the header banner may stop working.
Also, it doesn’t work in Insider Preview versions of Windows 10.